6 Can’t-Miss Easy Home Improvement Tricks
Doing it yourself is a great way to save money. It’s important to make sure the job’s done right as you protect and improve your home. All homeowners should know these 6 easy home improvement tricks!
Whether you’re a beginning DIYer or an old pro, the right trick for a home improvement project can save you loads of time, money, and frustration. “How to” home improvement tips are passed down from father to son and friend to friend, and we would like to share a few with you that we’ve picked up along the way.
Check out these tips to make smooth sailing for your next home renovation project. Make sure to leave a comment to pass along some of your own!
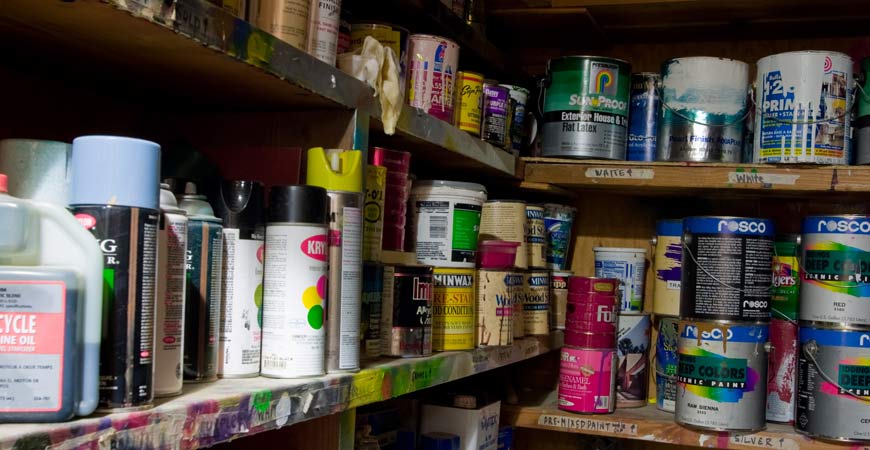
Painting the easy way
Painting is the quickest and least expensive way to transform a room. Even painting a dingy ceiling a fresh white will brighten the room more than you would imagine.
If you aren’t careful, you could end up with a big mess and a massive headache.
Use these tips to make painting a snap:
- Tip 1: For cleaning up after painting. After you finish painting, you’ll be ready to get a pizza and relax, not spend 15 minutes scrubbing your hands and arms raw to get the paint off.
The essential tools to make this job easier: latex gloves and lotion, baby oil, or cooking oil. Rub the lotion or oil on your hands and forearms before you start painting.
The latex gloves will keep you from getting paint under your fingernails. These simple steps will get you back to your life faster.
- Tip 2: For storing paint. It’s a good idea to store some leftover paint for future touch-ups, but when paint gets around the inside of the can’s rim, it cements the can shut and makes it a real battle to open up again.
The essential tool to make this job easier: aluminum foil. When you open a can of paint, put a narrow strip of aluminum foil around the rim of the can before you start painting.
Remove the foil before you re-close the can. Problem solved!
Work-Saving Bathroom Remodel Tips
A new bathroom is a beautiful way to add value to your home. Slip-ups during bathroom improvements can be a real headache and prolong the time that this essential room is out of commission.
Here are some tips to make bathroom renovations easier:
- Tip 3: For installing a toilet. If you’ve ever replaced a toilet, you know that the toughest part is when you have to lower the new toilet onto the screws in the floor. The toilet is heavy; you can’t see what you’re doing, and putting the toilet down the wrong way will ruin the wax seal.
The essential tools to make this job easier: 2 drinking straws. Trim a couple of inches off each straw, making sure they’re the same length, and place a straw over each screw in the floor like you’re putting on a sock.
The straws are much easier to see than the screws, and they help ensure you have the toilet properly lined up before you lower it far enough to damage the seal. Headache averted!
Handy Home Kitchen Improvement Tricks
The kitchen is one of your home’s most-used rooms, so keeping it functional and up-to-date should be at the top of your home improvement list. You don’t want the job to be any more time-consuming than it has to be, though.
Some tips for improving your kitchen:
- Tip 4: For installing cabinet latches. Changing the hardware on your kitchen cabinets is a great way to freshen your kitchen look. Hardware also breaks sometimes and needs replacing. You have to line things up just right when replacing the latches, or the cabinet doors won’t stay closed. This trick can be time-consuming and annoying or quick and simple.
The essential tools to make this job easier: a sponge and pink antacid liquid. First, attach the “male” part of the latch to the cabinet door. Then snip two of the corners off the sponge and insert them in the screw holes on the “female” part, facing inwards towards the side that will attach to the cabinet.
Snap the female part onto the male part. Then, dab a small amount of the antacid liquid onto the protruding sponge pieces. Gently close the door, and open it again.
Voilà! You now have 2 pink dots right where you need to drill to attach the female part to the cabinet. Any excess antacid liquid will wipe away for a neat, clean finish.
- Tip 5: For neatly drilling wood cabinets. When you need to drill holes in your cabinets, trim, or other wooden areas, sometimes the wood can splinter around the hole as you drill. If the hole is in a visible spot, it can leave things looking messy.
The essential tool to make this job easier: painter’s tape or masking tape. Put some tape over the spot you need to drill, which will prevent surface splintering.
Hassle-Saving Outdoor Home Improvement Tips
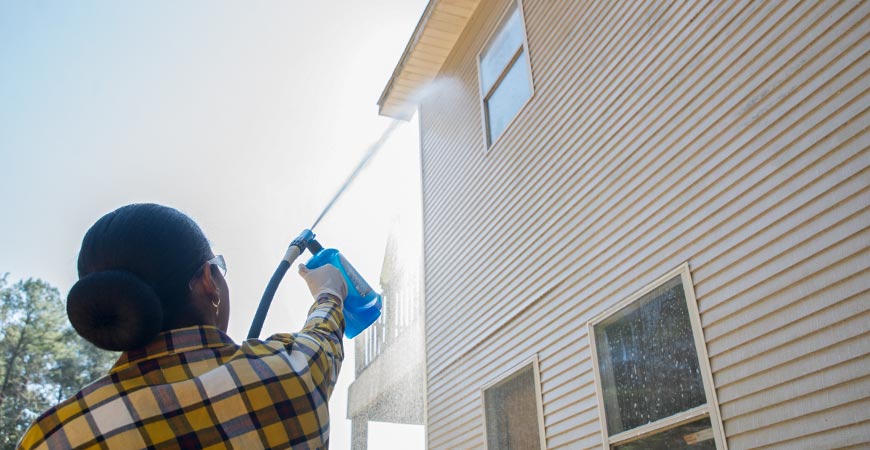
- Tip 6: For cleaning outdoor surfaces. You and your family enjoy the outdoor deck, patio, and pool. But these areas can become stained with ugly moss, algae, lichen, mold or mildew that look horrible and can even become slippery and create a fall risk for you and your guests. Even your roof, driveway, and brick surfaces can fall victim to these ugly growths.
The essential tool to make this job easier: Wet & Forget Outdoor. Wet & Forget Outdoor will remove these growths from nearly any outdoor surface without causing damage like bleach and other corrosive chemicals can. Zapping these stains doesn’t get any easier than Wet & Forget–no scrubbing or power washing is required.
You spray and walk away, and let Wet & Forget Outdoor do all the work for you!
Here’s how:
- Mix 1 part Wet & Forget Outdoor with 5 parts water in a pump-up garden sprayer.
- Spray the affected area with the solution at a time that allows 4 to 5 hours of drying time before the threat of rain.
- Let Wet & Forget remove the stains for you, and keep them away for up to a year or more in most cases!
Yes, you can still use Wet & Forget Outdoor during winter! You’re good to go if the temperature is above 32 degrees Fahrenheit when you apply Wet & Forget and the affected surface is dry and snow-free. Learn how you can clean with Wet & Forget Outdoor in the Winter Season.
*Special instructions for use with lichen
Photo By Tom Murphy VII

Related Posts
 3 Inexpensive Ways to Transform a Room
- 3 Inexpensive Home Improvement Tips You Can’t Afford to Miss
- Home Improvement Projects to Leave to the Professionals
- A Summer To-Do List for Home Improvements
- Top 3 Essential Fall Home Improvement Ideas to do Before the Holidays
- Home Improvement Guru Gary Sullivan’s Home Remedies


Luella Garrett
best surface cleaning agent on the market for the money. Why waste the money on pressure cleaning, scrubbing, back breaking methods? We live in the fog and cold. It is mostly misery here. Most of the houses have mold. Most of the houses are covered in layers of mildew. Our house is clean. Sparkles even through the fog. No green stuff anywhere. It is not UNSIGHTLY LIKE many of the houses in this block let alone the neighborhood. I recommend this product 100%, as it is a fraction of other market products. This is my third year free of the GREEN CRUD here.
Teresa Fugatt
Hi Luella,
It was wonderful to hear your story! You may be able to pull your house up on Google Maps and find that you have the cleanest home in the neighborhood. If you would like, send us a photo of your beautiful home and we’ll feature your story on our social media pages. Very happy to hear from you and thank you for writing in.
david smith
Nice post and I do agree with your tips. Bathroom and kitchen these both are the most important place in our home and proper renovation and maintenance is very necessary for this. It would be better if you will take help from an experienced home builder because they can suggest you more ideas.
Teresa Fugatt
Thanks David!