Farmhouse Thanksgiving Décor: 4 Rustic-Inspired Ideas for Your Home and Table
Do you love farmhouse-style decor ideas? Does decorating with woodsy and rustic pieces make your heart sing?
If you’re interested in learning how to make some rural farmhouse Thanksgiving decor, then read on for a few DIY ideas perfect to glam up your Turkey day.
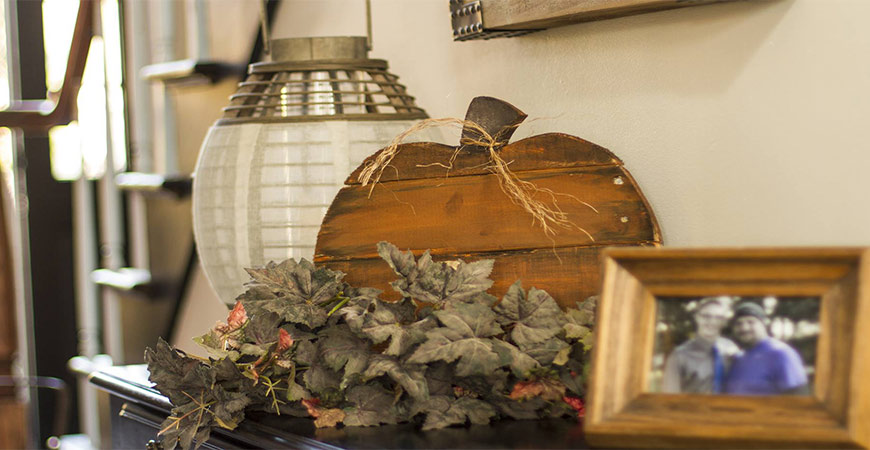
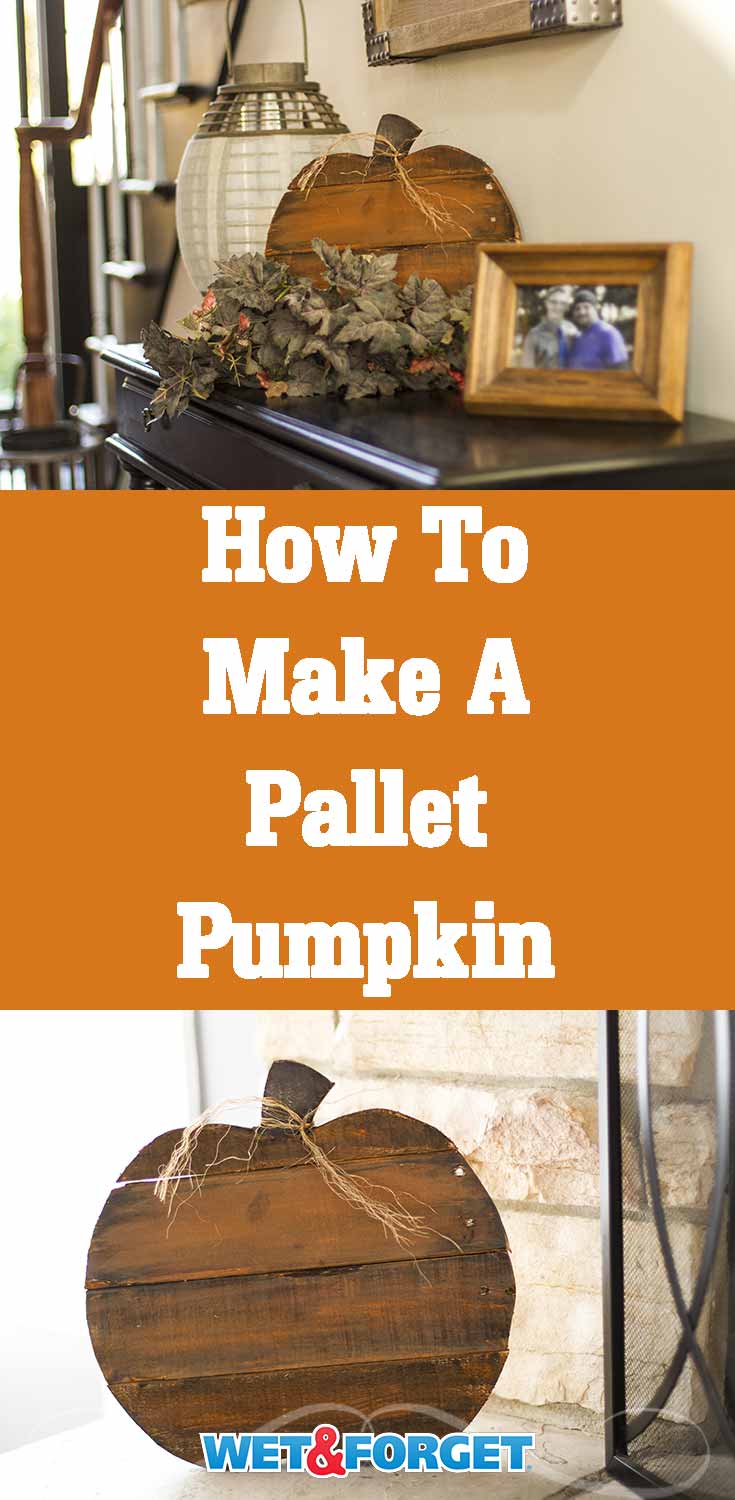
Pallet Pumpkin
 This DIY pallet pumpkin is an easy way to make and add farmhouse Thanksgiving decor to your home. Follow our three-step tutorial to create your own to display in your home this Thanksgiving!
Materials :
- Glaze or Wood Stain- Kona
- Acrylic Paint- Orange
- Clear Coat Spray
- Pallet
- Wood Screws
- Foam Brush
- Frayed Rope
- Pencil
- Pumpkin Stencil (there are many available online to print out)
- Jig Saw
- Chop Saw
- Drill
Step 1 – Trace, Cut, & Assemble Pallet

Trace a pumpkin pattern onto your pallet. Following this, use your jigsaw to cut along the traced lines of the pumpkin outline.

Also, cut out two backing boards to fit the size of the pallet pumpkin using the jigsaw. Screw the backing boards onto the pallet to hold it in the pumpkin shape.
Step 2- Paint and/or Stain the Pallet

To start, coat the pallet boards with orange paint using a medium-size sponge brush to add a brighter look to your pumpkin.

Following this, apply a wood stain with a large sponge brush to the pallet boards and let dry. Using a wood stain on top of the orange paint will also give your pallet pumpkin a more rustic look. Lastly, apply a clear coat on top of the wood stain.
Step 3- Display Pallet Pumpkin!

Finally, start decorating your house with your new pallet pumpkin this Thanksgiving! Place your pallet pumpkin decor on a mantle with a garland or a side table.
Check out our pallet pumpkin video tutorial below!
DIY Thanksgiving Décor: Nature-Inspired Faux Pumpkin Vase

Craft a vase from a faux pumpkin and fill it with flowers for your Thanksgiving table. Faux pumpkins, available at craft stores, look so real you can hardly tell the difference. Faux pumpkins are available in almost any color- traditional orange, white, black, glittered, and even teal.
This farmhouse Thanksgiving decoration will also blend in with a rustic table setting. Set your vase on the table, place cream color candles next to your new farmhouse Thanksgiving décor, and enjoy the compliments!
Rustic Burlap Banner
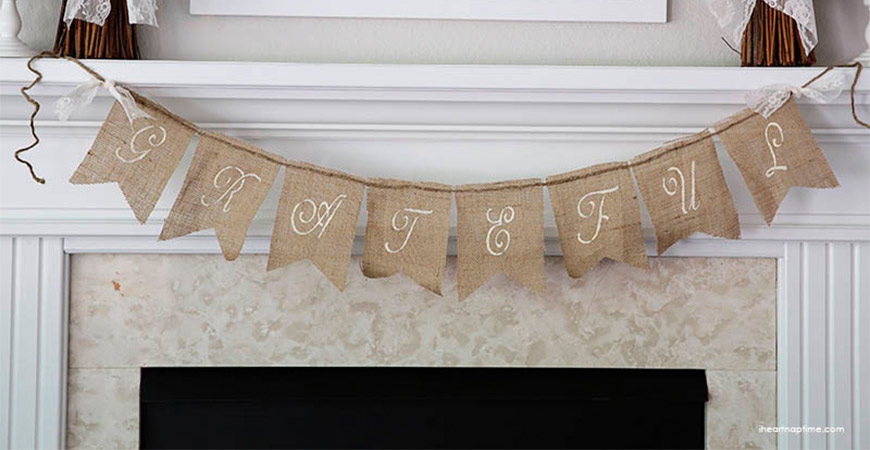
This rustic banner featuring the word “Grateful” will highlight your holiday fireplace mantel or sideboard. In addition, its simplistic yet rustic design makes it a perfect farmhouse Thanksgiving decor project.
Supplies:
- Flag Template
- 1/4 Yard of Burlap Fabric
- Scissors
- Stencil
- White Craft Paint and Stencil Brush
- Two 8-inch Lengths of White Lace (or Scraps)
- Jute or Twine
- Hot Glue Gun
- Print out the provided flag template or make your own. Use it to trace eight flags onto the burlap fabric and cut out.
- Stencil each letter in the word “Grateful” onto the eight flags with white craft paint and a stencil brush. (You could also do the word “Thankful” or any word you wish, change the number of flags.)
- Line up your flags in letter order on a work table, spacing them evenly. After this, hot glue a length of twine or jute across each flag’s top (straight edge).
- Tie the white lace to both ends of the twine and hang. Rustic and beautiful!
Rustic Thanksgiving Sign
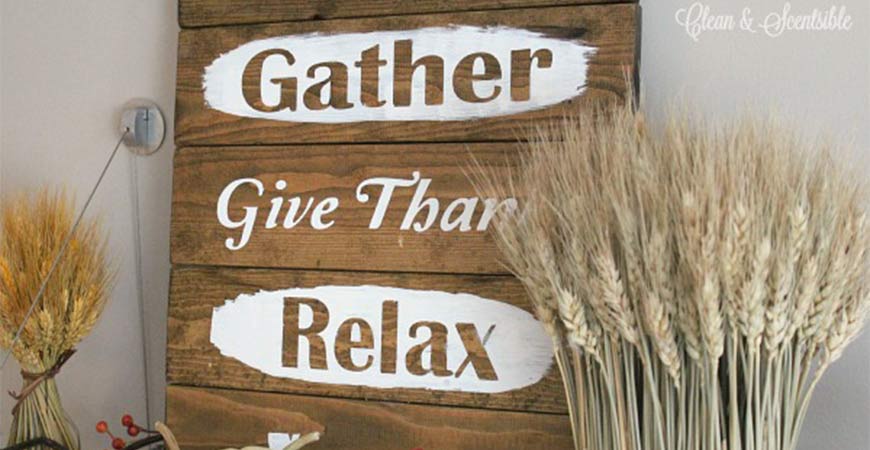
This fabulous Thanksgiving sign, made of wood boards, features the holiday sentiment, “Gather, Give Thanks, Relax.” Placed in the entryway or just outside your front door, this weathered sign also signals a cheerful farmhouse welcome to family and friends this holiday.
What You’ll Need-
-
- Five Wood Boards, Cut to 1 x 4 Size
- Wood Screws
- Two Wooden Garden Stakes (or two 1 × 2 boards). You’ll use these to support the back of your sign. (Trim these slightly shorter than the height of your sign.)
- Wood Stain, in a shade of your choice
- White Craft Paint
- Foam Brush
- Letter Stencils (there are many available online to print off)
- Sanding Block or Paper
- If the boards are rough, then sand them with the sanding block. Round off any sharp edges. Following this, apply the wood stain to the boards and let them dry.
- Prepare your stencils and press them into place, making sure the edges are secure. For this design, the words “Relax” and “Gather” are positive images, while the “Give Thanks” and arrows are negative images.
- Pour a little white paint onto a paper plate. Dab your foam brush in it and press the loaded brush to a paper towel a few times to remove any excess.
- In addition, it’s best to apply this thinly, using a gentle dabbing motion. Apply more than one coat of paint if needed.
- Remove the stencils from the decor with a pair of tweezers while it is still wet, then let it dry.
Assembling the Thanksgiving Farmhouse sign-
Layout the painted boards in word order on a work table. Additionally, flip them over, word side down. Attach the garden stakes or 1 x 2 wood sections to the back of the boards with wood screws. Pre-drill the holes to keep the boards from splitting.
Distress your finished Thanksgiving sign by lightly sanding the painted areas. Finally, sand to smooth out any rough edges.
All of these decoration options will bring a rustic farmhouse feel to your Thanksgiving table. In addition, the DIY farmhouse Thanksgiving décor ideas above will emit a cheery welcome to family and friends throughout the holiday weekend.
Interested in more DIY fall decor ideas? Click here.


Related Posts
 Beautify your Holiday with these Easy Thanksgiving Centerpieces
- DIY PVC Bird – An Easy Yard Decoration Tutorial
- 5 Outdoors-Inspired DIY Nature Home Décor Ideas
- Enjoy the Changing Seasons with These Popular Fall Patio Decorating Ideas
- Get Crafty With These 3 DIY Wall Decor Ideas
- Post-Holiday Winter Decorations Ideas