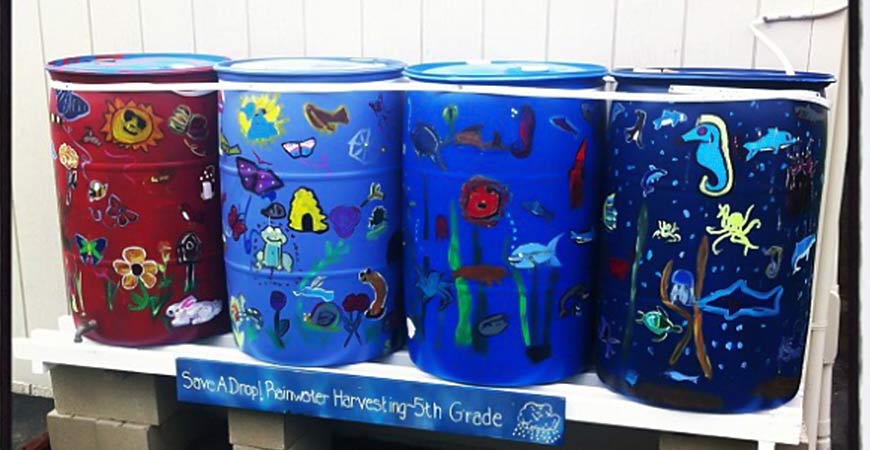
Water Your Garden, Save Money and Live Green with a Rain Barrel!
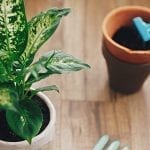
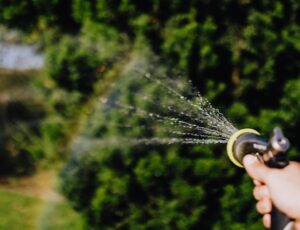
We all need to water our lawns and gardens sometimes to keep them green and healthy, especially during a dry summer. But if you just reach for the garden hose when your lawn and garden are thirsty, you’re spending more on your water bill than you need to. Try using a rain barrel as an inexpensive, environmentally-friendly way to water your plants.
Read on to find out how to try a rain barrel in your garden–it’s easier than you think!
The Benefits of a Rain Barrel:
According to the EPA, about 40% of the average family’s summertime water bill goes towards watering the tomatoes, the gardens, and the lawn. If your home has a well, all that lawn watering raises your electric bill and subjects your water pump to extra wear-and-tear.
A rain barrel can put a lot of your hard-earned money back in your pocket, where you can spend it on something much more fun, such as improving your golf game.
Quenching your garden’s thirst with rainwater is also good for the environment. Your plants don’t need the chlorine and fluoride in most municipal water supplies.
Using less treated water will help reduce energy consumption at the water treatment plant. The EPA says a home irrigation system with a rain barrel can help the average household use about 1,300 gallons less water a month during the summer.
Rain barrels can help you protect your home’s foundation and keep your basement dry by safely diverting rain runoff to protect your foundation and keep your basement dry by diverting rain runoff safely away from your home. Protecting your home from water damage is an excellent way to save yourself a bundle of cash!
What You Need to Get Started:
Most home-improvement stores sell rain barrel kits that include everything you need to harvest rainwater. A good rain barrel kit is the easiest solution.
A DIY rain barrel is the way to go if you’re looking to save money is the way to go. All you need are the necessary parts and a little elbow grease. The components of a rain barrel are:
- A 55-gallon barrel. Make sure the barrel has not previously contained chemicals that could harm your plants–plastic, food-grade barrels are best. Some restaurants are willing to give away used barrels. A barrel with a screw-on lid is easiest to use, but you can make up for the lack of a lid by completely covering the top with flexible screening, held securely in place with a jumbo rubber band.
- A screen to keep out debris and mosquitoes. Plastic screening is best because it won’t rust.
- An overflow spout near the top of the barrel.
- A drainage spout with a spigot near the bottom of the barrel.
- Cinder blocks to elevate the barrel.
- Garden hosing
Building Your Rain Barrel
- Bring your barrel home and flush it thoroughly with clean water.
- Drill a hole on the side of the barrel, 1 to 2 inches below the top.
- Flip the barrel over, and drill a hole on the side of the barrel, near the bottom. Drill a hole with the same or slightly smaller diameter as your spigot.
- Attach your spigot to the bottom hole on your rain barrel. Better Homes and Gardens has easy instructions for attaching and sealing your rain barrel’s spigot. The spigot is where you will attach a hose for watering your garden.
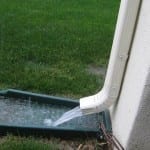
- Cut a hole in the top of your barrel for the water to enter. You can do this in several ways. For example, Better Homes and Gardens uses a plastic trash can for their rain barrel. They cut a hole in the trash can’s lid that is the right size to fit beneath the home’s downspout, cover the top of the uncovered trash can with a sheet of landscaping fabric, and then replace the lid. The landscaping fabric acts as a filter to keep debris from entering the rain barrel and mosquitoes out. HGTV has a video (below) that shows how to make a sort of funnel out of PVC piping, which fits into a hole in the top of the barrel and receives rainwater from the downspout. Some prefer to attach a downspout extender directly to the barrel (see photo above). While there is more than one way to do this, the important thing is to have a hole in the top of the barrel that can receive water from the downspout and has a filter to keep out debris and mosquitoes.
- Place the rain barrel on an elevated surface, such as cinder blocks. The elevation will give you better water pressure for watering your garden. Check that the platform is strong and level, because a full 55-gallon water barrel weighs over 400 pounds.
- Connect the hosing to the rain barrel’s overflow hole, and place the hose so that it will direct any overflow away from your home’s foundation.
- If you use a lot of water, you can expand your rain collection system by hooking 2 barrels together. To do this, place one barrel at least 6 inches higher than the other, and run a pipe from the overflow valve of the higher barrel to the top of the lower barrel (see photo above). The higher barrel will collect water first and send its overflow to the lower barrel, and you will attach a garden hose to the lower barrel’s spigot for watering your garden. Now you have double the water!
Tips
Place your rain barrel on a solid, steady foundation because the barrel will be hefty when it is full. Elevate the barrel so you can easily reach the spout, and use gravity to make the water flow out. Cinder blocks are perfect for this.
- Install your rainwater out of direct sunlight and drain it about once a week to discourage algae growth. If algae grows in your rain barrel, drain it and treat it with Wet & Forget.
- Install screens on every opening, including the insides of both spouts, to prevent mosquitoes from using the water to breed.
- The University of Kentucky’s College of Agriculture has a terrific set of instructions for how to make a rain barrel. The information includes lists of all necessary parts and tools and a section on connecting multiple rain barrels. These instructions also help determine how many barrels you will need for your lawn or garden.

Related Posts
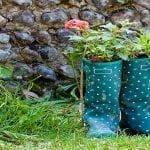
 New Uses For Old Rain Boots
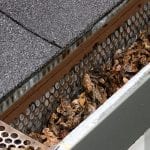
- Rain Gutters – How They Work Plus Important Installation Tips
- Put Fall’s Rain to Work Cleaning your Home with Wet & Forget Outdoor!
- Protect your Home with this Essential Springtime Rain-Gutter Care
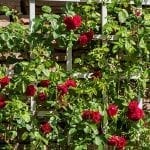
- Garden Trellis Ideas, Types, and DIYs for the Home Gardener
- Repotting Indoor Plants: A How-To Guide