Genius! 5 Weird Little Tricks to Jump-Start Your Next DIY Project
Using your handyman skills to conquer home improvement projects saves you money and gives you the pride of a job well done. But while you’re busy using your own motivation and elbow grease to increase your home’s value, you will also run into your next DIY project with messes, frustrations, and time-wasters.
The right kind of help goes a long way when you’re looking to avoid home improvement headaches. But while “help” from the kids might turn into more mess than progress (see photo), these 5 home improvement tips will help you sail through your next DIY project like a pro, using things you already have around the house.
Read on to see how!
DIY Project 1. How to Install a Cabinet Latch in Just the Right Spot
Everything breaks sooner or later, including the latches on the cabinet doors in your kitchen, bathroom, laundry room and garage. Buying a new latch is simple enough, but the job can turn into a real annoyance if you don’t line the parts up just right.
Line the “male” and “female” parts up wrong, and you’ll find yourself drilling multiple holes and cursing under your breath.
Here’s a quick, painless way to line the parts up perfectly and get the job done in a jiffy:
What you’ll need:
- A drill
- A new latch kit with screws included
- A basic household sponge
- Lipstick, liquid foundation, or a liquid antacid such as milk of magnesia or Pepto Bismol™
Instructions:
- Hold the “female” part up to the spot on the inside of the cabinet door where you want to attach it, and use a pencil to mark where the insides of the screw holes rest against the door.
- Drill the holes and attach the “female” part to the cabinet door.
- Cut 2 corners off of a basic household sponge (ladies: the sponge tips on cheap eyeshadow applicators also work perfectly).
- Insert the sponge pieces into the holes on the “male” part, with most of the sponge facing towards the side that will attach to the cabinet.
- Connect the “male” and “female” parts.
- Paint the tips of the sponge pieces with the antacid, lipstick or liquid concealer.
- Gently close the cabinet door, then open it again.
Voilà! Now you’ve got clearly visible marks that will show you exactly where you need to drill to attach the latch to your cabinet.
DIY Project 2. Use the “Magic” Straw Trick to Install a Toilet the Right Way
Installing a toilet can be a truly frustrating endeavor. Toilets are heavy and cumbersome, and are often wedged between the sink and the bathtub.
To install a toilet, you have lug the toilet across the bathroom, squeeze yourself into the area where the toilet will go, and then try to line the holes in the base of the toilet up with the screws that stick up from the floor.
It’s extremely difficult to see where the screws are while looking through those tiny holes in the toilet, so you’ll find yourself sweating and straining to hold the thing up while rotating the toilet this way and that, hoping to find the screws. And, if you’re using a wax seal, be prepared to ruin at least 1 or 2 when you don’t set the toilet down just the right way the first time. Argh!!
If this doesn’t sound like your idea of fun, there’s a much simpler way to go. All you need is a simple dinner straw to make your job a thousand times easier.
What you’ll need:
- A drinking straw
- Scissors
Instructions:
- Use the scissors to cut the straw in half.
- Place one straw half over each of the 2 fastener screws that are sticking up from the floor.
- Position the toilet so that the ends of the straws are below the holes in the base of the toilet, and lower the toilet down so that the straws poke up through the holes.
Success! The straws are easy to see, and will make guiding the screws into the holes a piece of cake.
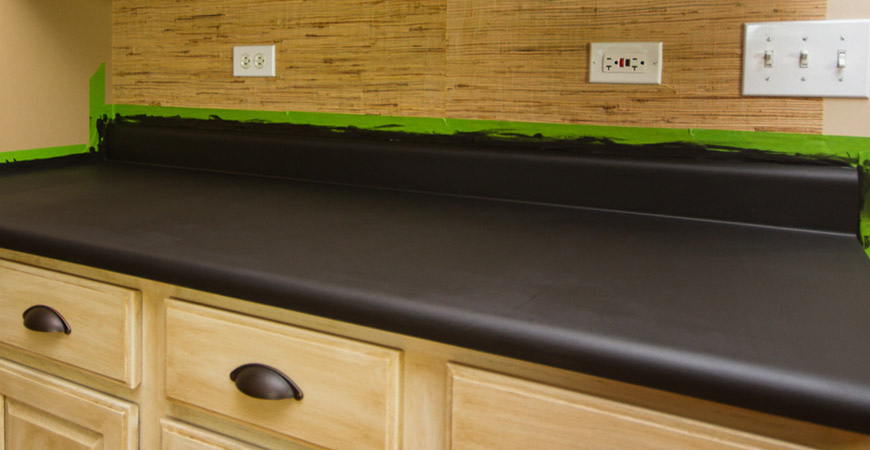
DIY Project 3. Awesome Mess-Saving Painting Tricks
Painting is one of the least expensive ways to completely change the look of a room. Unfortunately, it’s also an easy way to make a huge mess.
Getting paint stuck under your fingernails and in your hair, dripping paint all down the sides of the can, and straining to open a paint can that has been glued shut by dried paint can all make you re-think your decision to start this job.
These painting tricks will help you avoid those pitfalls and make your job a lot easier.
What you’ll need:
- A large rubber band
- Aluminum foil
- Latex gloves
- Lotion, baby oil or cooking oil
- An old ball cap
Instructions:
- Before starting the job, cover your hair with an old ball cap, rub lotion or oil on your arms, and put on latex gloves. This will keep paint from sticking to your hair, skin and fingernails, and make your post-painting shower a snap.
- After you open the paint can, place a narrow band of aluminum foil around the top edges of the can, covering the grooves where the lid will go. This will prevent paint from dripping there and gluing the lid shut.
- Wrap the large rubber band around the can from top to bottom, so that the rubber band spans across the middle of the can’s opening. As you paint, wipe the sides of the paintbrush on the rubber band any time you need to remove excess paint from the brush. This will prevent drips on your trim, and keep paint from getting on the sides of the can (don’t forget to use a drop cloth too, of course).
Now you can re-style a room without making a massive mess. Yes!
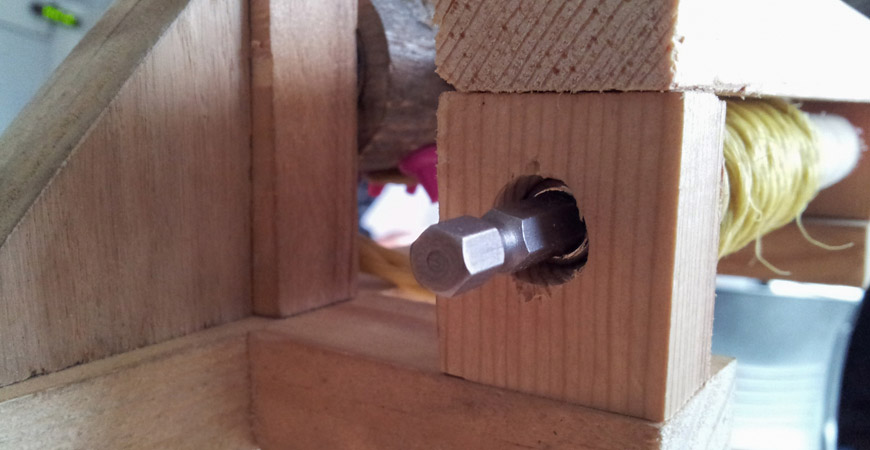
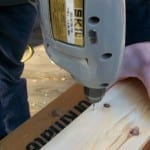
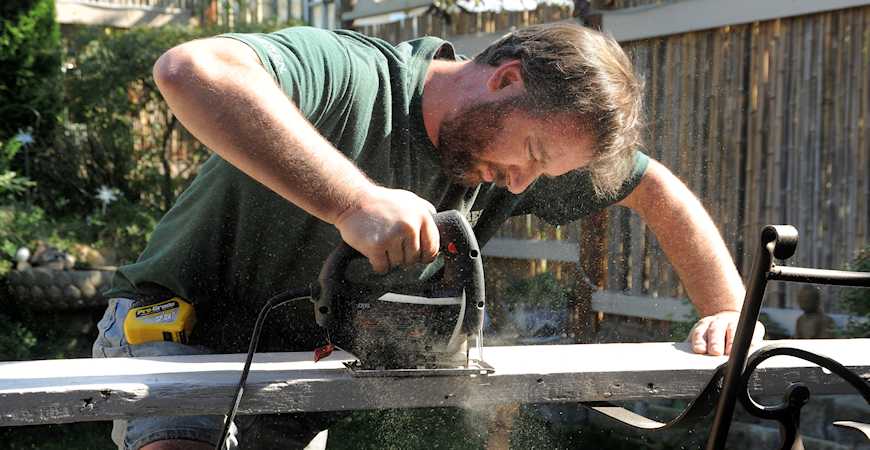
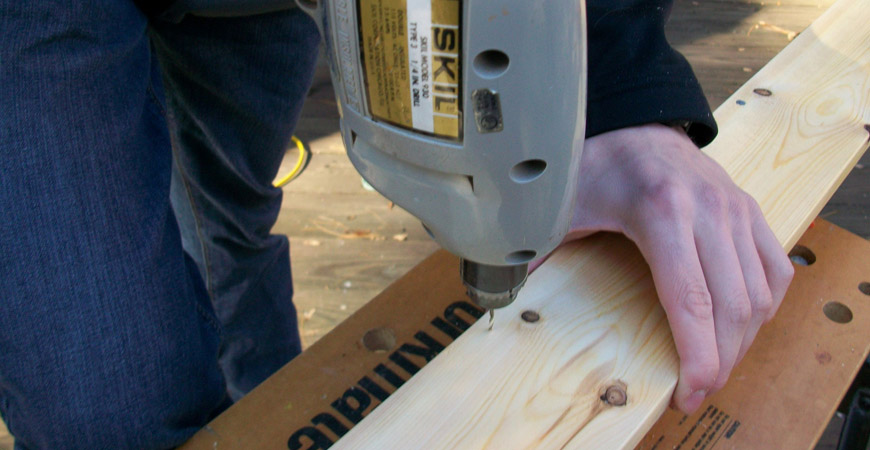
DIY Project 4. The Easy Way to Avoid Splintering when Drilling Wood
Your drill is one of the handiest tools in your handyman arsenal. But when you have to drill certain types of wood, especially trim, you can end up with messy splintering around the margins of the hole, and that can really spoil the job.
Here’s a simple way to prevent splintering and get the job done right.
What you’ll need:
- Painter’s tape or masking tape
- Sharp, high-quality drill bits
Instructions:
- Put a piece of tape on the spot where you will be drilling.
- Smooth the tape down well.
- Mark your spot, and drill.
The tape will hold the edges of the hole in place as you drill, and prevent splintering. Problem solved!
DIY Project 5. How to Pound in a Nail without Pounding Your Fingers
Hammering in a nail is one of the most basic DIY skills. Unfortunately, even the most experienced home improvement guru can miss and pound his or her fingers, especially if the nail is in a hard-to-reach spot.
This simple DIY tip will help you save your digits while you hammer in those nails.
What you’ll need:
- A clothespin or a comb
Instructions:
- Wedge the top of the nail, just below the head, in between the comb’s teeth, or pinch it with the clothespin.
- Hold the nail in position with the comb or clothespin as you hammer it in.
Use this simple trick to finish your next home improvement job with 10 pain-free fingers!
And the Bonus Trick…
Cleanup is a big part of home improvement. Whether you’re dealing with moss on your roof, black algae on your concrete, soap scum in your shower, or mold and mildew in your basement, Wet & Forget has a product that will make your life easier!
Outdoors
Growths such as moss, algae, lichen, mold and mildew make your home’s outdoor surfaces look disgusting, ruin your outdoor furniture cushions, and can even cause damage to your roof or driveway.
Zap these ugly stains with Wet & Forget Outdoor! Wet & Forget Outdoor is safe to use on all your outdoor surfaces. It wipes out ugly stains with no scrubbing, bleaching or pressure washing needed, and keeps them from coming back for a year or more in most cases.
Just spray and forget, and say goodbye to moss, lichen, algae, mold and mildew!
Here’s what happy customer Louella Garret has to say about Wet & Forget Outdoor:
“best surface cleaning agent on the market for the money. Why waste the money on pressure cleaning, scrubbing, back breaking methods? We live in the fog and cold. It is mostly misery here. Most of the houses have mold. Most of the houses are covered in layers of mildew. Our house is clean. Sparkles even through the fog. No green stuff anywhere. It is not UNSIGHTLY LIKE many of the houses in this block let alone the neighborhood. I recommend this product 100%, as it is a fraction of other market products. This is my third year free of the GREEN CRUD here.”
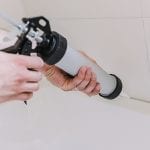
In the Shower
Scrubbing the shower isn’t anyone’s favorite household chore, so we decided to eliminate scrubbing. Wet & Forget Shower blasts through soap scum, body oils, grime, and mold and mildew stains on all of your shower’s surfaces, with no scrubbing needed.
To make your shower sparkle, just spray and walk away! The simple once-a-week application makes it even easier to achieve the clean shower your family deserves, and the subtle vanilla essence scent means you don’t have to punish your nose to make your shower shine.
Try Wet & Forget Shower today, and break free from scrubbing!
Here’s what Deb Sluis thinks of Wet & Forget Shower:
“Just wanted to stop in and say HOLY COW do I LOVE your shower product. It WORKS and works like a charm. Oh boy I love this stuff. Been using it for two months now. I tell everyone I know about it.”
Indoors
Mold and mildew can invade any damp area in your home, where it eats away at the material it grows on, reduces indoor air quality, and creates a disgusting musty odor. If you turn to bleach to solve your mold problem, you can end up doing more harm than good.
New Wet & Forget Indoor Mold & Mildew Disinfectant Cleaner kills mold and mildew, cleans the mess, disinfects, and deodorizes, all with no scrubbing needed. Wet & Forget Indoor is safe to use on indoor hard, non-porous washable surfaces in mold-prone areas such as your basement, bathroom and laundry room.
Wet & Forget Indoor wipes out indoor mold and mildew, kills odor-causing bacteria, and leaves behind a fresh, clean scent. Just spray and walk away to defeat indoor mold and mildew!
Let Wet & Forget do the work, so you won’t have to!
(Photo By Aqazi1411)


