How (and Why) to Clean and Repair Window Screens
There’s nothing quite like the feeling of a soft, cool breeze rustling through your home on a warm summer’s day. But if you don’t spend time cleaning your window screens this spring, that gentle wind might also bring inside bugs and nasty particles.
So, this spring, give your window and door screens a quick inspection. Then, take a few minutes to clean, repair, and replace as needed.
That way, when summer’s first hot day arrives, you’ll be ready to cool down.
Why Should You Clean, Repair, or Replace Window and Door Screens?
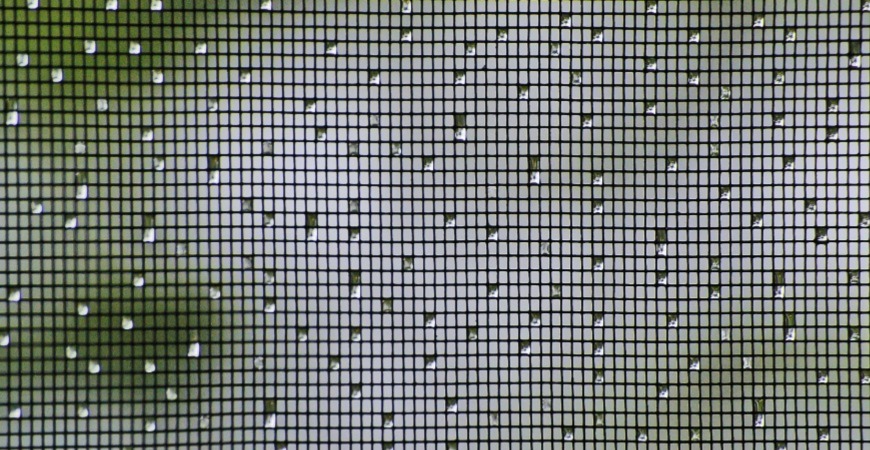
Window and door screens are a first-line defense for your home’s interior. They’re made with holes large enough for the wind to rush through but small enough to capture bugs and debris.

In ideal conditions, screens should last for about 10 to 15 years before you need to replace them.
And while regular cleaning and maintenance can help extend their life span, no one lives in ideal conditions. Sun exposure, rain, wind, debris, and even a bouncy pet can all cause the screen’s mesh to degrade or tear.
When your screens tear, their protection becomes increasingly limited. The larger the tear, the more inviting your home becomes for bugs and pests.
Though window and door screens aren’t as effective against pollen and other allergens, they are known to attract these particles. Then, when the wind comes, it brings them into your home, where they can cause sneezing, coughing, and red or watery eyes.
Of course, screens can also harbor mold, mildew, or other airborne contaminants. If allowed to linger, they can gain a foothold inside your home and quickly spread.
So, cleaning your window and door screens can help reduce allergy symptoms and potential mold infestations. By preventing them from accumulating on your screens, you’re limiting their opportunity to invade.
Cleaning Window Screens
When it comes to cleaning window screens, you’re first instinct may be to reach for a bottle of bleach. However, bleach is a harsh cleaner that may end up degrading your mesh screens, and if you’re not careful, you could end up bleaching the surrounding area, too.
Power washing is another common choice for removing gunk and cleaning mold and mildew stains. But they’re also dangerous and just as likely to damage your home or yard.
Of course, some people may want to employ some elbow grease and scrub their screens until fingers blister and joints begin to strain. Those people, of course, are putting entirely too much work into a problem that has a much simpler solution.
Wet & Forget Outdoor cleans gently and effectively and without the need for strained scrubbing, harsh chemicals, or power washing. It works with the wind and rain to lift stains over time and prevent new ones from setting up.
It’s safe to use on virtually any outdoor surface. So, after you clean your screens, you can use the spray on decks, driveways, patio furniture and carpets, stained and treated surfaces, and wood.
To use, simply spray the product on your window screens. In some cases, if you’re dealing with mold and mildew stains that are particularly persistent, you may need to apply the spray again a month or two after your initial application.
Otherwise, though, that’s all the work you need to do. Wet and Forget will work over time with the rain and wind to clean up the mold and algae stains. And a single application is often all you need to remove mold and mildew stains and keep surfaces stain-free for up to a year or longer.
Repairing Window Screens
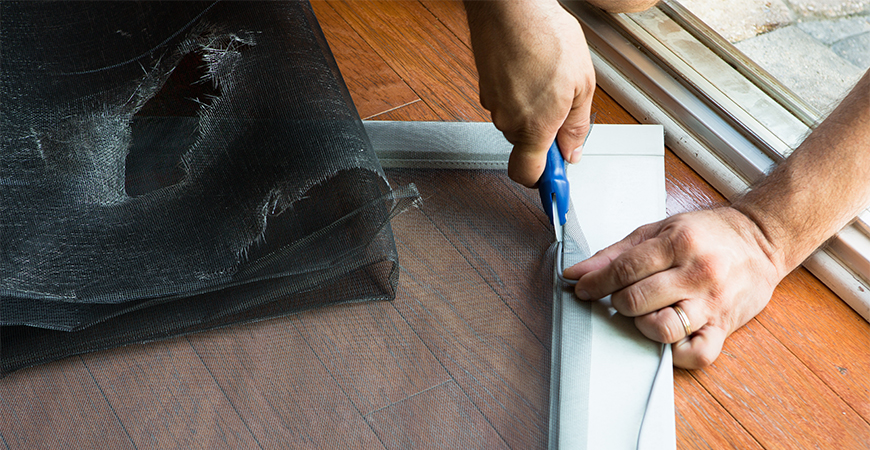
Repairing holes in screens doesn’t require much in the way of time or tools. Since it’s such low-hanging fruit, small holes or tears can be easy to ignore.
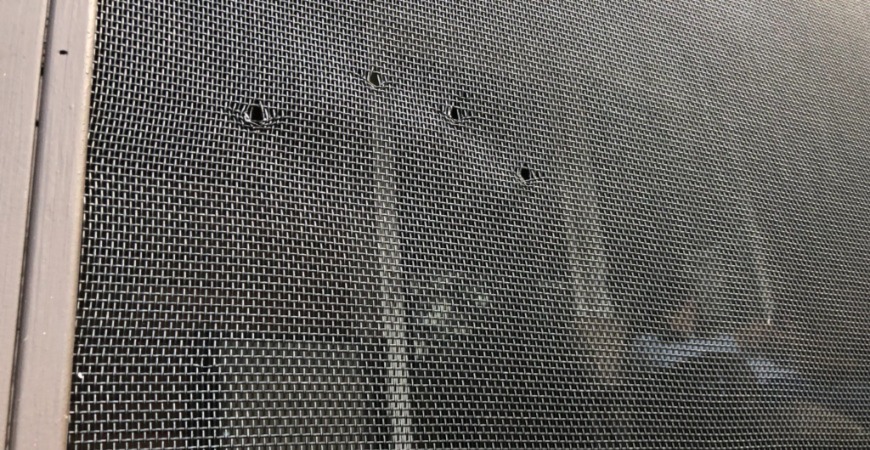
(Photo Courtesy of Under the Same Moon…)
However, it’s important to immediately patch or repair screens whenever you notice holes or tears. A small tear only needs time to become a much more significant issue.
If you’re patching a screen with an extremely tiny hole in it, you probably already have everything you need on hand to repair it. Epoxy, instant adhesives, and even clear nail polish can help meld together very small tears in the screen’s mesh strands.
For larger holes on metal screens:
- Make a patch from the same material on your screen that’s about an inch larger than the gap it’s filling
- Untwist about a half-inch of the patch’s fringe around its perimeter
- Bend the fringe at a 90-degree angle
- Place the patch on the hole and push the fringe through the screen.
- Retwist the fringe to secure the patch to the screen.
You can also purchase patch repair kits in various sizes and materials at your local hardware store. Perhaps the easiest ones to use are the heat-activated ones, as they only require you to place the patch over the gap and use a hair dryer to adhere the patch to the screen.
Replacing Window Screens
Of course, there comes a time when a tear becomes large enough that it’s easier to replace the window or door screen entirely. Luckily, this is still a straightforward project that most people, with or without DIY experience, can accomplish.
You will need a few tools for the job, but all are either cheap or already in your home:
- Small flat-head screwdriver
- Utility knife, box cutter, or sharp scissors
- Painter’s tape or clamps
- Screen rolling tool
If you don’t already have a screen rolling tool, wait to go to your local hardware store to pick them up until after you’ve completed the first step, as you’ll need to head there then anyway.
So, to replace your window screens, follow these steps:
- Remove the damaged or old screen from its frame.
- Using the screwdriver, pop the spline — a plastic cord that secures the screen and is situated around the frame’s perimeter — out of the channel. Throw out or repurpose the old screen but hold on to the spline for now.
- Clean the metal frame. Wet & Forget Outdoor is safe and effective on both metal and screens.
- While the frame is drying, head to your local hardware store with your spline. Purchase any remaining tools you need, new screen materials, and, using your old spline, find a new spline of the same size.
- Place the cleaned metal frame on a flat surface and roll out your replacement screen material over it. Leave two extra inches on all sides and cut the screen material using the utility knife or scissors.
- Lay the replacement screen material over the frame with the curved side facing the frame. Pull the screen material until taut, and then use the tape or clamps on the top and bottom of the frame to hold everything in place.
- While keeping the screen material taut, use the convex wheel on your screen rolling tool to push the screen into the channel on the perimeter of the frame.
- Insert the new plastic spline into the channel to hold the screen in place using the concave side of the screen rolling tool,
- Use your utility knife to trim any excess screening material. Angle the knife away from the spline so you don’t accidentally cut it.
- Install your new window screen.
Annual cleaning with Wet & Forget Outdoor will help protect your new screen. So will removing and storing your screens over the winter or any period where you don’t plan on opening your windows.
Cleaning Window Screens Keeps the Cool Breeze Breezing
Inspecting, cleaning, and repairing or replacing your window screens should take, at most, an afternoon of work. But in that one afternoon, you’re making your home more comfortable for you and more impenetrable to pests, allergens, and airborne contaminants.

Related Posts
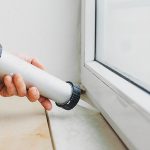
 DIY Window and Door Caulk Tips & Tricks
- Weather Stripping How-Tos for Doors and Windows
- The Facts About Energy-Efficient Windows, Plus Installation How-tos
- Eliminating Winter Window Condensation: A Homeowners How to Guide
- Must-Have Advice for First-Time Homeowners Plus Essential Cleaning Checklists
- 3 Fall Home Improvement Projects to Do Before Winter