
National Home Improvement Month: Top 5 Easy Home Repair Projects You Can Do Yourself
May is National Home Improvement Month, and there’s no better time to tackle those home improvement projects you’ve put on hold. Fixing a noisy bathroom toilet is one of the easy home repair projects you can DIY.
So grab your tools, and let’s get started on these DIY home improvement projects!
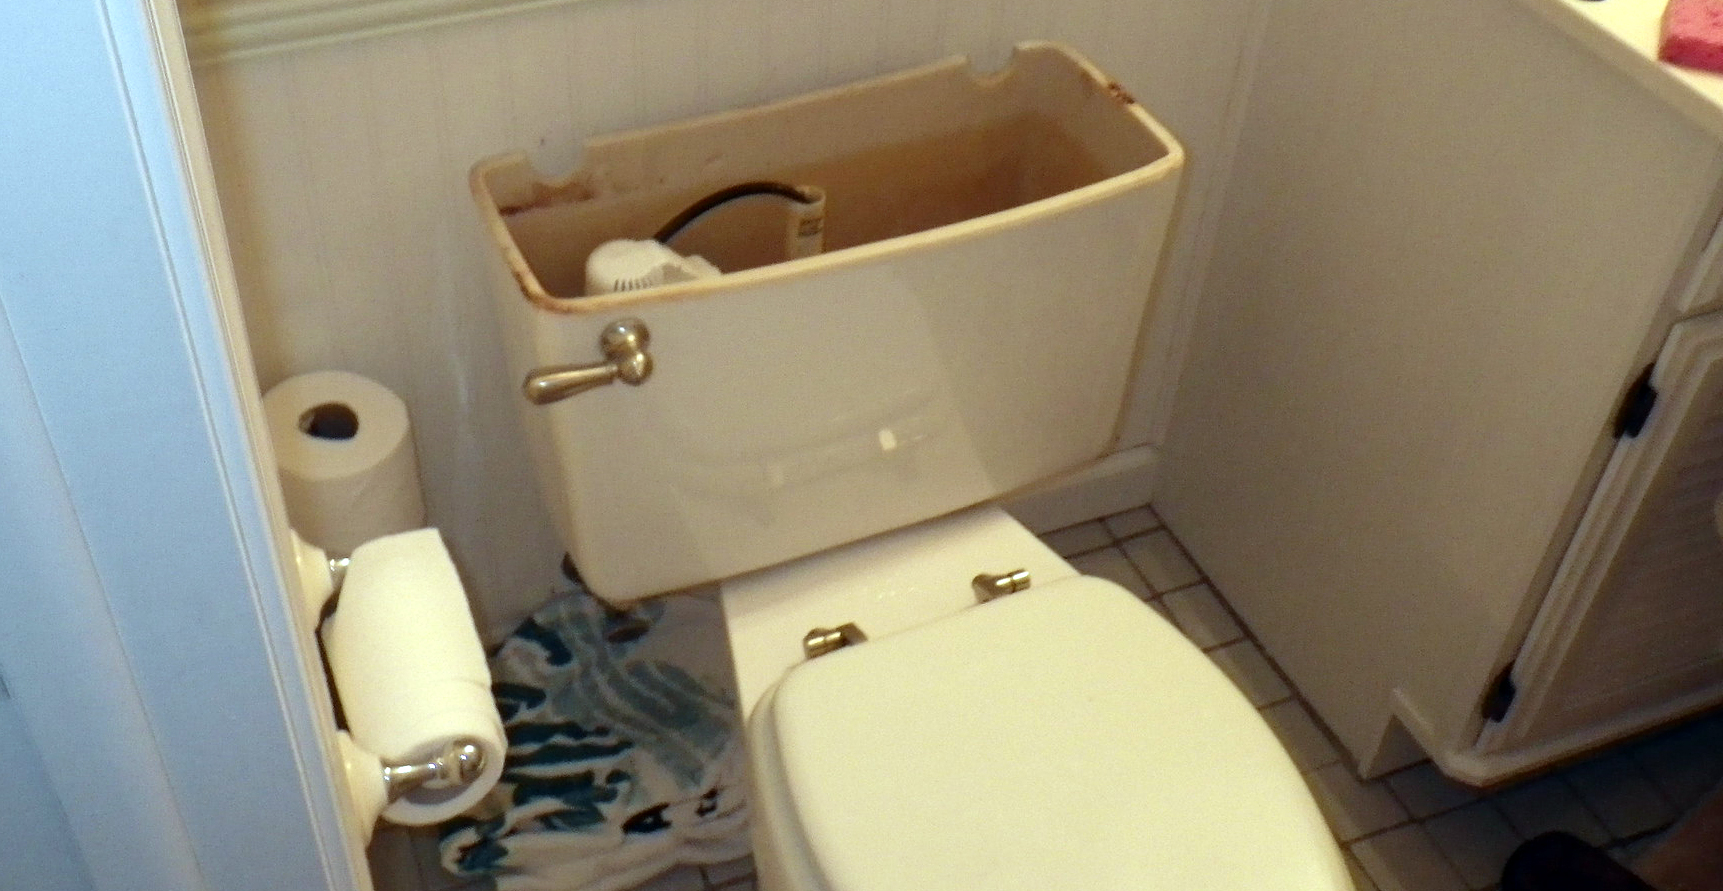
Fix a Noisy Bathroom Toilet
Jeff Patterson and Steve White, home improvement and repair experts mention, “Knowing a toilet tank’s anatomy is kind of important. Toilets have a fill valve, flush valve, and flapper. Fill valves fill the toilet tank with water. Here in the U.S., they’re located on the left of the tank and have a water supply line connected to them.”
A bathroom toilet in your house that runs periodically is annoying. The usual culprit is a worn flapper valve or a faulty fill valve mechanism. The noise comes from a non-flushed tank trying to refill with water.
The problem is usually remedied by replacing the rubber flapper valve with a new one which is located at the tank bottom.
If your bathroom toilet runs constantly, then the issue will usually be a stuck-open flapper valve. A faulty fill valve mechanism or the tank water level has been set too high.
Tools you’ll need for this house project:
- Phillips head screwdriver
- Flathead screwdriver
- Wire snips
Here’s how to replace a non-working fill valve on a bathroom toilet:
- Turn off the water in the tank by locating the shut-off valve. Find the tubing on the side of the tank and follow it toward the wall until you locate the valve. It will be located close to the wall or behind the tank.
- Next, drain the tank. Hold down on the flush handle until water stops draining into the bowl. About one inch of water will be left at the bottom of the tank.
- Simply scoop out the remaining water with a cup. Or, use a sponge to soak up the excess.
- Remove the water supply line. Remove the faulty fill valve mechanism and install a new one. Reattach the water supply line and fill the tank.
- Ensure that the water level in the tank stops filling just below the overflow tube.

Fix a Door That Won’t Close
Home improvement and repair expert Danny Lipford, says, “When a door won’t close properly, the problem is often in the depth of the hinge mortises or loose hinges screws.” If you have a door that sticks, this is one of the easy home improvement projects you can do in a day.
Tools and supplies you’ll need to complete this house project:
- Wood shim
- Hammer
- Chisel
- Utility knife
- Auto body filler
- Long screws
- Motorized plane or a belt sander (optional)
First, look at the door to determine the problem and get ideas to complete the project.
- Was the mortise cut too deep? Then remove the hinge (if it’s painted, cut the paint around the edges with a utility knife). Next, insert a new wood shim in the mortise. And finally, reattach the hinge.
- On the other hand, if the mortise was cut too shallow, use a hammer and chisel to carefully trim wood away to make it deeper.
- If the casing or hinge screw holes are stripped causing the door to sag, then fill the screw holes with auto body filler. Or, use longer screws to reattach the hinge tightly.
Does the door still stick to the doorframe even after each DIY home improvement from above? Then use a belt sander or a plane to remove excess wood from the door edge.

Repair a Droopy Curtain Rod
If your curtain rod was hung without attaching it to the wall studs, then it can get loose from the wall. The weight of the curtains can often make this occur.
What you’ll Need To Make This House Project:
- Stud finder
- Electric drill
- Carpenter’s level
- Screwdriver
- Screws
- Plastic wall anchors, toggle, or molly bolts (optional)
Here are the easy steps to repairing a droppy curtain rod-
- Start by using the stud finder above the top edge of the window to locate the wall studs.
- Use a carpenter’s level to ensure the mounting bracket is horizontal. Mark the location of new screw holes with a pencil.
- Drill guide holes at the marks to attach the mounting hardware.
- Fasten the brackets to the walls using your drill or screwdriver.
- Using wall brackets, attach the curtain rod directly to the wall studs.
- If the wall studs aren’t in the best location, you can attach the curtain rod directly into the drywall.
- Use plastic wall anchors to attach the bracket to the drywall for extra support. Insert the curtain rod.
- Rehang the curtains checking that the brackets are still secure.
- Open and close the curtains to check that they’re working properly.

Remedy Peeling or Stained Ceiling Paint
Peeling paint or stains on your ceiling may be ugly, but they can be part of a bigger problem – a roof leak. Although it may seem like a daunting task, it’s one of the easier home repair projects that you can fix yourself.
Before you repair peeling or stained ceiling paint, you’ll need to determine if you have a possible roof leak first.
What You’ll Need For This DIY Project:
- Roofing repair caulk or roofing cement
- Hammer
- Roof nails
- Ladder
- Drop cloth
- Joint compound
- Sandpaper
- Paintbrush
- Primer
- Paint
Here’s the easy DIY steps on how to make a remedy for peeling or stained paint-
- Look at your roof just above the leak. Note any loose or worn flashing in or around the chimney, or where the roof meets a wall.
- Use roofing repair caulk to fill in any gaps.
- Nail down loose flashing to secure it.
It’s also a good idea to check around windows for gaps and fill them in. Plus, this helps to stop water from working its way between the home siding and window casing.
Once you’ve repaired the roof leak, it’s time to repair the ceiling.
- Scrape away any peeling or loose paint.
- If needed, apply a joint compound to level the ceiling surface and let it dry.
- Sand the surface until smooth and even.
- Prime and paint the ceiling.
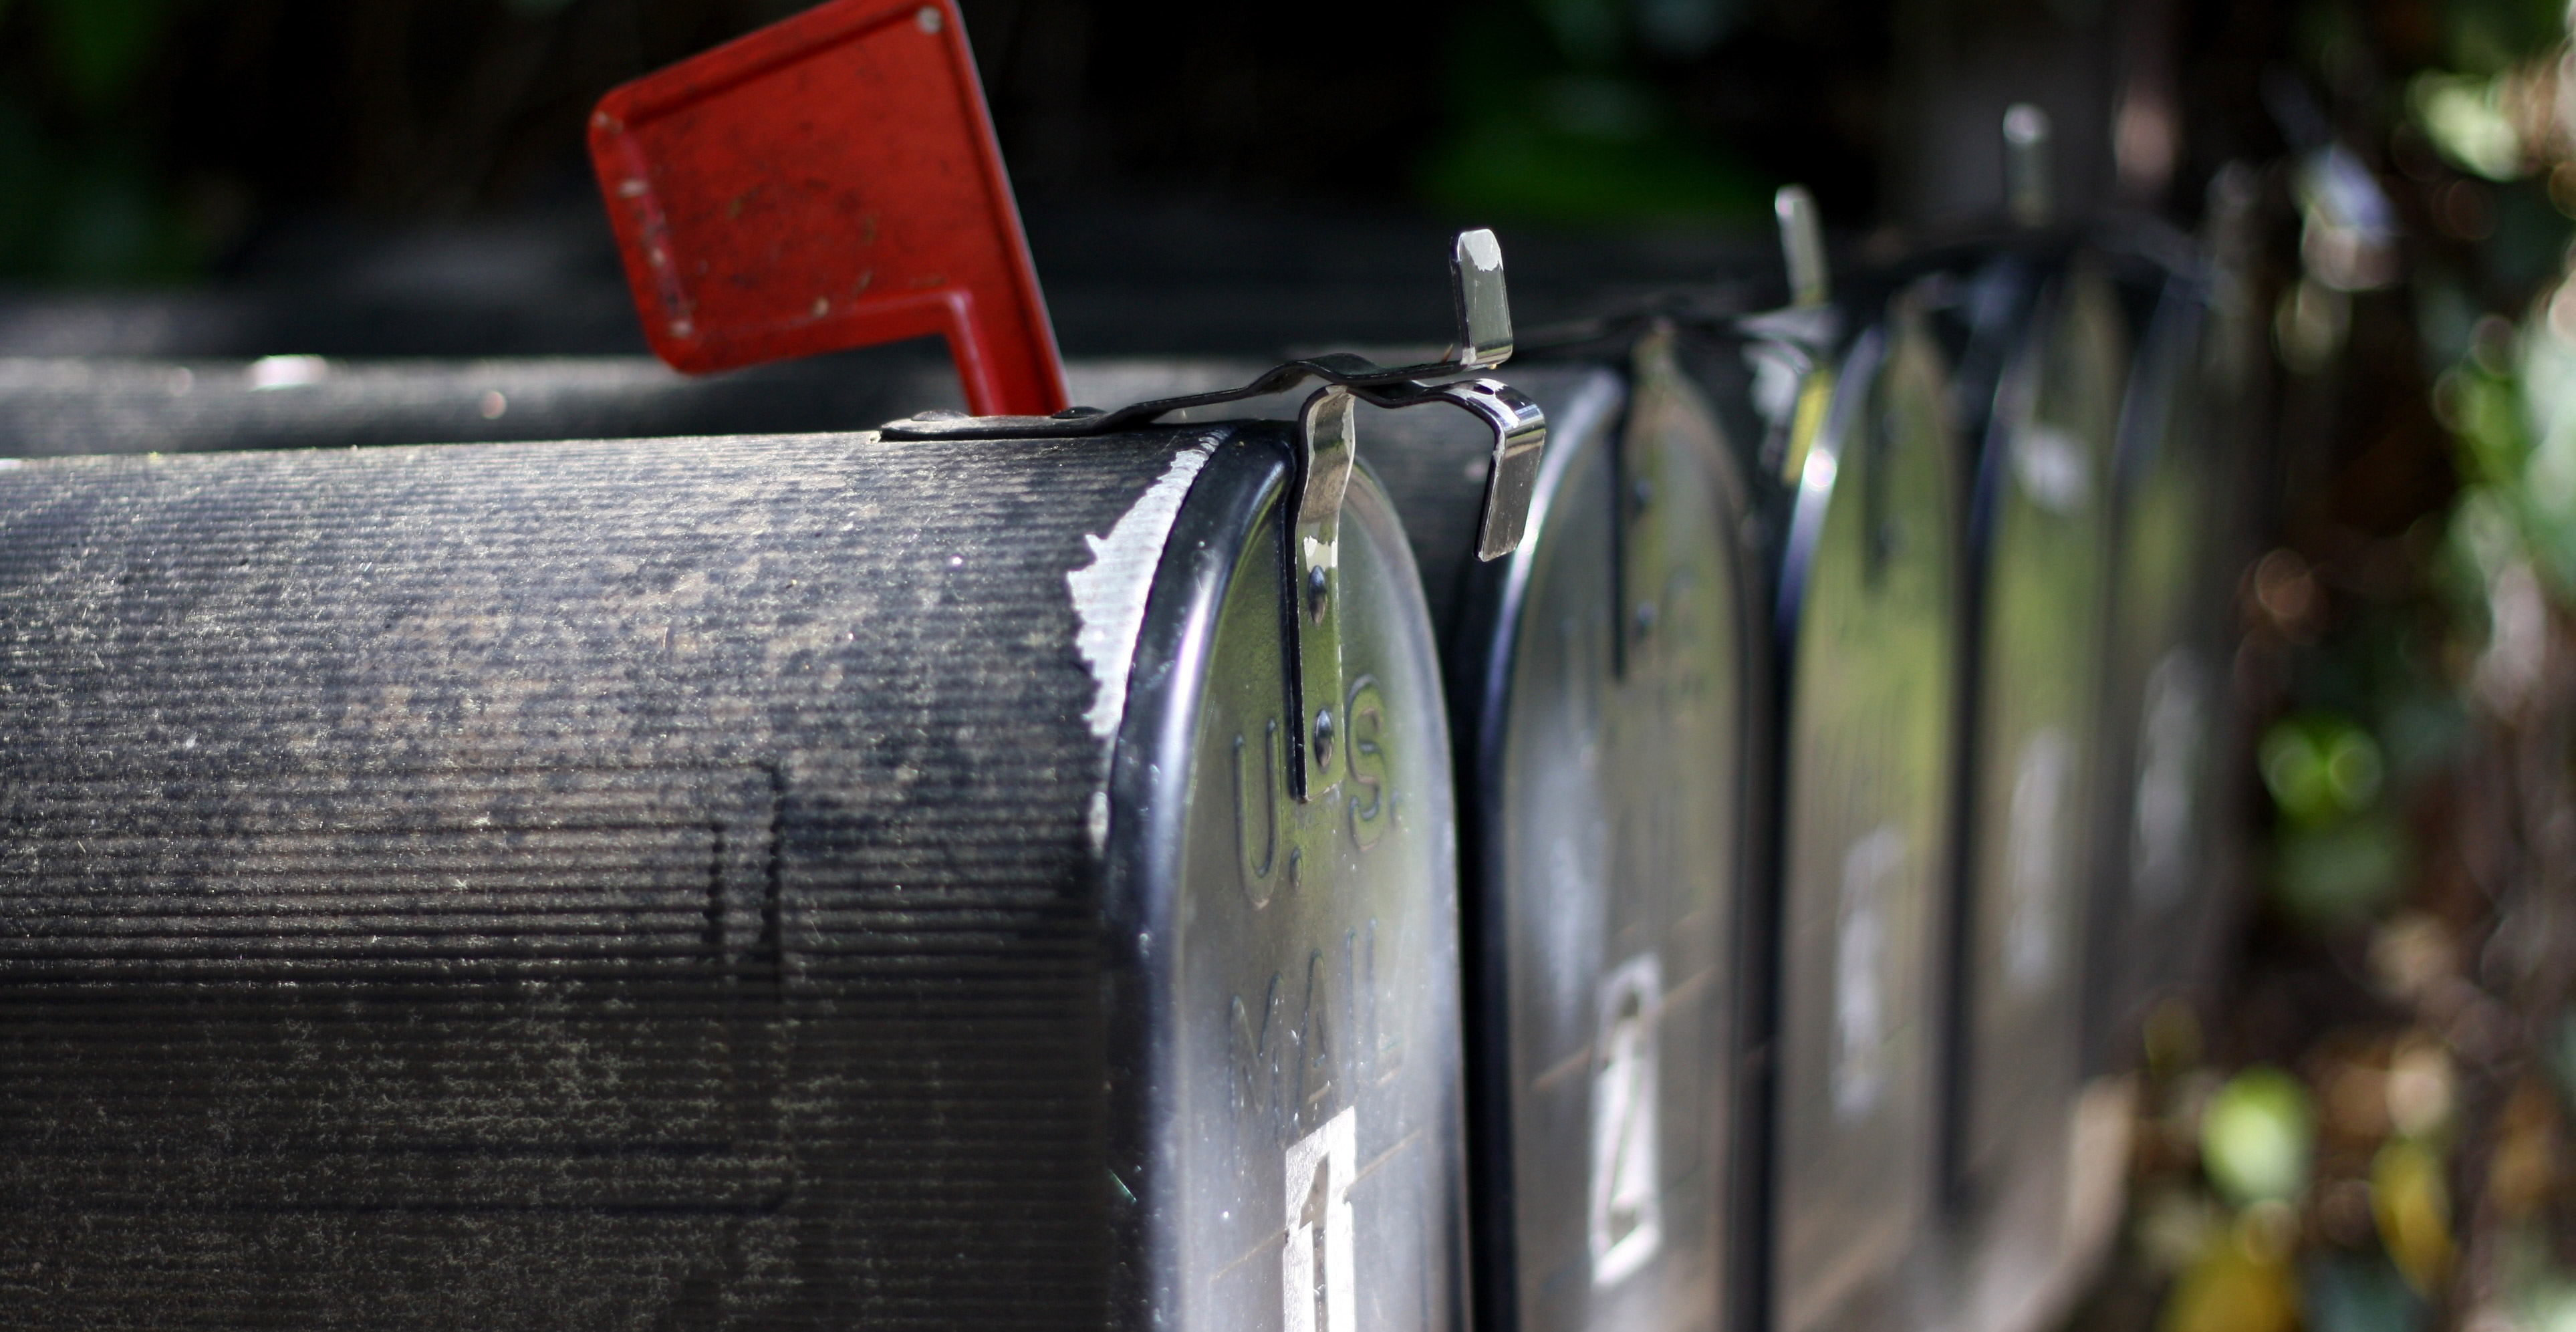
DIY Repair a Difficult-to-Close Mailbox Door
Is your mailbox door hard to close? Mailboxes are constantly opened and closed, and constantly exposed to the weather. Over time, the metal may bend out of alignment and become worn.
What You’ll Need For This Easy DIY Improvement:
- Needle-nose pliers
- Rust-resistant spray paint (optional)
To adjust a mailbox door that is too loose and won’t stay shut:
- Open the door and locate the curved, metal catch on the inside. It’s usually at the top edge of the door.
- Use the need-nose pliers, to gently bend the catch backward, toward you.
- Test the door to make sure it closes properly. If not, slightly bend the catch until the door closes snug, but not too tight.
- Adjust a mailbox door that is too tight and won’t open properly.
- Open the door and locate the curved, metal catch on the inside. Use the need-nose pliers to gently bend the catch forward, away from you.
- Test the door to see if it opens easily. If not, slightly bend the catch until the door opens but isn’t too loose.
- Paint a worn or rusty mailbox door with a fresh coat of rust-resistant paint.
Did you know? When repairing or making a new improvement to your mailbox it’s a good idea to keep U.S. Postal Service mailbox guidelines in mind.
If you’re looking for easy DIY home repair projects to upkeep and maintain your home, then we’ve got you covered! Let us know in the comments below if these new DIY ideas help you out.
Check out and get more easy DIY home improvement ideas, here!

Related Posts
 Check out our Video of Wet & Forget at the National Hardware Show!
- Grilling on a Budget This Summer? Then You’ve Gotta Try These Hamburgers!
- Benefits of Adding Pink Himalayan Salt Lamps to Your Home
- Why There’s Radon In Your Home and What to Do About It
- Need a Mother’s Day Gift? Try These 5 DIY Home Improvement Projects
- Organize the Backyard for Spring with These Handy How-Tos