Stop Annoying Water Leaks With These Tips
Is a constant drip, drip, drip from a water leak driving you crazy? Do you see water stains on your wall or ceiling? If you’re wondering how to fix bathroom water leaks and more, see our repair how-tos and tips below.
What are spaces in my home most susceptible to water leaks?
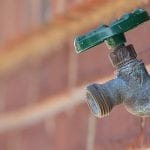
According to home expert Danny Lipford, the top four places and spaces to check for water leaks are near the plumbing of the toilets, faucets, water heaters, and household appliances like washing machines and dishwashers.
A thorough, yearly inspection is still a good idea if you haven’t noticed a water leak. Checking your house for leaks will help you catch any plumbing issues before they grow into a big problem.
A leak hiding in a sink drain or under a water heater can eventually cause structural damage if the plumbing problem is not fixed. And, water that makes its way into sheetrock will ultimately lead to mold growth.
Fix the water leak and then rid your house of mold and mildew with Wet & Forget Indoor Mold+Mildew Disinfectant Cleaner. Wet & Forget Indoor cleans up unsightly mildew and mold odors. Plus, it deodorizes and disinfects your home’s hard non-porous surfaces.
Do a DIY Water Leak Inspection
You probably use your household appliances, faucets, and bath fixtures daily, but it’s easy to overlook minor problems. That’s why it’s recommended to have an inspection for water leaks twice a year.
Tour your home and examine the plumbing. Inspect all exposed pipes for signs of water and a leak. Include pipes under sinks and behind toilet tanks.
Check all brass or copper fitting for signs of corrosion. Corrosion will occur faster on damp metals. If you see corrosion, it may signal you have a slow leak.
Turn on faucets in sinks, baths, and the kitchen. Check the flow for low pressure. All faucets should expel a steady flow of water with slight variations.
Note how quickly the sink drains. Slow drains can mean a clog is imminent.
Flush toilets and listen for problems such as constant running. Check the toilet base for a leak, which may indicate a faulty wax seal.
How do I know my roof is leaking?
Home repair expert Danny Lipford says, “Roof leaks can be hard to pinpoint since they’re often higher up the roof than the wet spot on your ceiling. Even a relatively minor leak could cause tens of thousands of dollars in damage in days. That’s why you must check for any signs that your roof might be damaged.”
Here’s of the top four signs that your roof leaks.
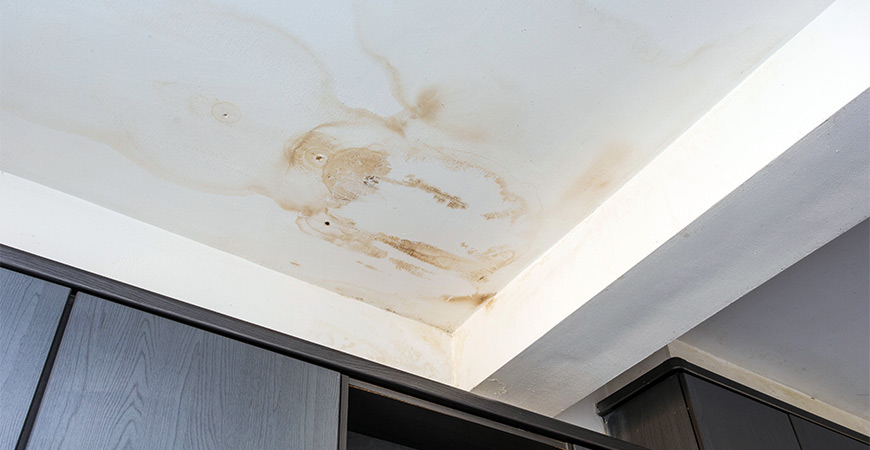
Stains on the Walls or Ceiling is one obvious sign. Depending on your home’s age, some minor discoloration is natural but watch for large or prominent stains.
They may result from tiny holes in roofing material that allow water inside your home. Call a roofing company to patch the roof. Most small leaks can be remedied in a day.
Funny Smells that linger for days could be a sign of wet insulation, which can lead to mold and mildew growth. If you notice a musty smell as the AC or heating unit turns on, it’s a sign that your attic insulation may be damp and needs a fix. Check your attic insulation for water damage or dampness.
Do you hear faint dripping sounds after you’ve shut off the faucet or the shower? If you hear water dripping long after you’ve finished showering, inspect the attic and the exterior of your roof for signs of a leak or water damage.
Mold or Mildew – Indoor mold is linked to a wide range of serious health problems, including upper respiratory tract illnesses and some forms of cancer. A leaky roof can result in mold and mildew around vents and ceiling light fixtures. If you think your roof leaks, contact your homeowner’s insurance provider to report any damages.
How do I repair a leaky bathtub faucet?

Easily fix and repair a leaky bathtub faucet with this step-by-step plumbing guide:
- Shut off the water. Do this by locating the shutoff valve near the fixture. Or, the main water supply can be turned off at the valve located on your water meter. Most water meters are near the street, below ground level, and enclosed in a concrete box.
- Remove the screw located in the faucet handle.
- Pry off the faucet handle with a screwdriver. If the handle is stuck, spray with WD-40 or another household lubricant. Slowly work the handle loose and remove it.
- Unscrew the valve from the housing using a deep well socket and a wrench.
- When the valve becomes loose, remove it from the housing.
- Remove the screw located in the valve end. Remove the washer.
- Choose a new washer with the same measurements. Replace the old washer with the new one.
- Note the housing threads located on the exterior of the valve. Wrap the threads with Teflon tape to prevent water leaks at the handle.
- Carefully screw the valve into the housing. Do not over-tighten or strip the threads.
- Replace the handle and turn on the water – you’re done!
When should I try to fix a leaky tub faucet or call a plumber instead?
While it’s simple to replace worn washers the DIY way, a faucet repair job can become more of a challenge than you might expect unless you have specialized knowledge and tools. If the leak has been happening long-term, the valve seat may have corroded. This type of repair is best done by a plumbing professional.
A leaking roof or dripping faucet is more than an annoyance. A leaky roof left untreated will cost you additional money for house repairs.
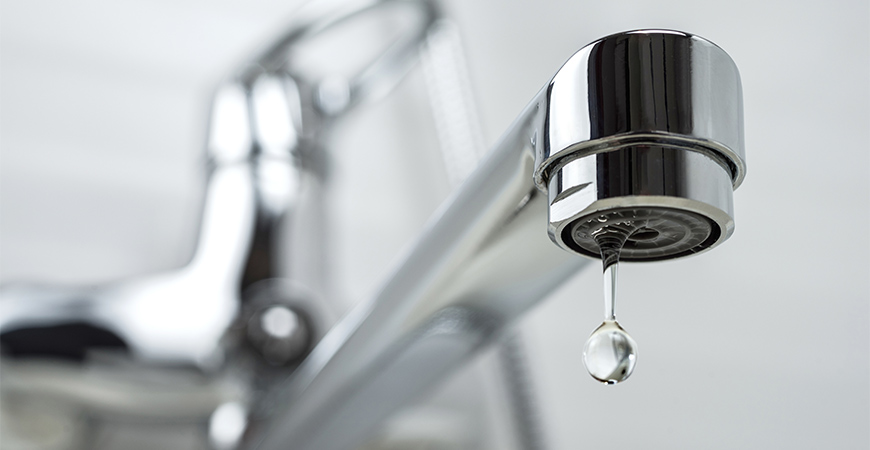
A faucet allowed to drip for weeks will raise your water bill. Save your hard-earned cash by fixing bothersome leaks in and around your house.

Related Posts
 How to Work a Bathtub or Shower Repair Kit Like a Pro
- Outdoor Faucet Repair: Problem Leaks and How-to Fixes
- 4 Reasons you Can’t Afford to Ignore that Musty Odor in your Home
- Guest Bathroom Checklist: How to Prepare for Out of Town Visitors
- 10 Ways to Dissolve Stubborn Hard Water Stains
- Eliminating Winter Window Condensation: A Homeowners How to Guide