Prepare Garden Beds for Spring: Essential How-Tos and Tips
Ah, early spring – It’s the time of year when colorful seed catalogs fill neighborhood mailboxes, and home gardeners look forward to a new growing season. It may still be chilly outside, but now is the time to think about how to prepare garden beds for spring.
With the gardening how-tos and tips below, you’ll be on your way to a beautiful garden.
Step 1– Clean up Winter Garden Debris
During winter, your garden has most likely accumulated branches, fallen leaves, twigs, small weeds, and leftover bits from the previous year’s growing season. Add any stray branches and leaves to your compost pile.
Clear your garden early as tender spring bulbs will soon be peeking above ground. Trim back last year’s growth on perennial plantings.
Step 2 – Test the Soil
If you’re unsure of the nutrient quality of your soil, take a soil sample to your local county extension office for testing. A tested soil sample will reveal the amount of nitrogen, potassium, phosphorus, and calcium in your soil.
You’ll need:
- A clean, non-metal bucket
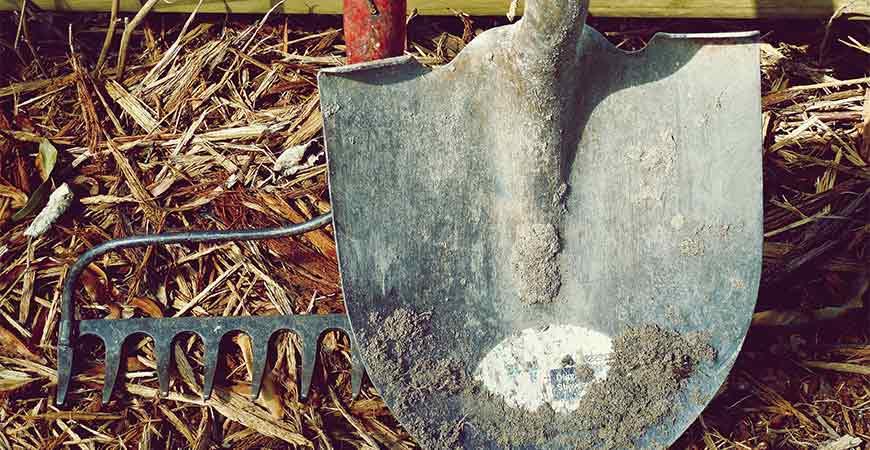
- A clean garden shovel
- A large plastic storage bag
Follow these quick steps to collect the soil from your garden properly:
- Using a shovel, dig a hole roughly six inches deep
- Cut a 6-inch, vertical slice of soil from the side of the hole and place it in the bucket
- Repeat steps one and two in different areas of the garden
- Mix all samples together and pour them into a plastic storage bag
DIY at-home testing kits are available at Lowes or garden centers.
Contact your local county extension office for additional soil sampling instructions and visit here.
Step 3 – Clean and Prepare Your Garden Tools and Greenhouse
If your garden tools are dirty from last season’s use:
- Clean them with mild soap and water and a rag
- Use steel wool to scrub away caked-on dirt
- Condition hand tools with a small amount of linseed oil or vegetable oil
- Clean and renew the finish of the wood handle with mineral spirits (Note: mineral spirits are flammable, so be sure to dispose of the cleaning rag properly)
- Sharpen any dull cutting tools with a sharpening stone
- Clean your garden tools with isopropyl alcohol after each use to prevent the transfer of diseases.
- Wash down the interior of the greenhouse with a garden hose. Sweep the benches and floors, and leave the door open for a day or two to allow fresh air to circulate.
Step 4 – Work the Soil at the Right Time
If you work gardening soil that is too wet, it may become compacted. Before you start, test the soil’s moisture content to prepare garden beds for spring. Here’s how:
- Grab a large amount of soil with your hand (approximately a half cup)
- Squeeze the dirt in the palm of your hand until it forms a ball
- Open your hand and press the ball with your finger
- If the ball falls apart and crumbles easily, the soil is dry enough to work. The soil is too wet if the ball breaks into solid, compact sections. Wait a few days and try again.
For more detailed information on testing soil conditions for digging, click here.
Turn the soil with a pitchfork or shovel, and remove any weeds, rocks, or garden debris. Break up any large clumps. Add fresh compost or manure – dig it in and rake the dirt until it is smooth and level.
Compost is extremely rich in plant-loving nutrients, plus it’s also an excellent way to enhance drainage when preparing garden beds for spring. Add compost to the soil by either shoveling it on top to a 1-inch depth or by working it into the top few inches of soil.
Learn more about composting here.
Step 5 – Tips for Planning and Planting Your Garden
Visit your garden center for recommendations from local plant professionals. Visit your local hardware store and look through the seed section for inspiration. Check the back of seed packets to determine when to plant based on your hardiness zone.
After this, consult the USDA plant hardiness zone map to discover which plants grow best in your region.
Take paper and pencil, and sketch your garden design. Sketching out your garden design will help you to determine the correct spacing and where each plant will go. Also, notate how tall each plant will grow.
Tall greenery may block the sun from shorter plantings. In a south-facing garden, place leggy plants to the back – not-so-tall plants to the front and sides.
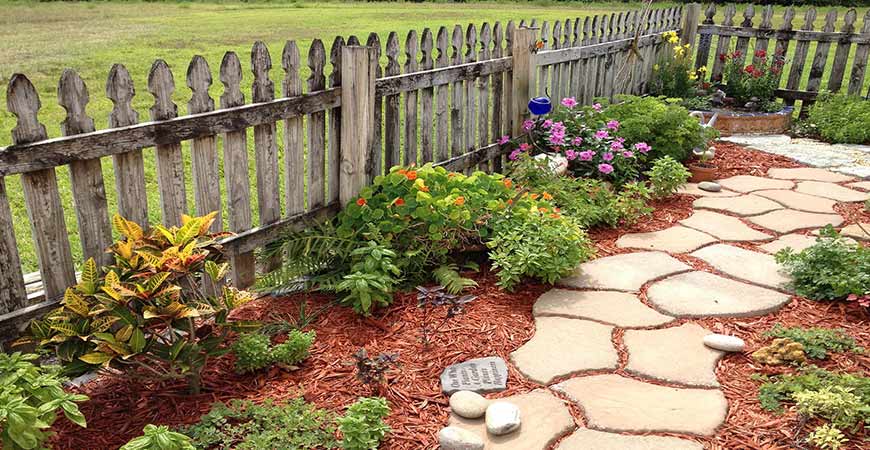
Throw on a layer of mulch (shredded leaves, grass clippings, hay) in late spring to inhibit weed growth. The mulch will break down over time, adding essential nutrients to the soil.
This is essential when you prepare garden beds and plants for spring.
Water thoroughly and consistently – Water your plants regularly, and ensure the water soaks down into the soil. New plants will require water more often to encourage young roots to grow. The best time to water your plants is early morning before the soil warms.
Keep a gardening diary – Make notes on your garden’s progress throughout the season. Write down reminders on a high-producing vegetable you’ve discovered or a new rose hybrid you would like to try.
If you’re a beginner at gardening, start with easy-to-grow plants:
- Potatoes
- Radishes
- Tomatoes
- Spring onions
- Zinnias
- Sweet Peas
- Sunflowers
- Marigold
- Hardy Geranium
- Pansy
Choosing the best garden site-
If you’re putting in a new garden, select a spot that is:
- Fairly level for proper drainage
- Receives a minimum of six hours of direct sunlight per day
- Is near a water source – easily reached with the garden hose
- In an area with good air circulation but shielded from high winds
- Has rich, loose soil (soil can be amended if needed)
- Don’t place your garden too close to the house. It may seem convenient, but your garden may receive too much shade during the day, inhibiting healthy plant growth.
Remember the tips above when preparing gardening beds for spring, and you’re sure to enjoy a beautiful, productive garden.
Interested in learning more tips about growing a vegetable garden from seeds? Click here.

