How to Install a Fire Alarm System and Carbon Monoxide Detector
House fires can start and spread quickly. Keep your family safe by learning to install and maintain a fire alarm system correctly. A properly installed CO detector will provide safety to your loved ones from dangerous levels of carbon monoxide.
Just a little planning can make a big difference for your family. See below for instructions on installing a fire alarm system and a CO detector.
First, having the right quantity of correctly positioned fire alarms per your home’s square footage is essential to have correctly positioned fire alarms per your home’s square footage. Your fire alarm system should be placed:
- One in each bedroom
- Outside each separate sleeping area
- On every level of your home (including the basement)
- On non-bedroom levels, install the fire alarm in the living area or near the stairs that lead to the upper level
- In large homes, more fire alarms may be needed
Check your local city codes for the number of fire alarms recommended for your home.
To install a fire alarm system or smoke alarm, you’ll need:
- Hammer
- Drill and drill bits
- Pencil
- Tape measure
- Step ladder
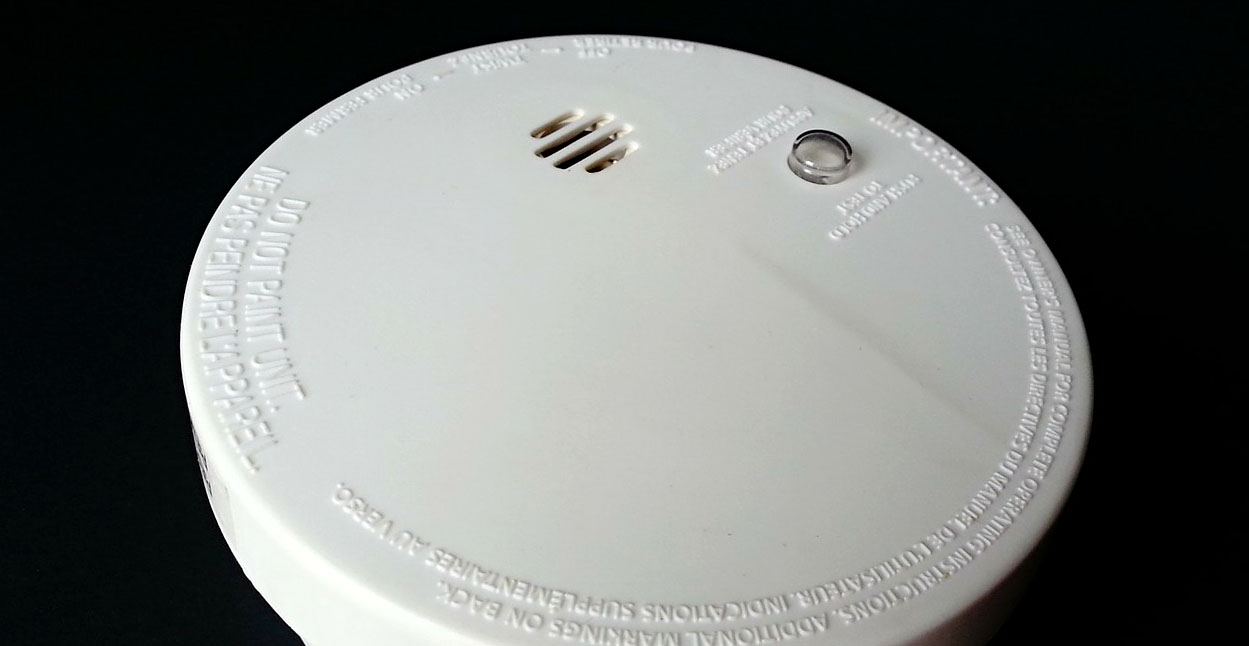
- Fire alarm system (smoke alarm)
- AA or 9-volt batteries (according to the manufacturer’s instructions for your alarm)
Choosing the Right Location
Do not place your fire alarm system near a location that may produce significant heat or humidity, such as above a stovetop, near a clothes dryer, or in a bathroom.
Because smoke rises, the best spot for a fire alarm is on the ceiling, roughly 4-inches away from the wall. Keep away from corners as they contain dead-air pockets, preventing smoke from reaching the fire alarm easily.
Install the fire alarm for vaulted ceilings at a minimum of 4-inches from the peak.
Installing a Fire Alarm
Fire alarms usually come with a plastic or metal mounting plate or base. The base has key-shaped screw holes to attach the fire alarm to the ceiling or wall.
- Choose a drill slightly smaller than the wall anchors to ensure the fire alarm fits snug to the wall or ceiling.
- Hold the mounting base to the chosen location and mark the screw holes with a pencil.
- Drill holes at the pencil marks.
- Hammer the plastic screw anchors into the holes.
- With a drill and the supplied screws, drive the screws halfway into the ceiling or wall, lining up the mounting base.
- Place the alarm in position over the mounting base. Tighten the screws to attach the alarm to the base.
To increase safety, interconnect all alarms by hard-wiring them into your home’s electrical system or using wireless technology. When one alarm detects smoke, they’ll all sound, alerting your family.
Maintaining Your Fire Alarm System
Test your alarm monthly by pushing the button on the housing. The alarm should sound.
Replace the batteries twice a year, even if you hear no warning beeps. If your model requires a lithium-ion battery, you’ll need to change the batteries only once every 10 years.
Once a year, use a vacuum attachment to clean your alarm, removing any particles or dust that may have accumulated near or inside the housing.
Check the manufacturer’s instructions for an expiration date. Replace the alarm if needed.
Installing a CO Detector
Carbon monoxide gas is called the ‘silent’ killer. It is odorless, colorless, and virtually undetectable. That’s why it’s so important to install them on every level of your home, including the basement.
Check your local city codes for the number of detectors required for your home.
What you’ll need:
- Hammer
- Drill
- Drill bits
- Pencil
- Tape measure
- Step ladder
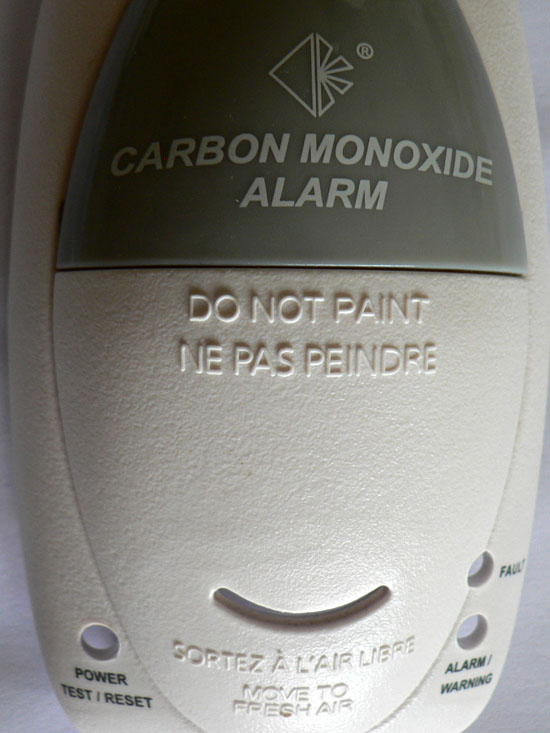
- Carbon monoxide detector
- AA or 9-volt batteries (according to the manufacturer’s instructions for your alarm)
Choosing the Right Location
Install them on a wall a few feet down from the ceiling. Also, read the manufacturer’s instructions for correct placement.
Instructions for Wall-mounted CO Detector Installation
CO detectors usually come with a mounting base separate from the housing.
- Choose a drill bit smaller than the supplied plastic wall anchors to ensure a secure fit.
- Drill holes at the marked locations.
- With a hammer, drive the screw anchors into the holes.
- Drive the provided screws halfway into the wall while lining up the mounting base.
- If your CO detector is battery-operated, install the batteries.
- Hold and turn the detector, placing it under the screws.
- Tighten with a screwdriver to mount the alarm to the base.
Maintaining Your CO Detectors
Test them monthly by pushing the button on the housing. The alarm should sound.
Replace the batteries twice a year, even if you hear no warning beeps. If your model requires a lithium-ion battery, you’ll need to change the batteries only once, approximately every 10 years.
Once a year, use a vacuum attachment to clean your detectors, removing any particles or dust that may have accumulated. Also, check the manufacturer’s instructions for an expiration date and replace any detectors if required.
Keep your family safe by installing a fire alarm system and carbon monoxide detectors. You’ll be alerted of fires and carbon monoxide leaks as soon as they occur, so you can take the proper precautions to ensure your family’s safety and prevent further damage to your home.
Detecting these problems at the start also means the fire department will have more time to respond.
Interested in more home improvement tips? Click here.
Want to learn more about home safety? Click here.

