Enjoy the Summer Breeze With These Clever Screened-In Porch Ideas
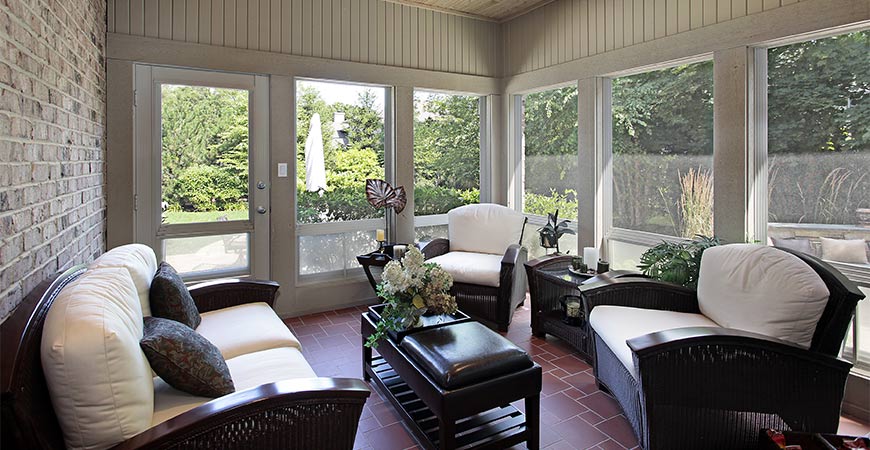
For warm-weather relaxation and entertaining, you can’t beat a screened-in porch. Plus, screened-in porches add three-season outdoor living space and square footage to your house. Sit outside and enjoy cool breezes with these screened-in porch ideas.
How to Decide Between an Open Porch or a Screened Porch
If you’re building a new porch or upgrading an existing one, you may wonder if a screened-in porch is right for you. Both open-air porches and screened-in porches have their advantages.
Open Air Porch Positives
If you enjoy views of your garden and yard from your porch, an open design will ensure that you can see clearly without anything obstructing the view.
An open porch also provides a designated space for outdoor grilling.
Open porches require less maintenance – no torn screens or worn parts to replace, which saves money.
Furthermore, building an open porch is less expensive than a screened-in porch.
Screened-In Porch Positives
If you live in the country or suburbs, a screened-in porch is essential to keep critters, large and small, from nosing their way inside. The screening will prevent mosquitoes and other bugs from getting in, so you can enjoy your outdoor time comfortably.
Unlike open porches, screened-in porches protect from the rain and hot sun – you’ll be able to spend more time outdoors.
A screened-in porch offers more protection to add most creature comforts – lighting, television, ceiling fan, upholstered furnishings, etc.
A screened patio can feel more enclosed, safe, and private if you live on a busy street.
Will a screened-in porch add value to my house?
The short answer is yes! Outdoor structural improvements are one of the best ways to improve the resale value of your house. Anyone who owns a home should see an approximate 75% return on investment when adding a screened-in porch.
Here are a few tips on getting the best ROI on your house for screened-in porch ideas and projects –
Be Budget Minded
If you build a moderately priced, screened patio of pressure-treated wood, you’ll see close to a 75% return. A high-end porch crafted of expensive materials and fancy features may look great, but the ROI will be 50% or lower.
Consider the Climate
Adding one is a good investment if you reside in an area where screened-in porches are popular and enjoyed several months of the year. But if you live in a northern climate that experiences short summers or cold nights, you may want to reconsider the investment.
Size Matters
Although fancy finishes and add-ons look great, one of the most important factors when considering porch ROI is the overall square footage. Plenty of floor space is preferable to fancy flourishes.
Bug-free, a Necessity
One of the chief concerns is if the screens enclose the patio properly to keep bugs at bay. Install small-grid screening and seal floorboards to keep insects away.
Electricity is optional
Keep in mind – adding electrical outlets and wiring the porch for lighting will add to the price but won’t up your house’s resale value.
Give a real estate professional or house builder a call to find out what house buyers are looking for in a screened porch.
Convert an Existing Covered Porch to a Screened-In Porch
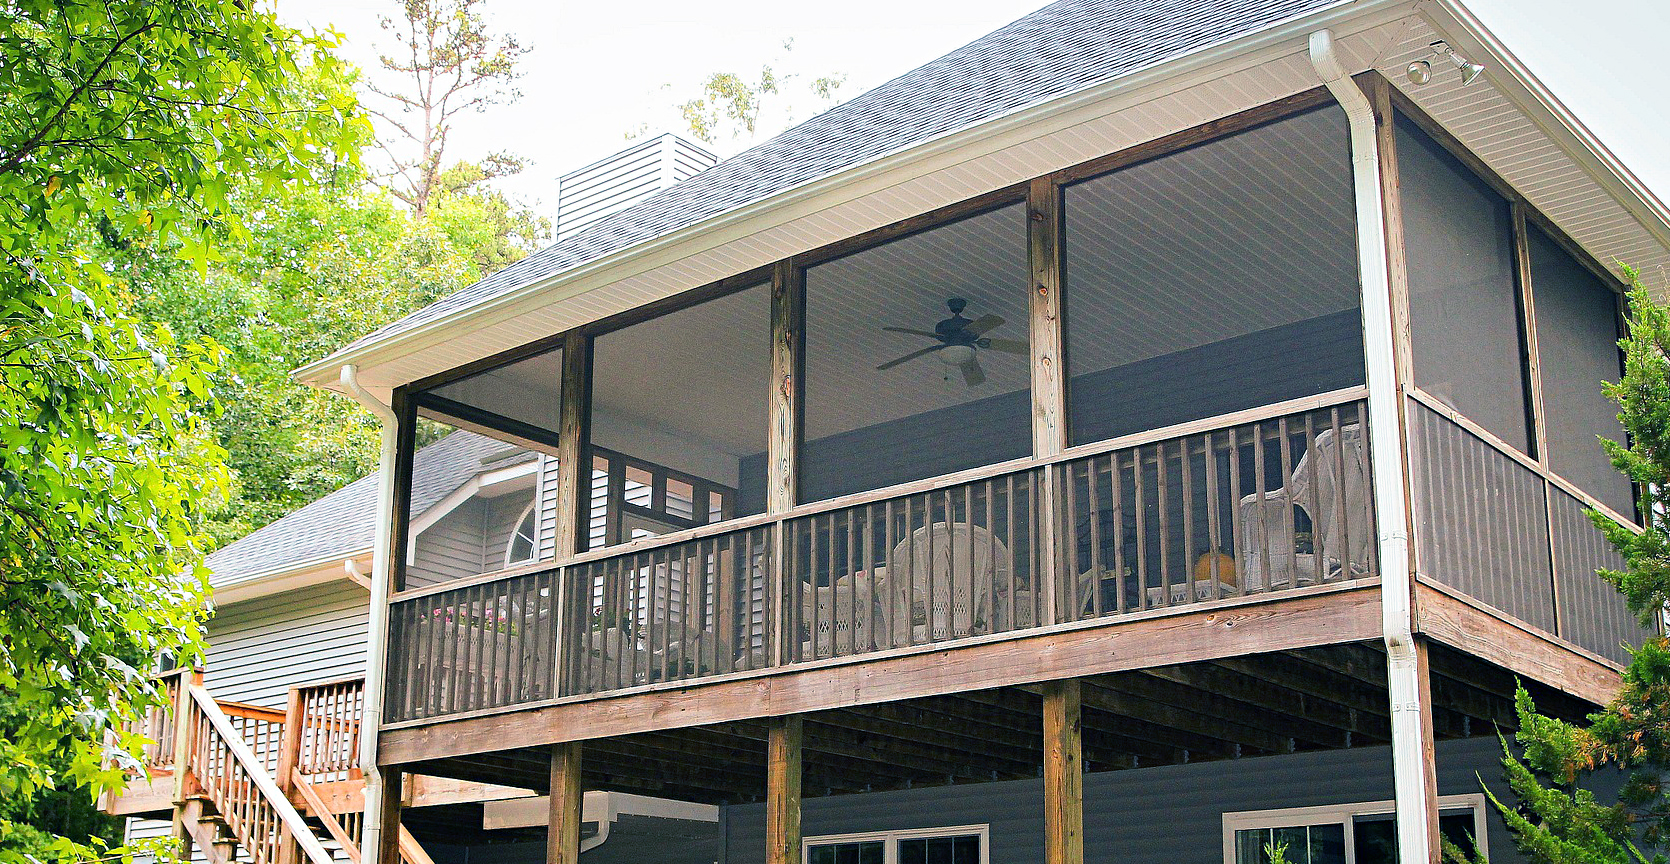
If you have an open porch with a roof and wood floor, you already have the structural ‘bones’ needed to build a screened porch. Before you start, check with your local government about existing building codes.
Being familiar with local building codes can assist you in making decisions concerning the best materials and construction for your outdoor project.
What You’ll Need
- Wood two-by-fours
- Metal or fiberglass screening (sold in standard 48-inch and 36-inch widths)
- 3-inch wood screws and electric screwdriver
- Metal tape measure
- Staple gun and staples
- Utility knife
- Level
Step 1 – Cut the Frame Sections
Measure the open porch areas you wish to cover. A rectangular frame should be the same width as your screen material and as high as your porch post. Cut frame pieces from wood two-by-fours.
To add stability, cut an extra section to fit inside the frame horizontally. Assemble the frame sections with 3-inch wood screws.
Step 2 – Attach Screening
Cut sections of the screen with a utility knife. Lay the screen over the frame. Pull the screen taut, working from the center out, and staple.
Continue stapling around the frame holding the screen tight to eliminate any waves or loose areas. Lastly, trim the extra screen with a utility knife. Cover the staples with wood trim strips for a neater look around the screen.
Step 3 – Hanging the Frames
Hold the first screen frame up against a corner post, placing it so the bottom sits against the porch floor and the edge is next to the vertical post. Set a level at the side of the frame to check that the frame is plumb.
Screw the screen frame bottom to the porch and the frame side to the post. Continue attaching frames to the porch until all are in place. For extra stability, screw the frames together at the sides.
Step 4 – Flooring
If your patio floor is made up of wood sections with gaps, you may want to cover the floor. A weather-resistant carpet or floor covering is attractive and soft, underfoot.
Attach the carpet to the floor with double-sided carpet tape – no carpet pad required. If you have a large floor, attach carpet sections with carpet tape. Another option is a deck tile floor.
Deck tile floors are great for DIYers as they can be installed over hard surfaces – concrete, wood, brick, etc. Flexible tiles easily snap together over your existing floor – they can easily move, modify or extend.
For extra info on converting an open porch to a screened porch, click here.
A screened-in porch is a good bet for anyone who owns a house. It’s an outdoor remodeling project that adds usable, enjoyable floor space to your house. It’s a win-win should you decide to sell later on.
Learn more about warm weather house décor tips here.

