Five Steps to Perfect House Painting
A fresh coat of paint can make all the difference in the look of your home. A new paint job not only adds curb appeal to your house, it protects the siding and trim from the elements.
Tackling the job yourself can save you a lot of cash. If you’re thinking of going the DIY route, home improvement guru Danny Lipford from Today’s Homeowner has 5 tips you won’t want to miss!
Read on to get the 5 steps to perfect house painting.
Safety First:
Test the paint first for lead if your house was built before 1979, and painting will require scraping or sanding. Test kits are available at home centers, or you can send a sample to a lab for testing.
If the old paint contains lead, consider having the job done by an EPA lead-safe certified contractor.
Step #1: Cleaning
The first and most important step in painting your house is cleaning and preparing the surface so the paint job will last. A pressure washer works great for this, but be careful not to overdo it and cause damage.
If you don’t own a pressure washer, you can rent one at most tool rental centers.
When cleaning wood siding with a pressure washer, use a wide angle spray tip (40° or more), keep the nozzle 16” or so away from the surface, and direct the spray downward to avoid forcing water behind the siding.
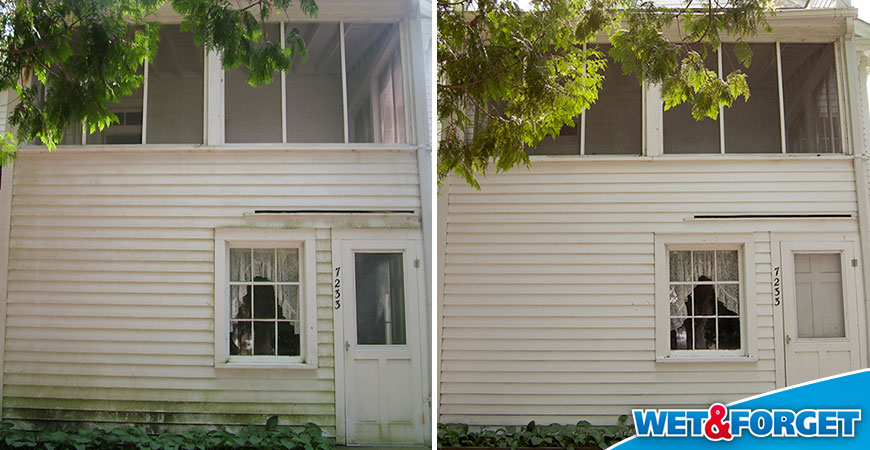
You can also use Wet & Forget Outdoor to remove any green algae, mildew, moss, or mold from the surface. Spray Wet & Forget on the surface and allow it to dry.
Give the product a week or so to start removing the growth, and if you’re in a hurry, you can always speed up the process by doing some extra scrubbing or rinsing.
Step #2: House Painting Prep
Use a paint scraper and wire brush to remove any peeling paint or loose caulking, and feather out sharp edges around bare spots with 80-grit sandpaper to keep the paint job from having a patched look.
If the old paint is in poor condition, it may need to be sanded down to bare wood with a power sander. Always wear an approved dust mask (rated N95 or higher) when sanding paint.
Replace any rotten trim or siding, and drive in protruding nails. Fill large gaps and holes with two-part auto body filler, allow the filler to harden, and sand smooth.
Use a paintable exterior latex caulk to fill any cracks and nail holes.
Step #3: Priming
Start by priming bare spots with a quality exterior primer. It doesn’t hurt to prime the entire house, but it’s usually unnecessary except when painting over oil-based paint with latex.
Rub the painted surface with a cloth dipped in denatured alcohol to test for oil-based paint. If paint comes off on the cloth, it’s latex and can be painted over with another coat of latex paint.
If it doesn’t, the paint is oil-based and needs to be primed first before top coating with latex.

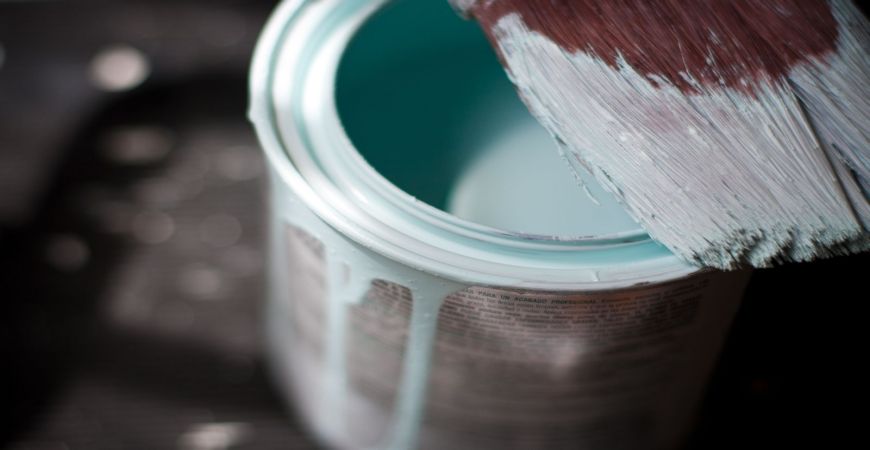
Step #4: House Painting
While a sprayer can be used for painting the outside of a house, most painting is done with a synthetic bristle paintbrush. A 4” broad brush works best for siding and other flat surfaces, while a narrower tapered brush can be used for trim and window sash.
When painting from a stepladder, make sure the ladder’s feet are securely planted on the ground, and keep your waist at or below the top of the ladder.
Position extension ladders, so the base is one-fourth of the ladder’s height from the wall. Cover extension ladder ends with rubber or foam pads to prevent slipping, and don’t lean out when painting.
Paint only when the house is dry and rain is not forecasted. The best painting conditions are when the temperature is between 50° and 85° Fahrenheit, humidity is 40% to 70%, and there is little or no wind.
Follow the sun around the house as you paint to keep from painting in direct sunlight, so the paint has time to dry before the sun heats it up. Latex paint dries quickly, so don’t overbrush or go back over recently painted areas.
Start painting at the top of the house with the gutters and eaves, then work your way down the wall. Paint in four- to six-board-wide sections of siding all the way across to prevent lap marks. Paint the trim last if it’s a different color from the siding.
Step #5: Clean-Up
Clean paintbrushes used for latex paint in warm water with a bit of dishwashing soap. Then, rinse the brushes thoroughly under a garden hose. Run a wire brush through the bristles to remove as much dried paint as possible.
Hang the brush on a nail by the hole in the handle. Or, lay it on a flat surface to dry before putting the brush away in its cardboard container.
Enjoy your home’s new look!
Need help with painting your interior walls? Read our article here!
Learn more about Wet & Forget products!
Photos courtesy of popofatticus, Danny Lipford, and Denise Krebs.


Related Posts
 Get the Job Done Right with these 4 Essential Painting Tips
- 4 Reasons Wet & Forget Outdoor is the Perfect Vinyl Siding Cleaner
- 3 Fall Home Improvement Projects to Do Before Winter
- Shutter Design and Installation: Choosing the Best Shutters for Your Home
- Moving? Let Wet & Forget Lend a Helping Hand
- 6 Tips on Prepping Walls for Painting