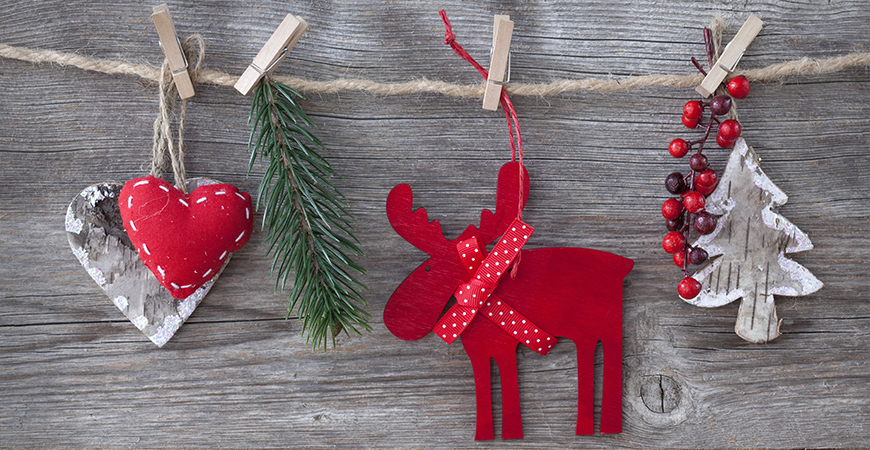
DIY Ornament Ideas for Gardeners and Plant Lovers
Add a DIY and nature-inspired touch to your holiday tree with succulents or dried flowers. Whether you’re an indoor gardener or a flower child at heart, you’ll love to make these easy DIY ornament ideas.
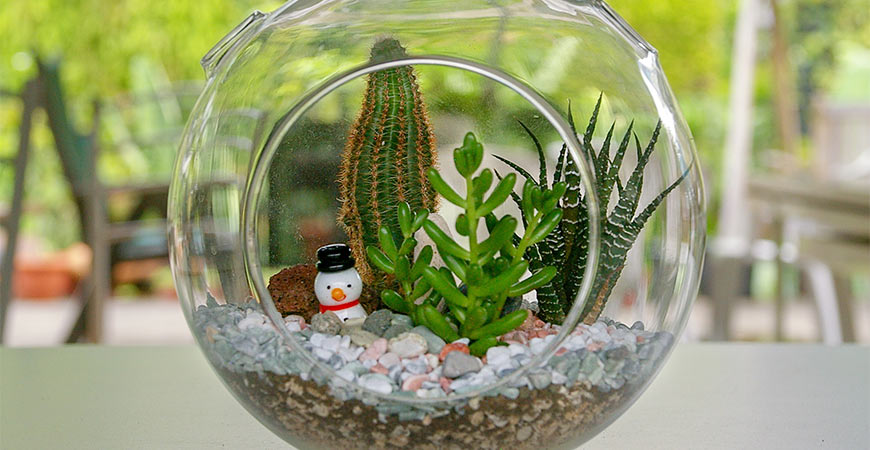
Terrarium Succulent Holiday Ornaments
These mini terrarium ornaments made with succulents will add a bright touch of ‘green’ to your holiday tree. After Christmas, remove the succulents from the ornaments and plant them in cactus soil. They will quickly grow and thrive again.
What You’ll Need To Create The Ornaments
- Small succulents
- Small craft picks (pinecones, berries, holly leaves, small fruits, flowers, etc.)
- Colorful beads
- Clear, plastic open-front ornaments with flat bottoms
- Satin ribbon (your choice of color)
- Glue gun
- Artificial Snow
- Cactus mix
- Small plastic spoon
First, select the succulents for your holiday terrarium. Choose small, compact succulents such as echevarria for your ornaments. They are short, sturdy, and easy to place inside the ornament’s small opening. Be sure to thoroughly water your succulents the day before you create the ornaments. This will make the DIY ornaments last for weeks.
Prep your succulent by carefully removing most of the soil from the succulent roots. Remove just enough soil, so the plant fits inside the opening. Place three spoonfuls of cactus soil inside the ornament. Cover the layer of soil with a few spoonfuls of artificial snow.
Add your succulent. Make a small hole in the soil with your finger. Plant the succulent in the center of the ornament. Tilt the top of the plant toward you a little so it will show through the opening.
Bonus Tip: If you wish, water your succulent ornaments once a week using a squeeze bottle or eyedropper. Place the end of the bottle or dropper directly into the soil and apply a small amount of water.
See the full DIY tutorial on how to make this ornament at Natalielinda.com.
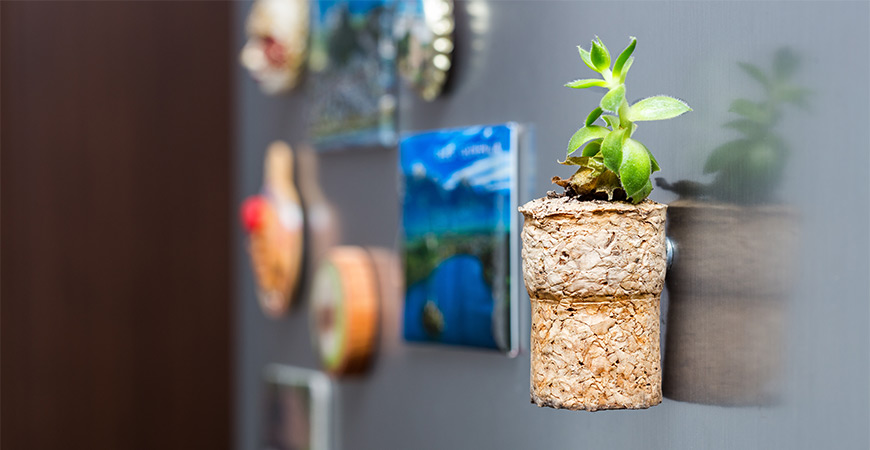
Wine Cork and Succulent Ornaments
These DIY wine cork and succulent ornaments will create a ‘Napa Valley’ feel to your Christmas tree. Hollowed wine corks can also serve as mini succulent ornaments and planters for year-round decor.
What You’ll Need To Create These Ornaments
- Succulent Cuttings
- Wine Corks
- Craft knife
- Hanging Wire
- Pliers
- Scissors or pruning shears
- Glue gun and glue sticks
- Cactus soil
- Plastic spoon
Using a craft knife, hollow out the wide end of a cork. Push the tip of the knife into the center and turn it clockwise. Carefully carve a hollow space leaving sufficient room for a bit of cactus soil.
Trim and wrap ornament wire. Use pliers to cut a length of wire approximately 8 inches in length. Wrap the wire around the cork and loop it over the top above the wide end to make a hanger. Wrap the wire tightly and secure it with craft glue.
Add a little cactus soil to fill in the hollow space. Then use clean scissors or pruning shears to trim a succulent cutting.
Trim the little succulent just above a leaf. Trim a section from the top of the plant or trim a new shoot.
Enjoy your easy DIY ornament year-round. Instead of wrapping the cork with wire, add a magnet. Place your little succulent ornament on the fridge to enjoy.
For more information on how to make a succulent wine cork ornament, visit Plants.com.

Pressed Flower Ornaments
Dried, pressed flowers and make charming, nature-inspired holiday ornaments in this easy, kid-friendly tutorial.
What You’ll Need
- Dried, pressed flowers (or see below to make your own)
- White crafting clay (air dry or oven dry)
- Small dowel
- Twine
- Mod-Podge
- Cutting board
- Wax paper
- Rolling pin
- Cookie cutters or biscuit cutter
- Small paintbrush
- Baking sheet
Step 1 – Prepare and dry flowers for ornaments
Go for a walk and collect wildflowers from your yard or a nearby field. Pick a small bouquet of favorite flowers for this craft.
Choose the healthiest, most vibrant blooms for pressing as they will look the best when dried. Trim the flowers so they will fit on an ornament measuring approximately 2×2 inches.
Next, pick a big, heavy book from a bookshelf. Tear a piece of wax paper and lay the paper down over the pages. Place the flowers on the wax paper and shut the book to press flowers between the pages of paper. Make sure you use wax paper for this part of the process so the flowers will come off easily when dried.
Learn to how-tos of drying and pressing flowers on our blog.
Bonus DIY Tip: The best time to pick flowers for pressing is mid-morning after the dew has evaporated. Achieve a natural look by collecting flowers and foliage at different stages of growth.
Step 2 – Shape the clay for the ornament
Work the clay with your hands until it is soft and pliable. Shape clay into a ball approximately the size of a tennis ball.
Place the clay on a cutting board. Use a rolling pin to flatten the ball of clay. Roll the clay to a round shape approximately 1/4 inch thick.
Step 3 – Cut the clay
Cut out decorative shapes using cookie cutters or a biscuit cutter. Gather excess clay. Reshape and cut clay to make additional ornaments. Use a dowel to make a small hole at the top of each cutout to hold twine for hanging.
Read the full DIY tutorial at Sproutingwildones.com.
Add an earthy, boho vibe to your Christmas tree this year with these clever DIY ornament ideas.

Related Posts
 Sparkle the Season with these Homemade Christmas Ornaments
- How to Care for a Rosemary Christmas Tree
- How to Choose the Best Christmas Tree for Your Home
- How to Make Your Christmas Tree Last Longer
- DIY Christmas Decorations & Gift Tags
- Gift Wrap Organizer Options: How to Declutter Your Gift Bags, Paper Rolls and Bows