5 Perfect Pumpkin Carving Tips to Make your Gourd Outshine the Rest!
Halloween is the perfect time to let your creative side shine, from creepy-cool costumes to spooky home décor. Pumpkin carving is one of the funniest ways to express your personality this Halloween, and the whole family can have a blast creating their own jack o’lanterns.
Read more to get key tips on the right pumpkin carving tools, lots of cool pumpkin ideas, and links to free pumpkin designs to make sure this year’s jack o’lantern is your best pumpkin creation ever. Happy Halloween!
Tip One: Take Advantage of Free Stencils and Ideas on the Internet
You may have pictured in your mind exactly how you want your Halloween creation to look, but there’s nothing wrong with looking to the internet for ideas, or even a little inspiration to embellish an idea you already have.
Whether you want to stay traditional or step out of the box, like these chalkboard jack o’lanterns or this adorable paper owl jack o’lantern, there are ideas out there to suit everyone’s style.
The internet is also loaded with free printable stencils that make pumpkin carving extra-easy–just make sure that you only download files from trustworthy websites. Here are a few:
- Printable stencils from Better Homes and Gardens, stencil home page
- HGTV Halloween stencils for beginners
- HGTV Halloween stencils for advanced pumpkin carvers
Tip Two: Get the Right Tools for the Job
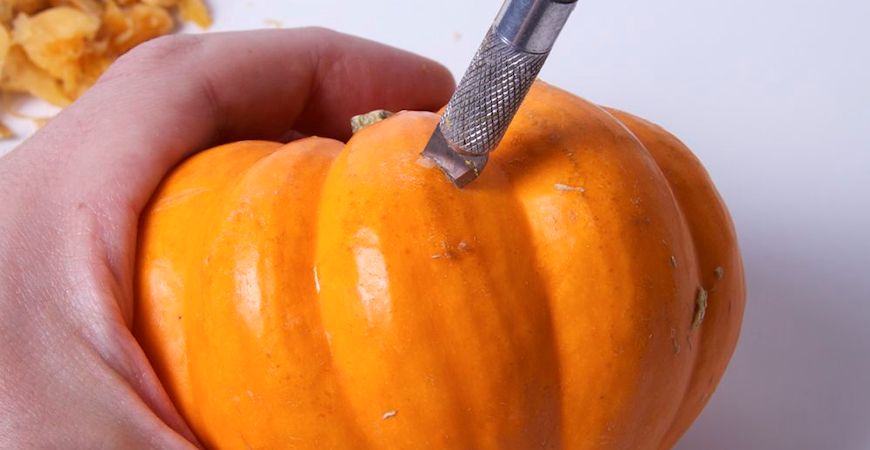
Just like any project, carving your pumpkin requires the right tools. You can have the best design and technique in the world, but a dull knife or the wrong tool for the design you’re doing will send you running back to the pumpkin patch for a second try.
The first thing to consider before you pick your tools is what kind of pumpkin you’ll be making. If you’re going to carve a basic geometric-cutout jack o’lantern, a well-sharpened medium-sized carving knife will be perfect.
If you want to add any etching to your design, a linoleum cutter is an ideal implement for the job.
Tip Three: Perfect your Carving Technique
For a trip into the more advanced and unlimited creative side of pumpkin carving, check out this video demonstration by pumpkin artist Ray Villafane, courtesy of Martha Stewart, and learn how to carve an expressive 3D pumpkin face.
Tip Four: Pressed for Time? Drill your Pumpkin!
Sometimes, instead of a more complicated design, you’re looking for something more simple. A drilled pumpkin is a back-to-basics design that focuses on the shape and color of the pumpkin itself, and also gives off a beautiful lighting effect in the evening which is perfect for an autumn get-together.
Use our easy-to-follow video demonstration above, and create your own cool drilled pumpkins!
Tip Five: Preserve your Work of Art for Halloween
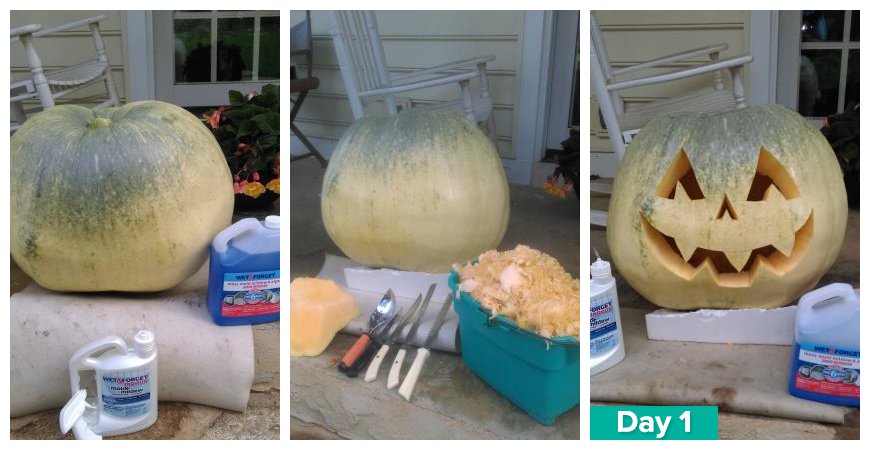
We heard about a lot of different methods that were supposed to slow down this process, so we performed our own pumpkin preservation experiment. We tried out 5 different methods of pumpkin preservation, set up a time-lapse camera, and checked back 10 days later.
Luckily, we were amazed by the results! Check out our video above to see which method turned out to be the clear winner.
Bonus: Make Scented Pumpkin Candles
Check out our video above for an easy-to-follow demonstration for crafting your own pumpkin-scented candles out of real mini-pumpkins.
Have a happy, happy Halloween!
Photo courtesy of Windell Oskay.

