5 Key Steps to Get your Garden Ready for Winter’s Chill
Winter will be here before you know it, and the cold weather can sink into your garden’s “bones” just as much as it sinks into yours. If your garden isn’t ready for winter’s chill, you will see the consequences next spring: unhealthy plants with small blooms, no blooms at all, or even plants that don’t make it through the cold weather.
Take these 5 key steps to prepare your garden for winter’s chill, and enjoy a healthy garden next spring!
Step 1: Trim and Cut Back
The first step in preparing your garden for winter is to cut back on certain plants. There is more than one reason for this: some plants, such as bamboo and some ornamental grasses, die out over the winter and look unattractive in the spring.
The dead growth can also cause crowding when the new growth is ready to come next spring. Other plants, such as garlic and some bulb-type perennial flowers, can be more vulnerable to disease if you leave the dead growth behind.
Trimming the dead growth away now eliminates that extra environment for bacteria and fungi that are harmful to your perennials to grow and threaten the plant. Most perennial flowers do best if you trim them to about an inch or two above the ground after they have died out and discard the dead material.
If you aren’t sure whether you should cut back a particular plant on your property, or if you aren’t sure how far to cut it back, check with your local gardening center, your local university extension, or check trusted online resources such as the National Gardening Association.
Step 2: Clean up Before Winter’s Chill
The next step is to remove dead plant debris from your vegetable garden. Just like garlic, other vegetables are more vulnerable to disease if you leave the dead plant parts on top of the vegetable plot over the winter; this is especially true for tomatoes, which are prone to several diseases (you should also rotate tomatoes at least every couple of years).
Pests that prey on your vegetable plants will also lay eggs on dead plant material left behind, and those eggs will be ready to hatch next spring and devour your new crop. Also, get rid of any weeds, wherever they are.
Step 3: Add Compost
Now that you’ve removed the dead plant debris add a layer of compost to your vegetable garden to make sure the soil will be good and fertile for next spring. Adding 1 pound per 1,000 square feet of ammonium sulfate to your garden (20-0-0) in the fall is another way to enrich the soil.
If you add compost, manure, ammonium sulfate, or other enriching materials to your vegetable garden, till it thoroughly into the soil with a spade or rototiller to a depth of 8 to 12 inches. This will ensure that your soil is well-integrated and ready for planting in the spring.
Step 4: Mulch your Bulbs
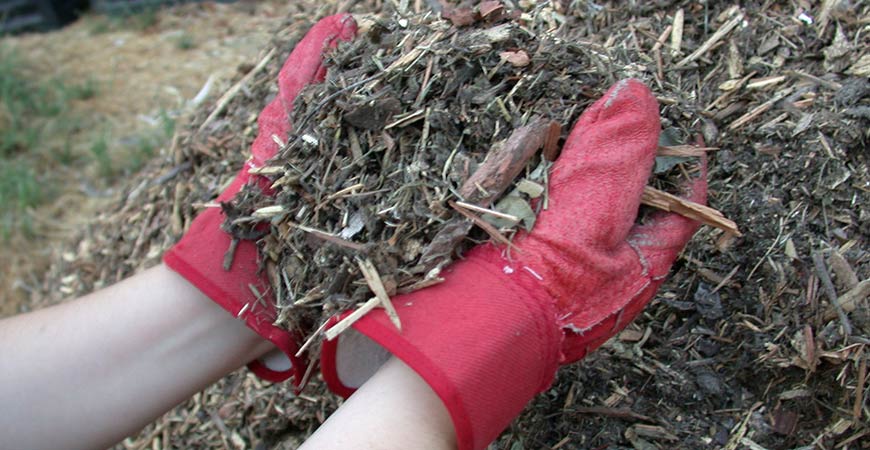
As the weather becomes colder, add a layer of mulch above your perennial bulbs, such as flowers and garlic. This will help the bulbs stay nice and cold so they can remain dormant during the winter instead of “waking up” during temperature fluctuations and potentially sustaining damage.
Good mulch material includes evergreen boughs, hay or straw, peat moss, pine needs, corn stalks, or shredded leaves from your fall cleanup. Put a layer of mulch about 4 to 6 inches deep directly on top of the bulbs.
While most perennial flowers do best with a layer of mulch, some, such as the bearded iris, do better without any mulch. If you aren’t sure whether your bulbs need mulch, check with your local gardening center, university extension, or trusted online resources such as the National Gardening Association.
5: Bring in Delicate Pots Before Winter’s Chill
Lastly, don’t forget all the containers for your outdoor potted plants. If you live in a cooler climate, the freeze-thaw cycle can crack terra cotta pots and even certain plastic pots. Bring them inside for the winter.
Enjoy your garden even during winter’s chill!
Learn about growing a garden for the optimal fall harvest! Click here.
Photo courtesy of Forestwander Nature Photography and Dvortygirl.

