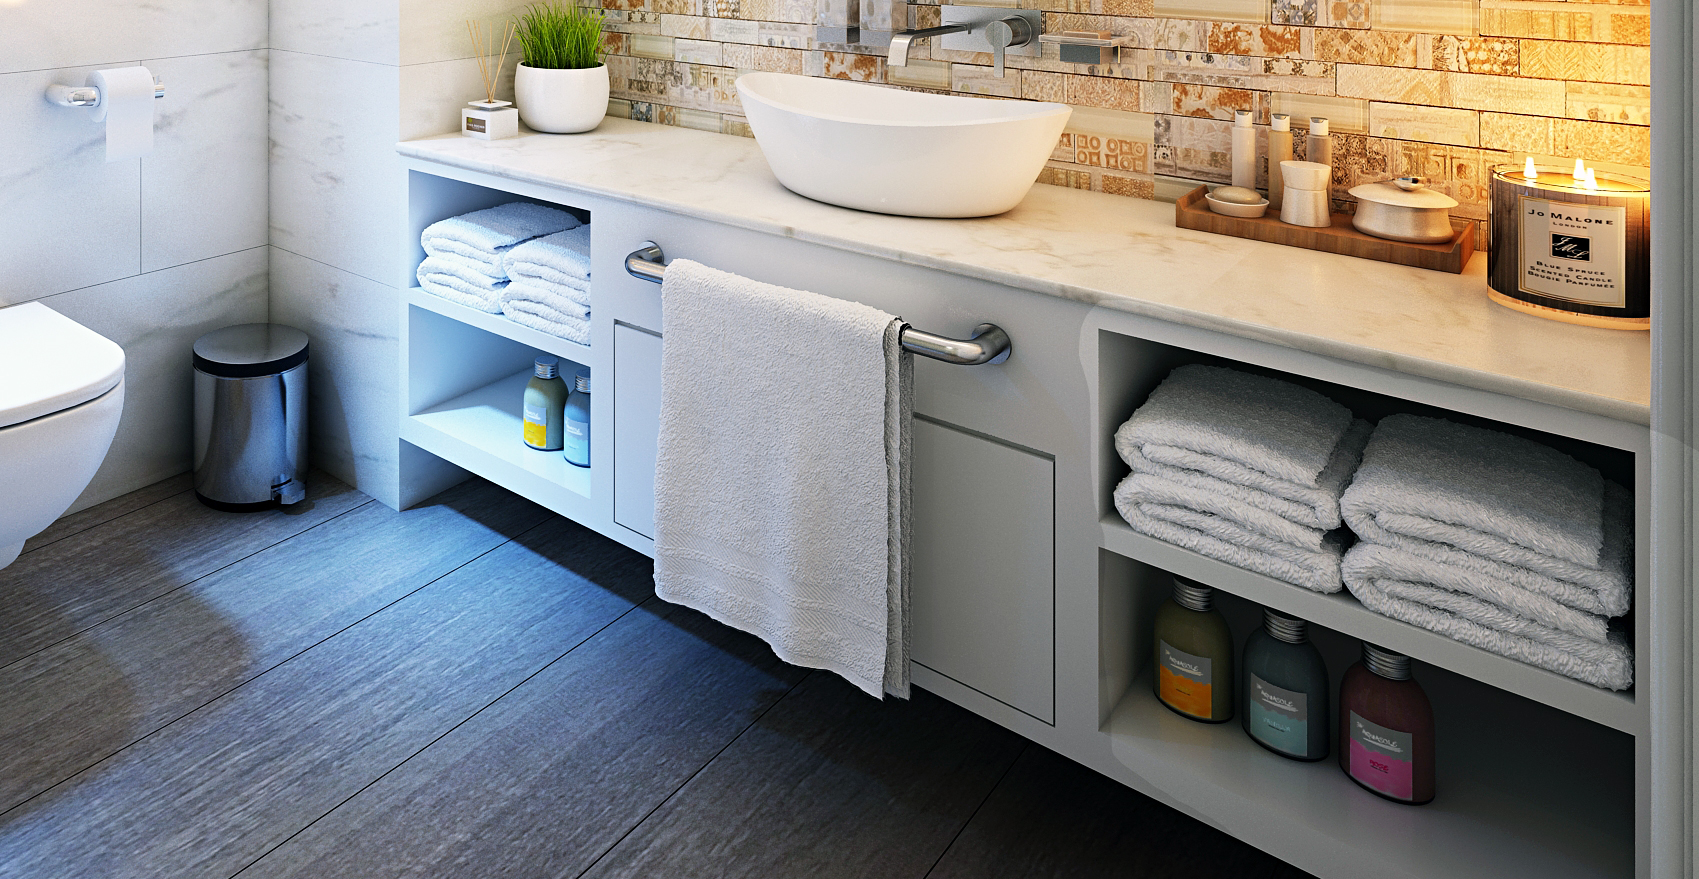
3 Inventive DIY Bathroom Storage Ideas For Small Bathrooms
Is storage space tight in your tiny bathroom? Have you run out of room for towels or beauty essentials? Here are a few inspiring DIY bathroom storage ideas and clever hacks to help you create more bathroom space and get organized.
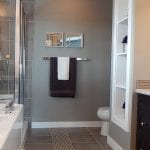
DIY a Basket Wall
Rustic woven baskets lining the wall look attractive and make a great storage option for a small bathroom. Furthermore, woven baskets are versatile and look nice holding rolled hand towels, beauty lotion, and any other ideas you have.
Tools
- Screwdriver
- Drill
- Level
- Measuring tape
- Pencil
- Putty knife (if needed)
- Paint roller (if needed)
- Paint tray (if needed)
Materials
- Towel bar(s)
- Lightweight decorative baskets
- Craft ribbon
- Sandpaper (if needed)
- Self-adhesive drywall joint tape (if needed)
- Spackling paste (if needed)
- Primer (if needed)
- Paint (if needed)
Instructions
If you have an existing towel bar in your bathroom that allows space for the baskets to be hung, then you can skip to Step 5 to hang the baskets.
Step 1 – Remove the Existing Towel Bar
If your old bathroom towel bar doesn’t leave enough space to hang the baskets, it will need to be replaced. If it is attached with screws, use a screwdriver to detach the bar and remove it from the wall.
Note: It might take a little pulling or twisting to make it lose!
Step 2 – Patch and Paint Wall Holes
If any holes are the size of a dime or larger, patch with joint drywall tape and then spackle. Cover the hole and the area around it as well.
For smaller holes, patch with spackling paste. When the spackle is dry, sand it with a small square of sandpaper until smooth. Prime and paint the wall to match the existing paint color.
Step 3 – Hanging New Towel Bars
Hang the new towel bars according to package directions. Depending on your available bathroom space, get one or two bars with enough vertical space between them to hang your decorative baskets.
Use a level to make sure the bars are horizontally straight.
Step 4 – Hang The Baskets
Cut two lengths of craft ribbon for each basket. Choose which side of the basket you want to hang. Loop a piece of ribbon next to each corner on that side of the basket.
Tie the ribbon around the towel bar to hang the baskets. Lastly, slide the baskets along the bar to center them.
- Tips: You can also use S hooks to hold up the baskets. Dress up the look of the S hooks by tying on craft ribbon bows.
This idea also works great in a mudroom to store gloves and keys or inside a kitchen pantry door.
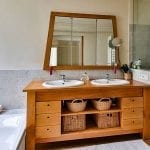
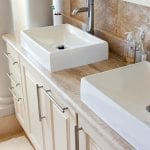
DIY Mason Jar Bathroom Organizer
Is there a lot of clutter on your bathroom countertop or vanity? Then this DIY bathroom organizer project is the perfect solution for you!
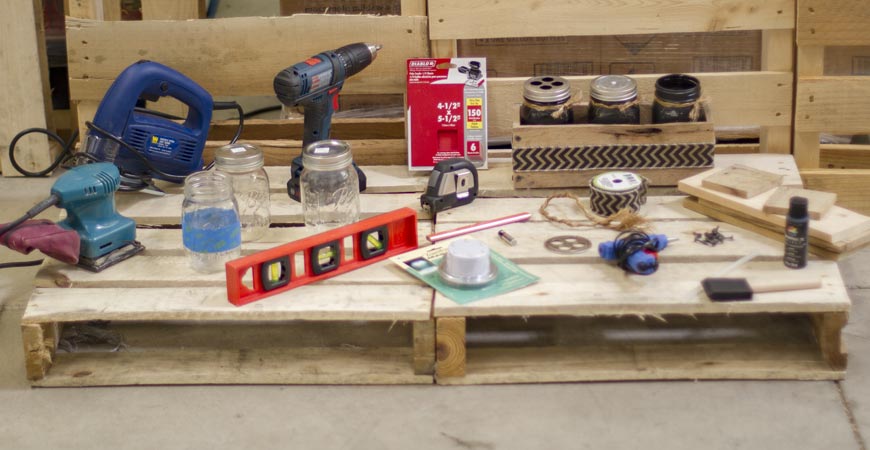
All you need is wood planks, screws, a screwdriver, decorative ribbon, a jigsaw, a sander, sandpaper, a tape measure, and a hot glue gun. This bathroom vanity organizer can be completed in a few simple steps.
Once you are done measuring, cutting, and assembling the boards, the only thing you have left to do is add the Mason jars. To decorate the Mason jars, you’ll need acrylic paint, a paintbrush, a Mason jar toothbrush holder, a Mason jar light, twine, and painter’s tape.
After making the wooden organizer and Mason jars, you can place the completed piece on your bathroom countertop or vanity.
For complete instructions for this project, click here.
DIY Plate and Candlestick 2-Tier Bath Stand
Make more room on your bathroom counter or vanity with pretty and new easy-to-make storage space. All you need is two thrift store plates, a candlestick, and glue. This 2-tier DIY bathroom vanity stand is perfect for showing off jewelry, makeup, or perfume.
Tools and Materials
- Two thrift store plates (one should be smaller than the other, like a dinner plate and a salad plate)
- Candlestick (or any ceramic/glass object that has a sturdy base with a flat top and bottom, like a small decorative vase or a drinking glass)
- Epoxy glue
- Heavy books or paperweights
- Tape measure (optional)
- Pencil (optional)
Instructions
Step 1 – Following the package instructions, apply the epoxy glue to the top of the candlestick. Position it on the back center of the smaller plate. If necessary, mark the plate’s exact center back with a tape measure and pencil.
Step 2 – Place a few heavy books on the candlestick to weigh it down. Let the glue dry overnight.
Step 3 – To attach the larger plate, apply glue to the bottom of the candlestick. Find the center on the front side of the large plate. Then place the candlestick (with the small plate attached) on top of the large plate.
Step 4 – Place a few small books or paperweights on the top and a small plate for weight. Then let it dry overnight.
Tips:
- Inexpensive new or used plates and candlesticks are available at dollar stores and thrift stores.
- For a one-tier stand, follow steps 1 and 2 above.
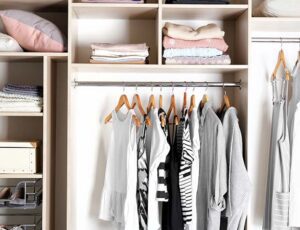
Declutter Your Space
These DIY bathroom countertop and vanity storage ideas won’t help if you still keep many unnecessary items in your bathroom. So, go through your bathroom and decide what you need and what is just taking up space.
Toss out anything you never get around to using, expired products, and empty containers. However, keep the things you regularly use in easy-to-reach spots.
Items you still need but don’t use often can be placed out of sight inside a cabinet, basket, vanity, or drawers.
Disorganized bathrooms are nothing but a hassle, especially if you are in a rush while getting ready in the morning. Stress is the last thing you want to deal with at the start of your day, but you can easily avoid it with a few simple bathroom organization ideas you can complete yourself!
With these unique DIY bathroom storage ideas, you can finally get the most out of your space. Transform a cramped, tiny bathroom into a clean, new, and organized room you want to use.
For more tips on DIY bathroom storage and how-to’s, check out this article on how to make your small bathroom feel spacious.
Looking for more DIY storage ideas for your house? Click here.


Related Posts
 Bathroom Transformations on a Budget
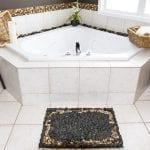
- DIY Pebble Bath Mat And Other Ideas for a Quick Bathroom Makeover
- Guest Bathroom Checklist: How to Prepare for Out of Town Visitors
- Luxurious Bathroom Ideas on a Budget
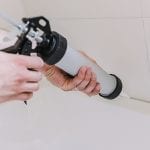
- Handy Bathroom Shower Caulking Tips and How-Tos
- How to Organize Your Bathroom Vanity, Counter, and Cabinets