Ready Your Home for Snow, Ice, and Winter Weather
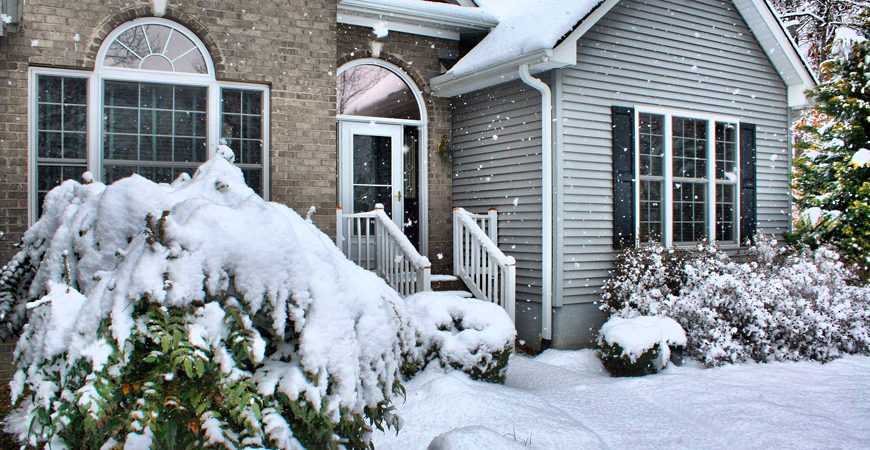
Depending on where you live, harsh winter weather will arrive soon, or it may already be at your doorstep. Here we’ll cover tips, how-tos, and other information to ready your home for the winter weather, including snowblower tune-up tips, ice and snow removal how-tos, and information on gathering essentials for a winter emergency and safety kit.
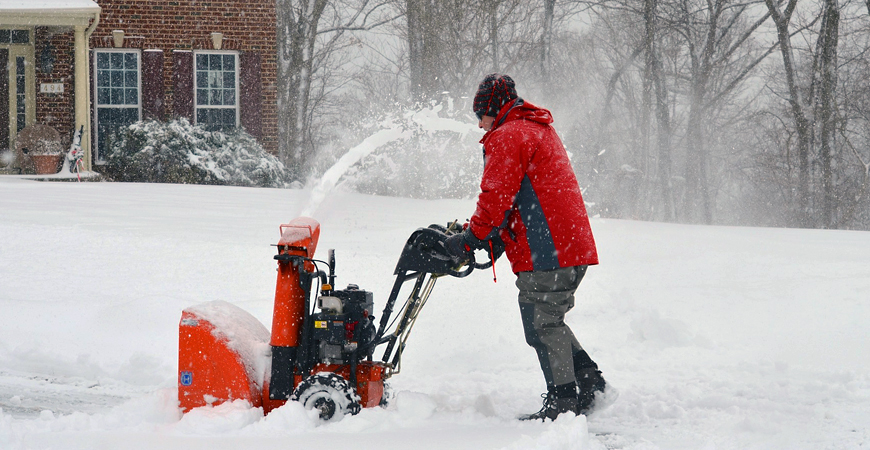
Snowblower tune-up tips
Home repair expert Bob Vila explains, “Basic snowblower maintenance is fairly simple and straightforward, involving steps similar to those you’d take for your car (changing oil, inspecting belts, and so on).” Make sure your snowblower is in tip-top shape before the first storm by following these easy steps.
Step 1 – Check all snowblower parts for wear and tear.
- Check belts for cracks and wear. Single-stage snowblowers have one belt. Two-stage snowblowers usually have two.
- Replace all cracked, damaged, or worn belts. If the belts look ok, adjust them if needed, making sure they aren’t loose or too tight.
- Check metal parts (screws, nuts, bolts, etc.) for wear. Tighten all loose metal parts that you find.
- Make sure the starter cord is still holding up. If it’s frayed, then replace the cord.
Step 2 – Change the oil and gas.
A snowblower with a two-cylinder engine usually uses a gas/oil mix, while a four-cylinder engine uses gas with an oil crankcase. Either way, it’s a good idea to drain old fluids from the engine and replace them with clean oil and gas as the weather changes.
Changing the oil
- Start the snowblower and allow it to warm up for a few minutes.
- Shut it off.
- Remove the oil plug and drain off the old oil.
- Reinsert the oil plug.
- Refill the engine with new oil. Check your owner’s manual for the correct oil type and weight.
- Start the snowblower and check the oil level.
- Recheck the drain plug for a tight fit and no leaks.
Step 3 – Replace the fuel filter, air filter, and spark plug
Before you start, make sure you have replacement filters and a plug at the ready. (Check your owner’s manual for information on the correct product type and size.)
Change the spark plug by removing the lead wire and removing the plug with a socket wrench. Insert the new plug, tighten it to a snug fit, and reattach the lead wire.
Step 4 – Drive and chassis lubrication
Check the owner’s manual to make sure you’re using the correct the right lubricant. Then, turn the snowblower on its side so you can easily reach the drive and chassis and apply lubricant.
Also, check for worn parts and replace them. (Auger, scraper bar, skid shoes, etc.)
Step 5 – Inspect the tires and chains.
Check the tires for wear and replace them if necessary. Then make sure the tire pressure is at the recommended amount- check the owner’s manual for this.
If you have tire chains, then inspect them as well. Put them on before winter weather arrives.
How to DIY and apply ice and snow melt
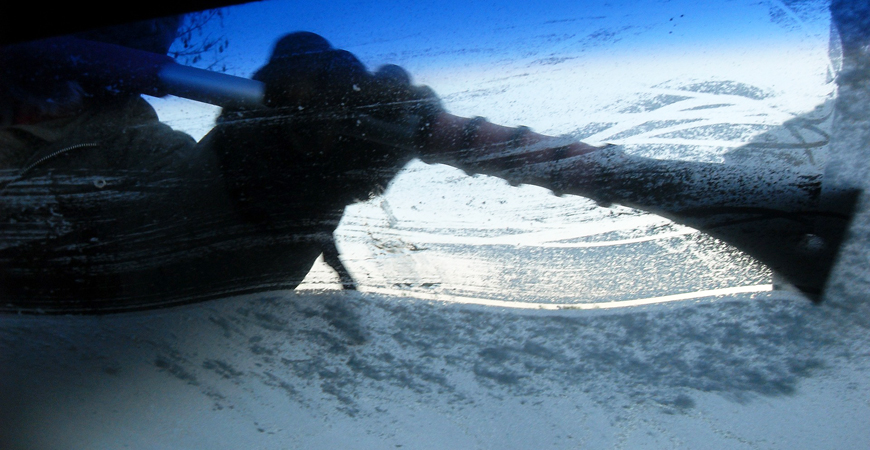
You can easily melt the ice and snow from a storm with household products such as salt, fertilizer, or rubbing alcohol. Here are three ways to melt the salt caused by the winter weather.
Commercial garden fertilizer
Most plant fertilizers contain ammonium sulfate. Ammonium sulfate works to remove ice and snow by lowering the melting temperature.
It won’t immediately melt the ice and snow but will speed up the melting process. To speed up the melting process, spread fertilizer over icy surfaces.
Furthermore, do not use garden fertilizer on icy paths or driveways as it may cause fertilizer runoff.
Rubbing alcohol
Rubbing alcohol freezes at -20 degrees and is often used as an ingredient in commercial ice melts. Grab a bottle of rubbing alcohol and use it to melt stubborn ice on your car’s surfaces.
Here are two ways to do so:
- Pour rubbing alcohol on icy patches straight from the bottle.
- Combine rubbing alcohol with water in a spray bottle. Keep the mixture in your car to loosen a frozen door lock or to break up ice sheets on your windshield.
Salt and hot water
A combination of rock salt (or table salt) and hot water works well to melt ice. Rock salt, derived from salt mines, is 100% sodium chloride.
Salt doesn’t melt ice but lowers the freezing point to approximately 15 degrees. Apply salt and hot water when the outside air temperature is above 15 degrees. Otherwise, you’ll end up with a slushy mess.
Help the salt melt the ice and snow by alternating between pouring hot water over the surface and then throwing and spreading salt over the surface. The hot water will begin to melt the ice, while the salt will prevent it from refreezing.
Table salt can be used, but it’s more expensive. If you need to thaw a small surface, table salt and a small bucket of hot water will do the trick.
Notes:
- If salt is used too often, it may harm plants, damage concrete, and leave behind a whitish residue.
- Salt can also irritate your pet’s paws. Try using salt sparingly and rinse affected surfaces when the weather warms.
- Do not use extremely hot water on a windshield in winter, especially after a storm, as it may crack and break the glass.
Prepare a home safety kit.
A winter storm can knock out your home’s heat, electricity, and other power sources. So, don’t be caught in the cold storm without enough food, medicine, or essentials! Be ready for when bad weather arrives with a home safety kit.
Here’s a list of items to add to a Safety Kit:
- Flashlight and extra batteries
- Battery-powered NOAA weather radio or portable radio to receive emergency information about the winter storm.
- Extra food and water. Stock high-energy foods like dried fruits, nuts, and shelf-stable foods that do not require cooking or refrigeration.
- Extra over-the-counter medicines and prescription drugs
- Baby essentials
- First aid supplies or a stocked first aid kit
- Heating fuel. Fuel companies may not reach you immediately after severe winter weather.
- An emergency heat source such as a fireplace or a woodstove. (Make sure to have proper ventilation.)
- Fire extinguisher and a smoke detector. Routinely test them to make sure they work correctly.
Bonus tip: Remember to disconnect your garden hose and drain water from outdoor faucets before the cold weather. Water left in pipes may freeze during the winter weather and cause them to burst.
Prepare for the cold, winter weather months ahead with these tips, how-tos, and other information!

