Outdoor Light Fixture Repair: Tips and How-tos
As autumn days grow shorter, homeowners depend on outdoor lighting for increased safety after dark. Furthermore, attractive outdoor lighting creates a warm welcome when family and friends drop by.
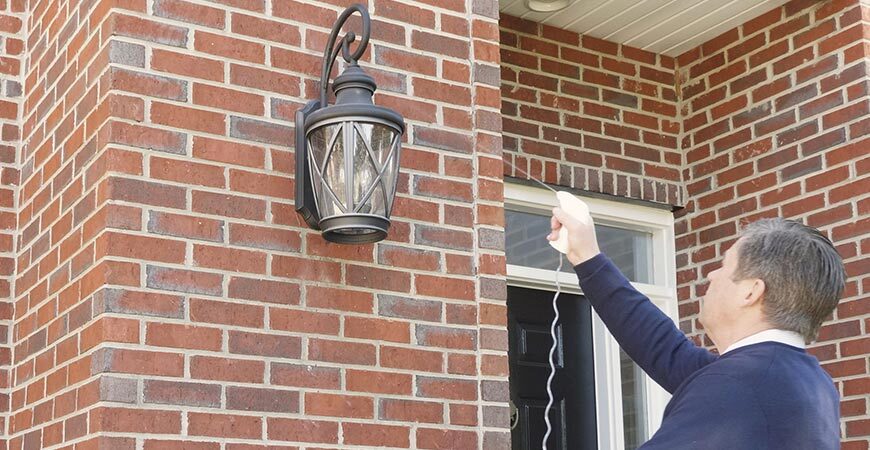
Here we’ll cover outdoor light fixture repair and how you can freshen up your outdoor lighting fixtures!
How do I clean the glass in my outdoor light fixture?
When it comes to light fixtures, they’re unfortunately bound to get dirty. Dirt, dust, bug debris, spider webs, you name it!
Although cleaning the glass panes can be challenging, it’s an easy way to make your outdoor lighting look new again. Not only will they be clean, but the lights will shine brighter too.
Here’s how to clean the glass panes in your outdoor light fixtures:
What you’ll need-
- Glass cleaner
- Paper towels
- Two foam paintbrushes (2-inch wide or a narrower width work well)
Steps for cleaning-
- Before you start, ensure the lights are turned off, and the bulbs inside are cool.
- Then, remove any bulb inside the lights.
- Spray glass cleaner on a foam brush. Rub the inside and outside of the glass panes until clean.
- wipe the glass with the remaining dry foam brush to remove any leftover glass cleaner.

How do I get rid of spiders around my outdoor light fixtures?
Since light attracts insects and insects are a spider’s favorite meal, limiting or eliminating the spider’s prey may be best to prevent spiders from setting up shop.
This will help reduce the number of crawlers around your home and exterior lights, as well as the spider webs around your home and outdoor lighting.
A quick spray of Miss Muffet’s Revenge around your outdoor lighting and bulbs will eliminate nuisance spiders. And it keeps them away for up to a year.
Miss Muffet’s Revenge is equipped with a high-powered trigger sprayer that sprays up to 10 feet! Therefore, it’s easy to target overhead or ceiling lights and other hard-to-reach areas like a covered porch ceiling, ceiling fan blades, or under eaves. So, there’s no ladder climbing required!
How do I replace the glass in my outdoor lighting?
Has a wayward branch or flying debris cracked the glass in your outdoor light fixture? Although it may take some effort, replacing a broken glass pane in an outdoor fixture, such as on your ceiling or wall, is possible.
Here are a few tips-
- If you know who made the fixture and the model number, you may be able to get replacement glass from the manufacturer. Try to contact the company for replacement glass.
- If the fixture has removable glass panes, remove an adjacent pane and take it to a glass shop. They will measure and cut a new pane for you. If the pane is square or rectangular, your local hardware store may be able to measure and cut a new piece.
- Call a lighting retailer for information about local glass shops.
- If the fixture is old, it may be easier and cheaper to replace it with a new one. This also gives you the chance to change the style of your outdoor ceiling or wall lighting.
How do I paint my outdoor light fixture?
Over time, the weather can cause outdoor lighting surfaces to look dull and faded. For this reason, make your outdoor lighting look shine with a fresh coat of paint.
Here’s a step-by-step guide on applying a fresh coat of paint:
Step 1: Remove the fixture and mount it on the wall
First, turn off the power to the exterior lighting and remove the lights from the ceiling or wall mount. Unscrew the mounting plate from the wall and disconnect the fixture from the wall mounting plate.
Unscrew the wire connectors. If possible, remove the glass shades. Next, cover your workspace with a drop cloth.
Step 2: Clean the fixture and mount
Clean the fixture and wall mount using an all-purpose cleaner or a 50/50 vinegar and water solution. Additionally, use a microfiber cloth and/or nylon bristle brush to remove dirt and grime.
Step 3: Remove rust and flaking paint
Remove rust and loose paint with a stiff wire brush, emery cloth, or an electric drill with a sanding pad. But for tough jobs, a paint scraper works well.
Step 4: Apply primer
Spray cleaned metal surfaces with a primer made for metal. However, for best results, apply two coats.
Finally, allow the primer to dry thoroughly, which usually takes about 24 hours.
Step 5: Apply topcoat
Before you paint, decide on a finish. Aerosol paint is available in flat, semi-gloss, or high-gloss finishes. With this in mind, consider how the color will coordinate with the rest of your home’s exterior.
Hold the can about 8” to 12” from the light fixture to apply. Then, move the can slightly, from side to side, to avoid excess paint and drips.
For best results, apply a second coat of paint within 1 hour of the first coat. Finally, let the paint dry for at least 24 hours before reinstalling any of the lights.
What type of paint should I use?
A high-quality enamel spray paint is recommended for outdoor lighting.
What are the best light bulbs to use for outdoor lighting?
To minimize harsh blue light, use warm white bulbs (Kelvin range 2000K – 3000K) for exterior lighting. The bulbs should be no brighter than necessary and just enough to light the space sufficiently.
Does your city impose a lighting ordinance? Lighting ordinances are legislated to conserve energy and minimize glare and light trespass (light that reaches the neighbor’s property).
A few often-imposed lighting ordinance rules include-
- Limiting the bulb color temperature (Kelvin) and bulb intensity (Lumens) that may be used.
- Bulbs for outdoor lighting should be fully shielded to minimize glare.
- Bulbs should be no brighter than needed. Some lighting ordinances require motion sensor lights to be 850 Lumens or less.
- Outdoor lighting should be pointed downward to light only the area that requires it (no spillover).
If you are replacing an outdoor light fixture, a fully-shielded fixture is best to minimize glare and light trespass.
Outdoor light fixture repair, a new coat of paint, and a thorough cleaning will enhance your home’s curb appeal. It will also highlight your home’s architectural features and the surrounding landscape.


Larry rankin
Can u oil the timer corner i turns very hard when setting the timeR