Increase Your Home’s Value with Crown Molding
Adding crown molding to your interior is an economical way to upgrade your home. It lends an air of sophistication to indoor spaces and makes your home feel warm and luxurious. Also, it may increase your home’s appraisal value.
Benefits of crown molding
- It brings architectural character to interior spaces, from the floor to the ceiling
- Provides a visual separation between the walls and the ceiling
- Conceals cracks in a ceiling or wall to install a more professional appearance
- Imparts a designer look to any room
- Adds visual interest and sophistication to any wall or ceiling space
- Enhances rooms with high ceilings
- Reinforces your home’s design and presentation
Can crown molding increase my home’s value?
Any upgrade that gives your home a more stylish or elegant appearance may raise your home’s appraised value. That includes beautiful crown molding that one should install tastefully.
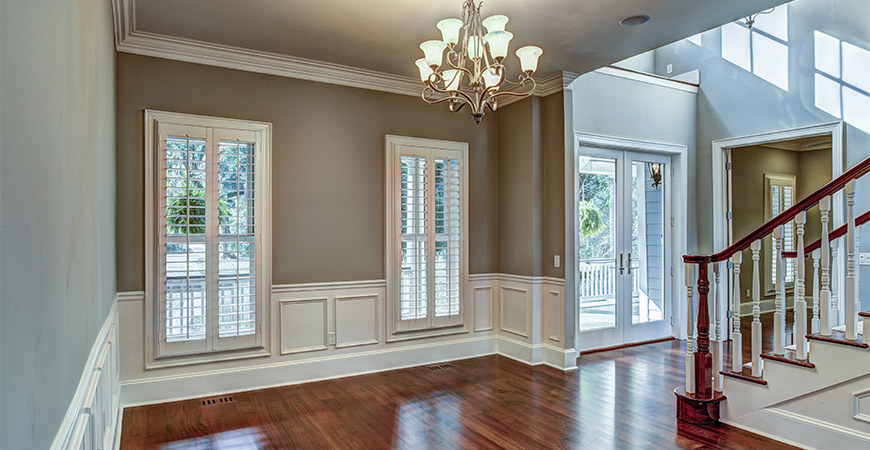
One of the main benefits of crown molding is its ability to give your home a luxurious, upscale appearance. It exudes a ‘wow’ factor that will impress potential buyers.
What type of crown molding would look best in my home?
Crown molding (sometimes called trim) comes in a variety of materials, including:
Natural wood – Home repair expert, Bob Vila, says, “Wood crown molding is the industry standard, and you can choose from paint-grade pine or, if you prefer to stain the trim, a variety of hardwoods, including ash, oak, and walnut. Simple wood crown starts around $1 per foot for plain pine and goes up in price depending on the size and intricacy of design.”
Medium-density fiberboard – MDF is made by combining sawdust and resin. Pressure is applied to the sawdust and resin mix to form the trims.
MDF molding usually comes without a finish, but some designs are made with a thin veneer for staining.
PVC – PVC is a good choice for baths, laundry rooms, and other spaces that experience high humidity levels. It is also lightweight and inexpensive. PVC is great for DIYers because it is installed using construction adhesives.
Polystyrene – This type of crown molding is economically friendly, lightweight, and easy to install with foam-safe construction adhesive. The trim is textured, but applying a few coats of paint will smooth the surface.
Plaster – Plaster crown molding’s intricate beauty and design are ideal for a room with a high ceiling. When purchasing plaster trims, you will need to custom order them from specialty home retailers or lumberyards. And, you should hire a professional to install them.
What color of crown molding should I add to my home?
You can paint the trim any color you wish. But, most homeowners opt for a neutral color that coordinates with the room’s color scheme.
A popular look is to paint the trim slightly lighter than the wall. If you have wallpaper, then choose a color from the pattern and paint the trim in a slightly lighter shade.
You can also stain trim made of hardwoods like ash, oak, or walnut. Many homeowners choose a stained wood look.
For a high-contrast look, use complementary colors. For one example, a teal wall with white trim. The goal is to install a visual balance between the walls, crown molding, windows, and doors.
Is crown molding expensive?
Natural wood starts at approximately $1 per foot for plain pine. However, the price will increase depending on the type of wood, molding size, and design intricacy.
For one example, hardwood crown molding with an elaborate milled design can cost as much as $30 per foot.
Medium-density fiberboard comes in an extensive, detailed trim which usually costs between $1 and $7 per foot.
PVC ranges from approximately $2 to $4 per foot.
Polystyrene is a very budget-friendly option. It begins at less than $1 per foot.
Custom-cast plaster can be and is most likely the most expensive. It can cost up to $30 per foot plus installation costs.
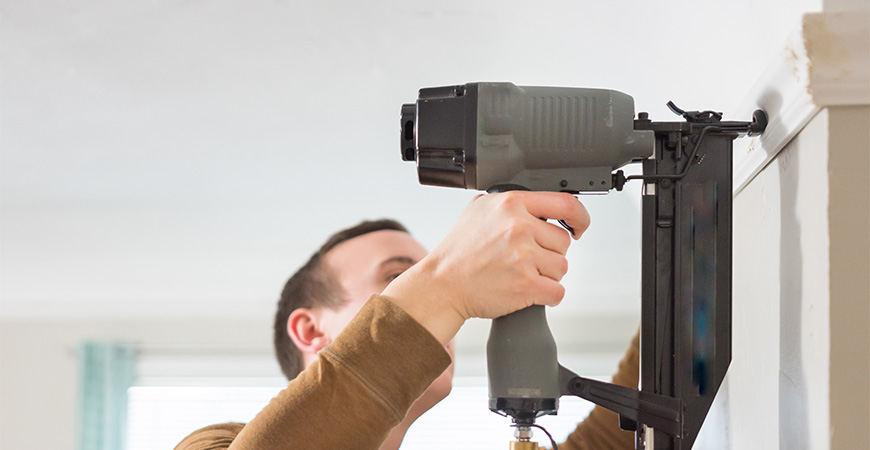
How do I install crown molding?
What You’ll Need
- Measuring tape
- Miter saw
- Nail gun or hammer and nails
- Putty
- Caulk
- Paint or Stain, plus paint or stain essentials
- Measure the length of each wall at the ceiling level and write down the measurements.
- Cut the molding with a miter saw. Position the molding right side up on the miter saw. Set the miter saw to a 45° angle. (This is, so the bottom of the molding will be the same length as the wall.) Cut inside corners.
- Attach the crown molding by placing them on the wall and nail it to the wall studs.
- Next, hide the nail holes and joints by placing putty in nail holes and caulking any visible joints or edges.
- Lastly, stain the crown molding or prime and paint it.
Tip: Paint the trim before you cut it. Then apply a second coat of paint once the trim is in place.
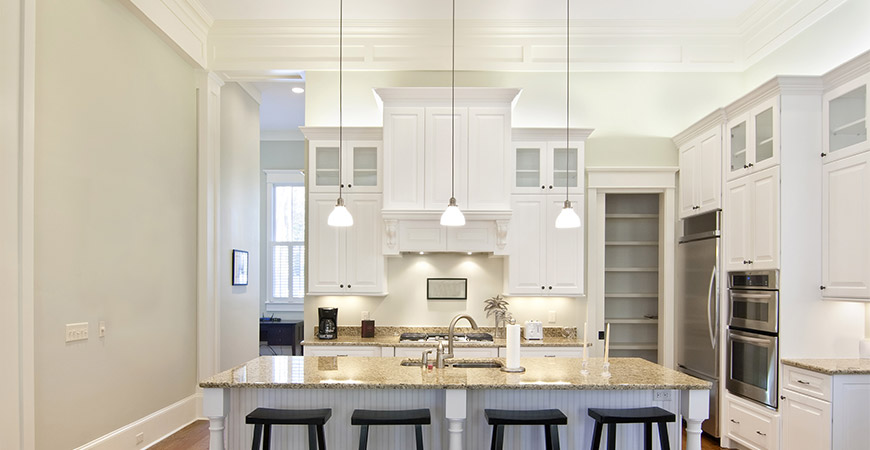
Crown molding has a clean, designer look that can take any room from boring to beautiful. In addition, it will make a bold design statement in your master bedroom, kitchen, dining room, and entryway – most any room in your home!