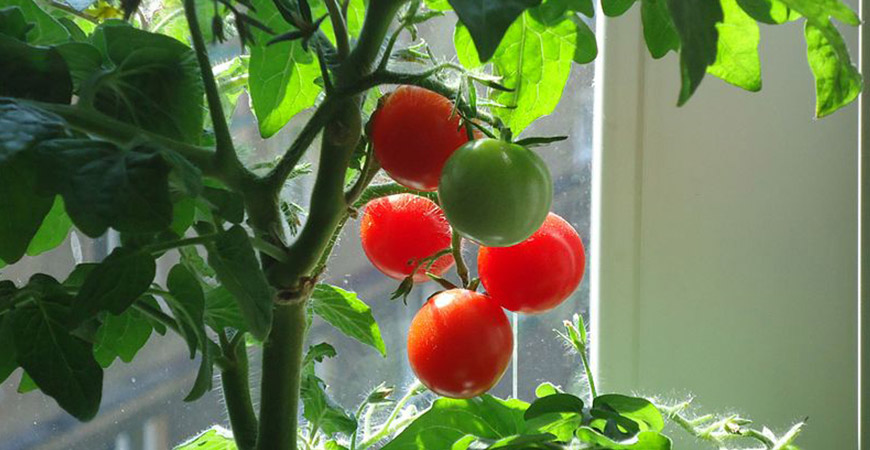
How to Grow Tomatoes from Seed for an Inexpensive, Fruitful Garden
It’s no mystery why tomatoes are the most popular crop for home gardeners in the US. These deliciously healthy fruits are easy to grow and versatile in the kitchen. Why not try to grow tomatoes today?
Homegrown tomatoes are perfect for salads, BLT, salsa, and much more–Diane S., an avid gardener and cooking enthusiast, tells us that it would take quite a fight to wrestle her beloved tomato press from her hands. Diane freezes her homemade tomato puree to use in “from scratch” soups and ketchup and in her famous pasta sauce that has all the relatives inviting themselves to her house for dinner.
But if you’ve bought many tomato seedlings, you may have noticed how much lighter your wallet felt afterward. Tomato seedlings can make building your garden pretty costly, especially if you like tasty heirloom varieties such as “Pineapple” or “Green Zebra,” which typically cost $5 and more per plant.
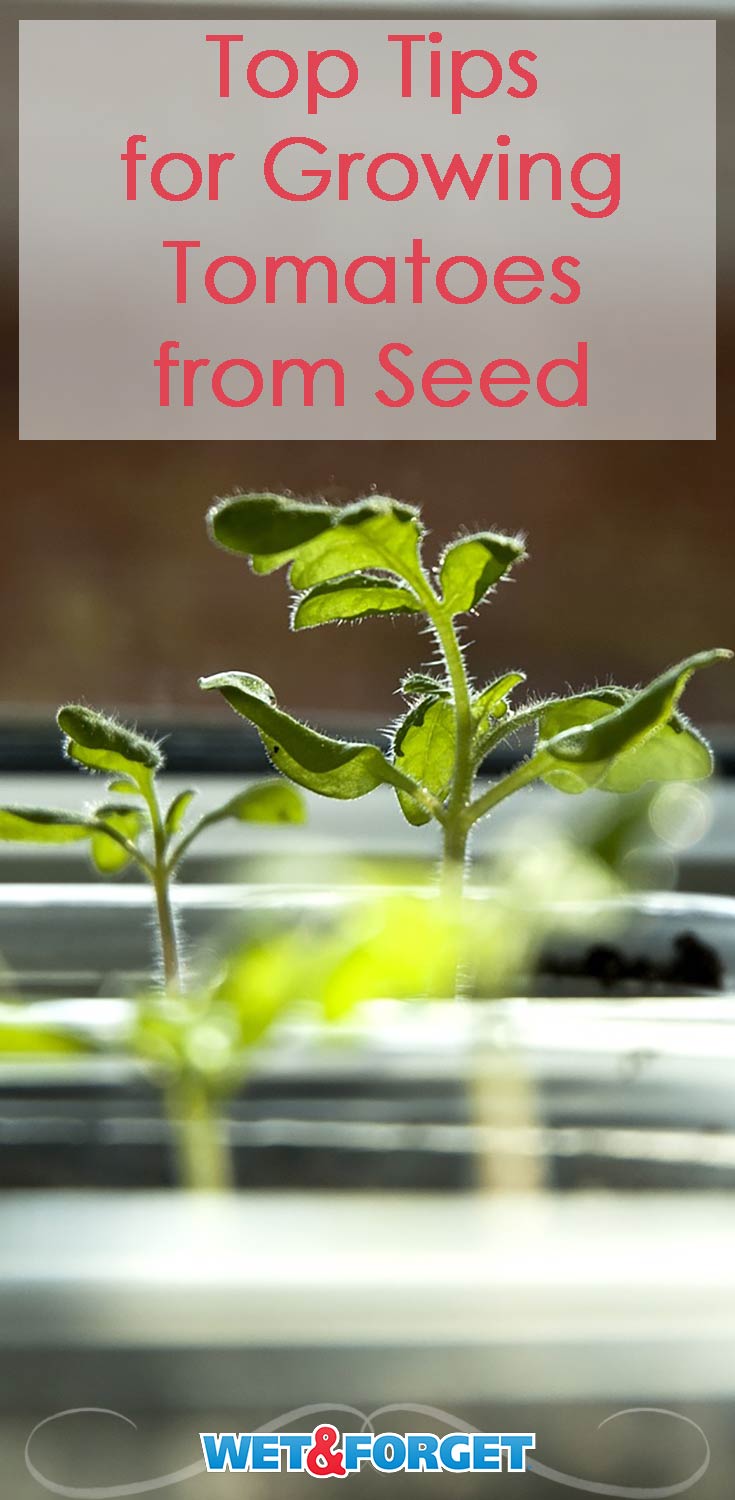
A less expensive way to grow tomatoes for your garden is to start from seed; you’ll get many more plants for the money and experience the excitement and pride of seeing your seedlings poke their first leaves out of the bare soil.
Growing tomatoes from seed isn’t rocket science, but it’s important to care for your seedlings properly so they will give you the most abundant yield possible come harvest time. Use the following supplies and growing techniques to get your garden off to a good growing start.
Supplies
Seeds: When selecting your seeds, keep in mind how you plan to use the tomatoes from your garden. For example, beefsteak tomatoes are great for sandwiches, cherry or grape tomatoes make delicious snacks or salad toppers, and romas make good sauces.
You also need to know if the seeds are for determinate or indeterminate tomatoes. Determinate plants produce fruit during a shorter time span, while indeterminate varieties such as “Early Girl” tomatoes produce fruit during a longer period.
Many gardeners like to plant some of both types to have a long harvest time with lots of canning at the end of the season.
Containers: You can buy plastic or fiber pots for your seedlings or use any household items like pots, such as yogurt containers or small plastic milk bottle bottoms. What is important is that the containers should be about four inches deep and have holes in the bottom for proper drainage.
Potting mix: The potting mix you need for starting seeds indoors is very different from the soil in your garden or the potting soil your houseplants grow in. Good seed starting soil gives the seedlings the space to grow good roots and provides good water drainage. Look for a seed-starting mix or soil-free growing medium such as seed-starting pellets.
Labels: As you plant your seeds, you may be tempted to think you’ll remember which plants are which when the time comes to transplant them to the garden. Take our word for it: you won’t. Simple labels on plastic sticks are available in gardening centers, or you can make your own labels. Labeling your plants will prevent any confusion or mix-ups.
Fertilizer: Once your seedlings start developing true leaves, they will need an excellent liquid fertilizer.
Care
Sowing: Fill your containers with three inches of potting mix about six to eight weeks before the last frost for your USDA plant hardiness zone. Dampen the potting mix and use your finger, a pencil, or your seed packet to make a 1/4-inch-deep furrow in the mix. Sprinkle two or three seeds in the furrow, brush potting mix over them, and gently press the mix down over the seeds, being careful not to pack the mix too tightly.
Germination: To help your seeds germinate, keep them in a warm, draft-free place. Tomato seeds do best in temperatures between 70 and 80 degrees Fahrenheit. Some gardeners use warming mats or plastic bags to keep germinating seeds warm. Keep the potting mix moist but not wet.
After germination: Once your seeds have germinated, move them near a sunny window, preferably facing south, or put them under grow lamps. Keep the potting mix damp. If more than one seed has germinated in a container, carefully remove the smaller seedlings.
Once your seedlings have begun developing true leaves, start fertilizing them once a week with a liquid fertilizer diluted to half the recommended strength. When your seedlings are about six inches tall, and the danger of frost is over, it’s time to transplant them outdoors and let the real fun begin.
Now that you know how to grow tomatoes, why not grow onions or garlic? Click here for more.
Photo Courtesy of Magnus Manske


