Bathroom Regrouting 101
Regrouting your shower and bathroom is a tedious but necessary task. Left untouched, grout will degrade and allow water to infiltrate behind the tiles and wall.
Once water works its way back there, mold and mildew can sprout and proliferate. At that point, you may become susceptible to respiratory issues as well as a hefty repair bill to scrape out all that growth.
So, even if no one in the history of the planet has ever woken up with a spring in their step because they get to spend the day regrouting their shower, knowing when and how to regrout can save you time and money in the long run.
Fortunately, with a little know-how and the right tools, regrouting can be made easier. And when you add in some preventative cleaning, you can delay the inevitable — at least for a little while.
What is Grout, and Why Does it Need to be Redone?
Before launching into the “when” of the matter, let’s take a brief detour into the “what.”
Grout is made from a mixture of ingredients — often cement, aggregate, sand, and water. The result of that mixture is a material that’s dense, uniformly colored, and, perhaps most importantly, water-resistant.
Contractors and home renovators use grout for two purposes in showers and bathrooms: sealing the gaps between tiles and strengthening their structural bond.
However, grout is neither perfect nor impervious. While it should be water-resistant, it is not waterproof.
Over time, and due to a variety of issues that range from improper installation to heavy foot traffic to the constant exposure to heat and moisture, grout will begin to degrade. Once an issue occurs in one spot, it can quickly spread throughout the entire grout system.
When Should You Regrout Your Shower and Bathroom?
Generally, you should consider regrouting the shower tile when you notice any of these common signs of damage:
- Cracked or crumbling grout
- Grout feels spongy or soft to the touch
- Loose or missing grout
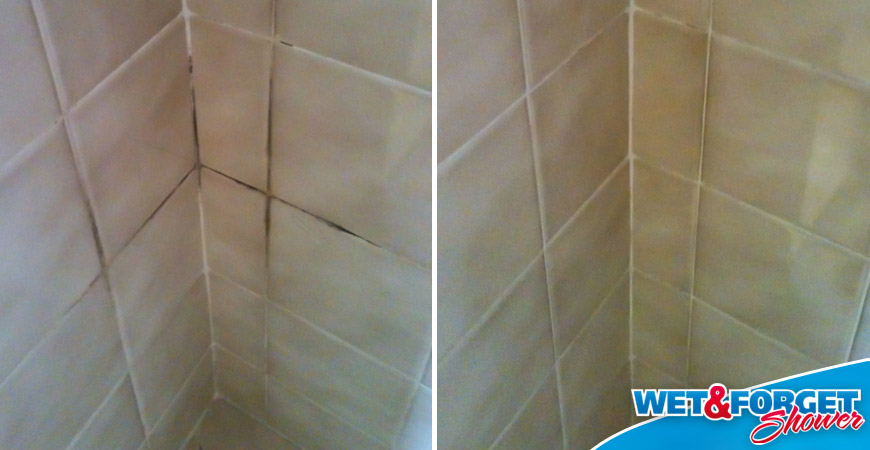
- Recurring issues with mold and mildew
- Stained grout
- Water damage on surrounding walls
While you may be tempted to launch into a full-scale regrouting project at the first sign of an issue, you should deploy a balanced approach. Attacking the grout in a piecemeal fashion can be both cost- and time-intensive.
So, while you don’t want to wait until the walls of your shower crumble around you, you also shouldn’t engage in half-measures here. Regrouting the entire shower all at once is often the most efficient way to tackle the project.
Of course, if you find yourself regrouting your shower every year, there may be a more significant issue at play. Generally, well-maintained shower grout should last at least eight years and up to sixteen years or more.
How to Regrout A Shower
Perhaps the most critical step in regrouting shower tile is to remove the old grout. Applying new grout on top of the old will cause significant issues and force you to restart your project all over again when the new grout starts to fall away.
Learning how to regrout a shower is easy when following our steps below.
First, to remove the old grout, you’ll need a tile grout remover. There are both manual and powered options available — though even if you go with the latter option, there will still likely be some manual work to remove uncooperative bits of grout.
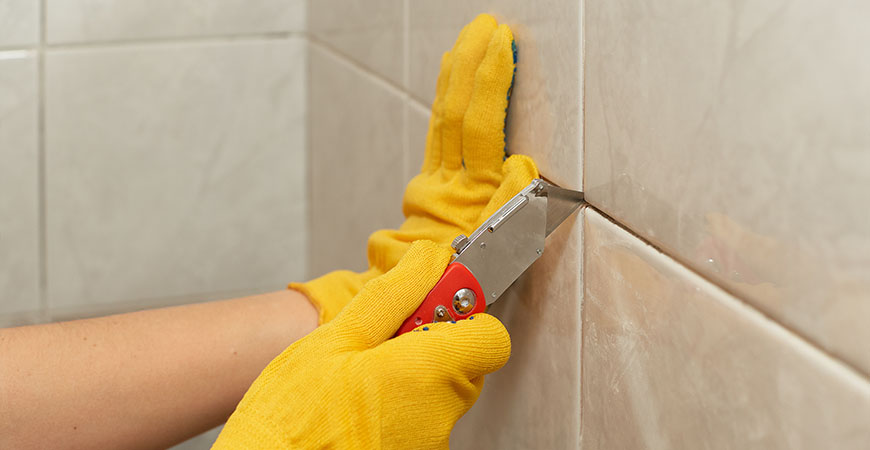
We should also note that this will be a dusty, messy job. Safety goggles, a shop vacuum, and even a ventilating mask like an N95 will help keep particulate out of your eyes, mouth, and lungs.
Once you’ve employed your tile grout remover tool, you can begin applying the new grout. First, you’ll mix grout powder with a manufacturer-specified amount of water.
It’s essential here not to mix in too much water, as that will result in thin and potentially porous grout. The more porous the grout, the easier it will be for shower moisture to seep in.
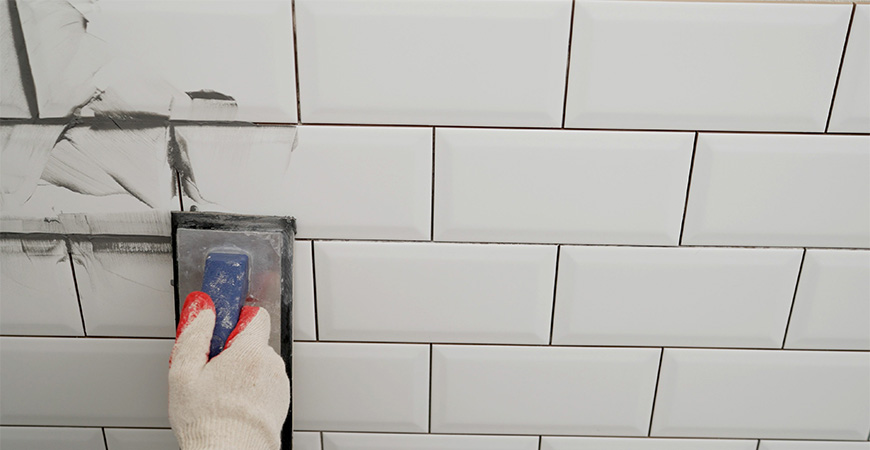
Then, apply the grout mix with a plastic trowel. Hold a grout float at a 45-degree angle to the wall or floor and press the mix deep into the joints between tiles.
When the distribution of the grout between all tiles looks even, clean off any grout lingering on the shower tiles. Hold the grout float at an 80-degree angle and slowly skim any grout from the tile faces.
A large sponge and a bucket of water can also help here. Dip the sponge into the water and wipe off any lingering grout “haze” from the tile surfaces.
Make sure to rinse the sponge and exchange the water in the bucket for fresh water once it becomes cloudy.
Grout often needs 24 to 48 hours to harden, but double-check the manufacturer’s specific instructions. Leave the grout alone during that time, and don’t apply pressure or use the shower until that time has passed.
How to Clean Shower Tile Grout
You can extend the life of your shower or bathroom grout by taking good care of it. In most cases, that simply means cleaning it regularly.
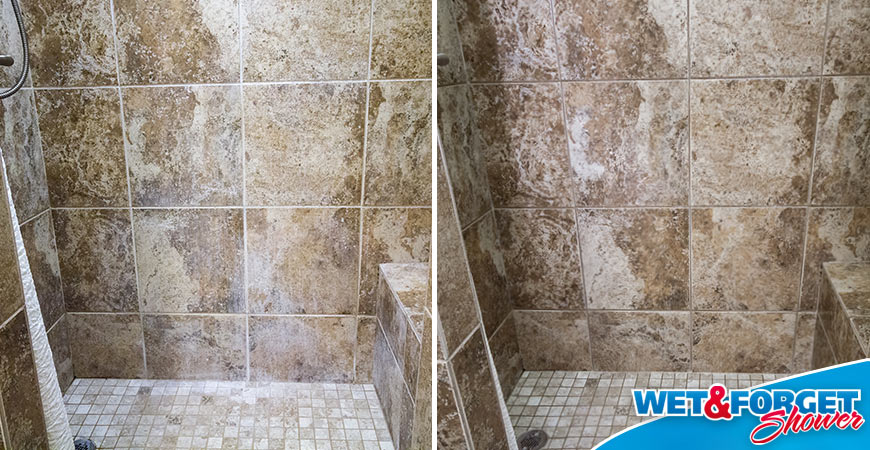
Wet & Forget Shower is a weekly no-scrub shower spray that can clean up soap scum and shower grime from grout and tile surfaces.
Using it couldn’t be simpler. Spray your shower surfaces after the last shower of the day and rinse them with water before the shower’s first use the next day.
We should not, though, that it will only remove surface stains. Once mold and mildew get embedded in the grout, regrouting may become necessary.
If you’re worried about the fading color of your grout but necessarily its structural integrity, then use a grout colorant. You can apply the colorant over your existing grout.
A grout colorant allows you to change the color of your grout. So, if you’re consistently dealing with grout stains, you may want to change the hue of your grout to something on the darker side of the color scale.
Sealing your grout can also add another layer of protection. You’ll need to use one that’s specific to your type of grout and tile, but they’ll help keep moisture, bacteria, and mold out.
Grout sealer typically only lasts about a year. So, while it can extend the lifespan of your shower grout, it can be a tedious task in and of itself.
Making Regrouting Your Shower Easy
No one gets excited to regrout their shower tile. However, with our tips above, you should find yourself better prepared to get the job done as well as extend the life of your shower tile grout.

