How to Prevent Ice Dams on Your Roof
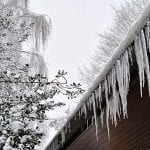
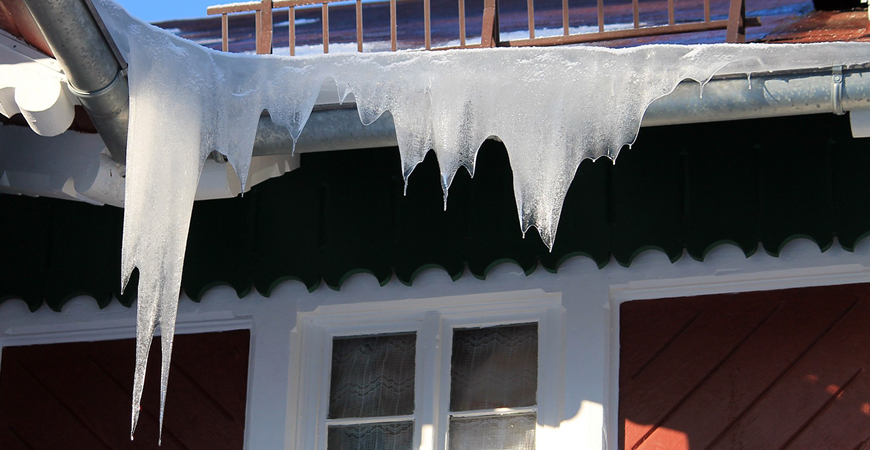
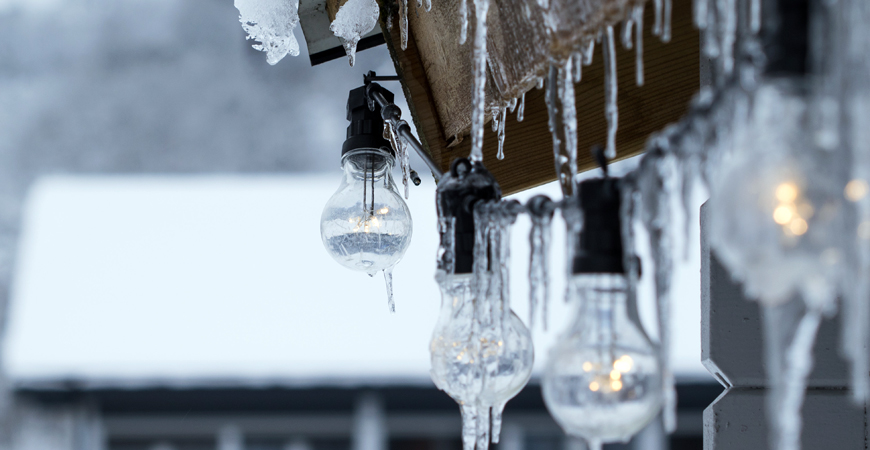
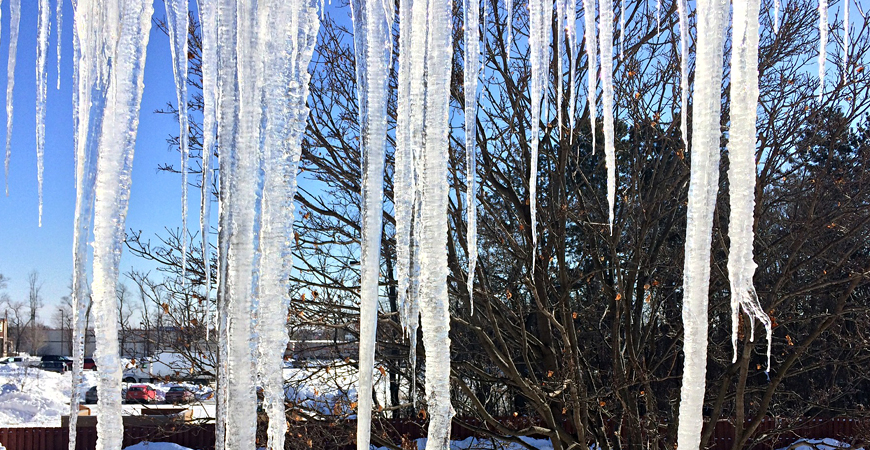
Glistening icicles may look nice hanging from your roof, but they may be a sign of an ice dam. If heavy ice is not removed, an ice dam can form and harm your roof, eaves, and gutters.
Pinpoint the root of the problem to prevent water from leaking into your home. Here we cover how to prevent ice dams and remove them.
How do ice dams occur?
When a thick layer of snow blankets your roof, the warm air inside the attic begins to melt the snow. As the lower layer of snow melts, the water runs underneath the snow layer and down the shingles.
When the water reaches the cold overhanging eaves, it freezes – forming a dam.
Moreover, this freeze and thaw cycle continues. So, more ice will build up at the eaves and along the roof, which will cause a thick accumulation of ice that then turns into an ice dam.
Notably, water will continue to flow down the roof. However, the block of ice will stop it from flowing over.
Instead, this will cause any blocked water to force its way under the roof shingles and into your home.
Water will continue to flow, following a downward path below:
- Underneath the shingles.
- Underneath the underlayment.
- Into the roof sheathing.
- Into the attic, soaking the insulation.
- On the underside of a ceiling panel.
- Drip into an interior room, causing damage to your home’s interior and furnishings.
How can I prevent an ice dam?
Your attic temperature should be as close to the outside air temperature as possible to prevent ice dams.
Home repair expert, Danny Lipford, mentions, “If you go back to the very beginning, you’ll find a clue to solving this problem. The entire process starts when snow sitting on the roof begins to melt. That’s key because, ideally, you want the interior attic temperature to be as close as possible to the outside air temperature. That’s why there’s only insulation on the attic floor, not between the roof rafters.”
Here are some tips to stop an ice dam before it starts:
Seal Air Leaks
Seal any air gaps in the attic, such as open areas around wiring. Do so by filling the exit hole around the wire with spray foam insulation.
In addition, seal the ceiling below the attic with caulk or weather stripping to prevent indoor heat from moving into the attic.
Add More Insulation
A lack of adequate insulation in the attic contributes to the formation of ice dams. You may already have insulation in the floor joists, but it’s a good idea to add a layer of insulation to the attic floor as well.
If you have insulation on the attic floor, then measure the depth and add another layer, if necessary. For best results, use insulation with a minimum rating of R-38.
Increase Ventilation
Bring cold air inside the attic by ensuring your attic ventilation system is working correctly. Most homes have vents that allow the outside air to flow in and out of the attic.
Make sure all soffit vents are free to move air and are not blocked. Moreover, remove a section of floor insulation if necessary to unblock attic vents.
If there’s snow on your roof, remove as much as you can with a lightweight rake. Raking the lower part of your roof (near the eaves) will clear it of snow and reduce the source of water.
Remove snow from the roof while standing on the ground as a snow-covered roof is dangerous to walk on.
Can an ice dam harm my roof?
Yes. The weight of ice buildup can pull your gutters loose or pull them completely away from the house.
Home repair expert Bob Vila says, “As the ice dam builds, it gets heavier. When the weather warms enough for the ice to melt, the dam can loosen enough to come crashing to the ground—sometimes taking your home’s gutter with it. Ice dams can harm the roof in other ways as well: As water seeps between shingles and freezes, it expands, loosening the shingles and penetrating through the layers of the roof until you have a leak and/or interior ceiling damage.”
Can an ice dam be dangerous?
Yes, a heavy band of ice that breaks away from your roof can fall on people or pets. Ensure all family members are away from the work area before you begin.
How can I remove an ice dam?
The key to protecting your home is to prevent ice dams before they occur. Removing an ice dam can take quite a bit of effort and hard work.
Melt the ice with calcium chloride
Calcium chloride is the same product used to melt ice on sidewalks and driveways. When placed on the roof, it can help to melt an ice dam.
What you’ll need:
- 40-lb bag of calcium chloride
- 6 pairs of long tube socks
Fill each sock with granules. Tie off the open ends with a knot, string, or zip tie.
Place several tubes on the roof, vertically, above the ice dam. Allow the tube ends to hang a couple of inches over the roof edge. (Ignore any funny looks from the neighbors!) The calcium chloride will melt a channel through the dam allowing water to run off the roof.
Check to ensure the ice melt you buy contains only calcium chloride, which is safe for roof shingles and foundation plants. Do not use rock salt as it can damage shingles and plants.
Caution: A melting ice dam can cause large ice sheets to fall from the roof, so keep all people and pets away from the area. To speed up drainage, use a mallet to carefully chip away ice at the edges of melted channels. Stand on a ladder to the side of the dam to stay out of the way of falling ice.
How to Prevent Ice Dams: Install de-icing cables
Roof de-icing cables are installed on top of roof shingles and eaves. They are available at hardware stores and home improvement centers.
De-icing cables keep ice dams from forming, but they are easy to see and can interfere with routine roof maintenance.
Hire a professional
An ice-dam removal service is another option, although it can be expensive. The technician will:
- Remove snow from the roof.
- Use commercial steaming equipment to heat and dispense pressurized water onto the roof. Professional steaming will quickly melt channels in the ice dam.
- They may also use a mallet to chip away at melting ice until the roof is free of ice.
Bonus Tip: Another removal method is to add warm water to a garden sprayer. Spray the dam to loosen and partially melt the ice. Use a mallet to break away the dam. Check the weather to ensure the above-freezing temperatures are in the forecast. Otherwise, the warm water will freeze overnight, making the problem worse.
Keep your home dry and ice dam-free with the tips mentioned. Check out our other winter home improvement guides to keep your family and your home warm and safe this winter season.

Related Posts
 Ready Your Home for Snow, Ice, and Winter Weather
- Repairing Winter Storm Damage in Your Lawn and Landscape
- Eliminating Winter Window Condensation: A Homeowners How to Guide
- Winter Car Survival Kit- 15 Items You’ll Want To Have
- From Snowblower to Shovel: Comparing 4 Snow Removal Methods
- Apply Wet & Forget in Snowy Weather with our Simple Guidelines!