Transplanting Flowers in Fall – Tips and How-Tos
Fall is the ideal time to transplant spring and summer blooming perennials in the garden. It’s also an excellent time to divide plants that become crowded.
Transplanting flowers is easy when you follow the tips and how-tos below. Plus, you’ll be rewarded with healthy, happy plants next spring.
Why should I transplant?
You may have garden plants that were once in the shade but are now in full sun. Your plants may be overgrowing the area they’re planted in. Or it may be as simple as a desire to change the look of your garden.
What types of perennial flowers can be transplanted in the fall?
Here are a few examples –
- Siberian Iris
- Japanese Iris
- Veronica
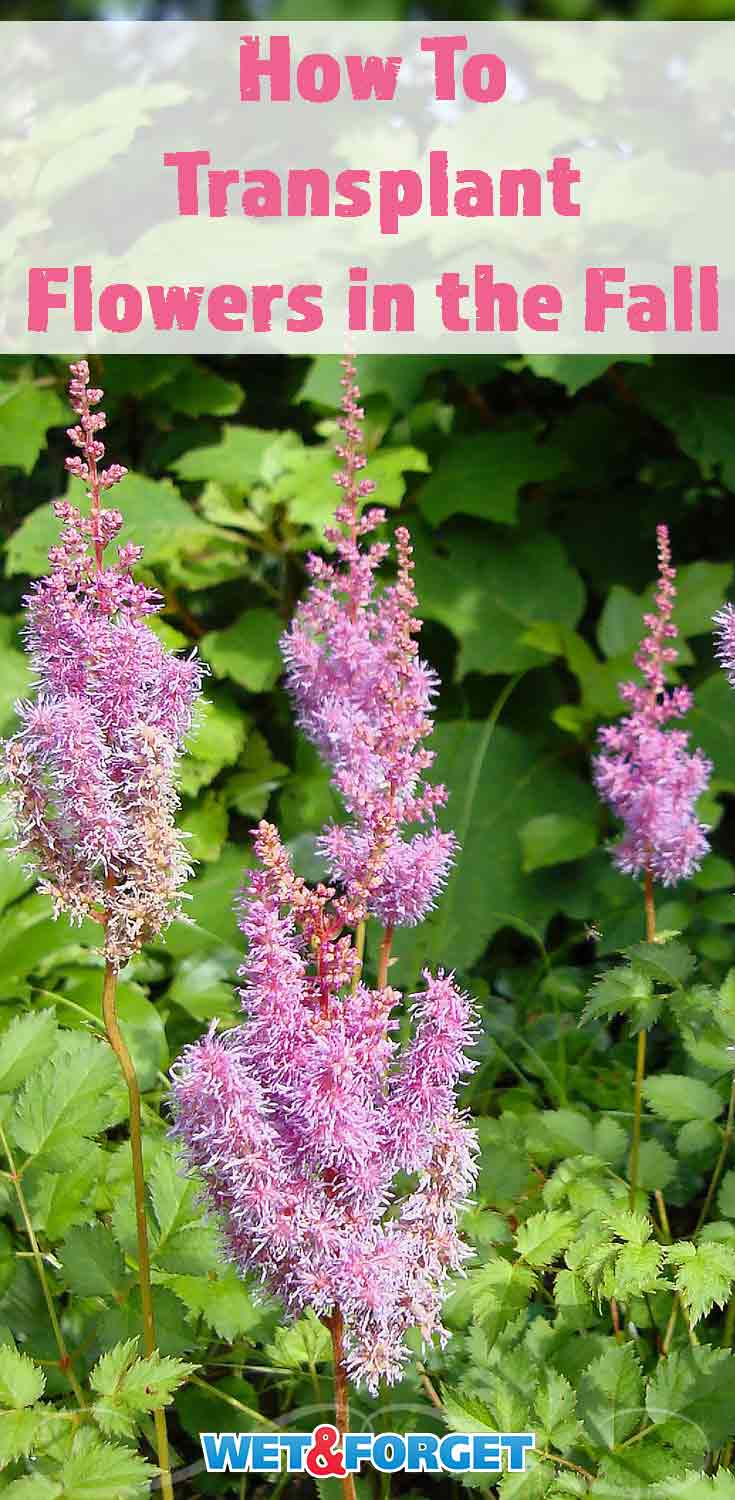
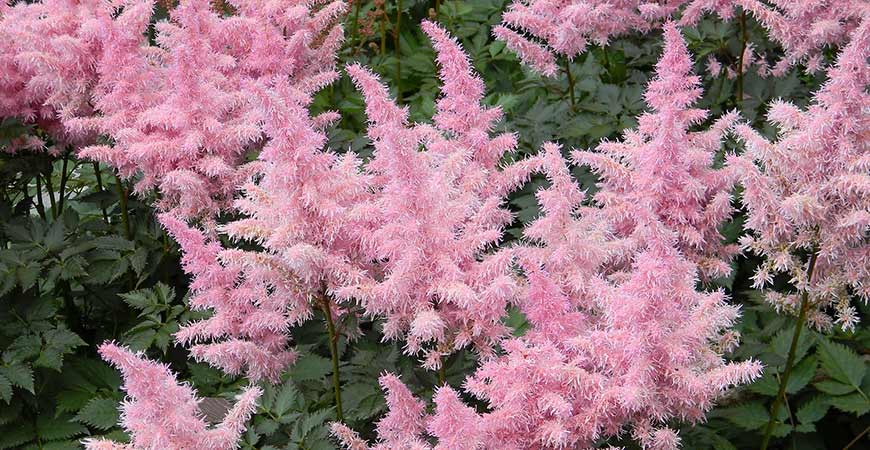
- Astilbe
- Asiatic Lily
- Oriental Lily
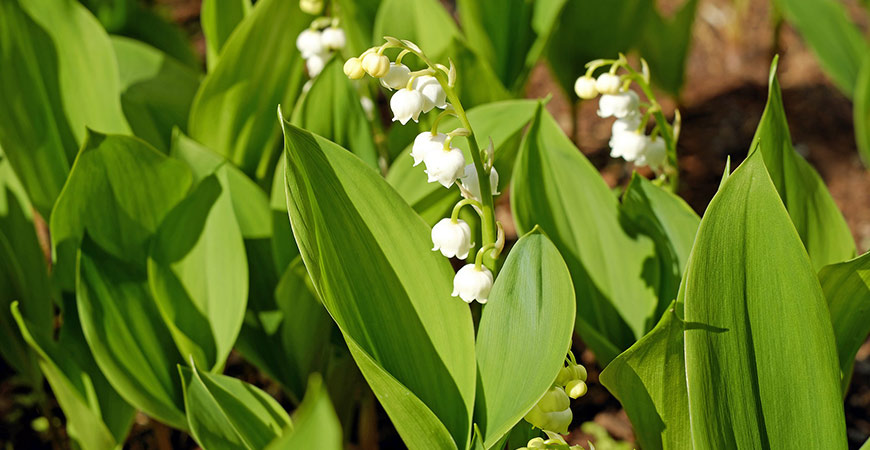
- Lily-of-the-Valley
- Bleeding Heart
For more tips on transplanting flowers, visit here.
Why move plants in the fall?
Moving plants in fall gives them plenty of time to establish new roots before the new season’s warm temperatures arrive. Plus, cooler temperatures reduce the chances of transplant shock.
Plus, spring and summer flowering perennials are best suited for fall transplanting.
Transplanting Flowers From Ground to Ground
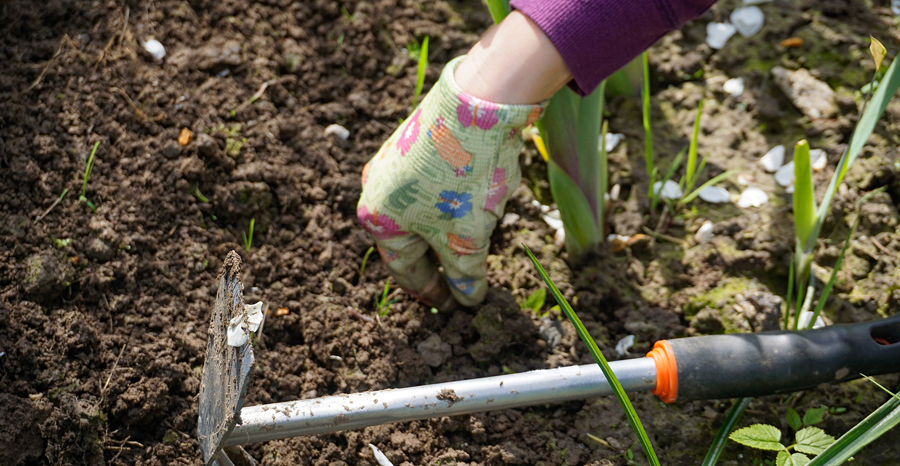
- Loosen and turn the soil in the new planting site with a gardening fork.
- Mix in compost to add nutrients to the soil. Compost works well for both soil conditions, whether you have sandy or clay soil. It adds water retention to sandy soils and provides better drainage for clay soils.
- Mix the compost with a gardening fork, and continue shaping the hole.
- Dig the plant from the ground with a shovel. Work in a wide circle around the plant to help keep the root ball intact. For larger plants, trim back the foliage by approximately two-thirds. This will reduce the amount of growth that draws moisture from the roots.
- Lift the plant from the ground and place it in a bucket for transfer to the new planting hole. If you cannot transplant on the same day, add water to the root ball and place wet newspaper over the plant so it stays moist. Set the bucket in the shade.
- Examine the root ball to gauge the approximate size hole it will require. The hole width should be about two times the width of the roots. The plant should sit at the same height or soil level that it was in the original location. Reduce, enlarge, or backfill the hole as needed.
- Gently spread the roots with your fingers and set the plant into the hole. Backfill the hole.
- Water the plant thoroughly, and then add a 3-inch layer of mulch to protect and retain moisture.
- No need to fertilize now – wait for spring to fertilize.
Transplanting Perennials From Pot to Pot
A pot-grown perennial can grow too large for its container. To move a perennial from a too-small pot to a larger pot, you’ll need –
- Small stones or terra cotta shards
- A container that is one size larger than the pot the plant is currently in
- Potting soil
- Fertilizer
- Cover the hole in the bottom of the pot with a couple of small stones or a broken piece of terra cotta. Leave room for water to drain. Covering the hole allows the pot to drain without losing soil from the bottom.
- Compare the size of the old and new containers. When moved, the perennial should sit at the same height as it did in the original container.
- Place a few inches of potting soil in the bottom of the new container.
- Remove the pot from the original container. This may require a little elbow grease if the plant’s roots are packed tight.
- Loosen the soil on the bottom of the plant. Turn the plant to check for grown roots in a circle around the base. Loosen them with your fingers or cut them, if necessary.
- Insert the plant into the new pot and backfill with fresh soil. Shake the container slightly to encourage the soil to settle around the roots.
- Water the plant thoroughly until you see water exiting the drainage hole.
- Display your newly repotted greenery in your favorite spot.
Pro Tip: Don’t replant your greenery up to the top of the container. When you water it, the water will run over the top of the pot.
For more tips on transplanting flowers, visit here.
Dividing Perennials
Some perennials can become crowded and require dividing. Dividing your perennials will reduce crowding and encourage vigorous plant growth. Here are signs that it’s time to divide your perennials –
- The plant produces smaller or fewer flowers than usual
- The stems appear weak and fall over
- There may be dead spots in the center of the plant
Divide your perennials with these easy ten steps:
- Water the plants a couple of days before you plan to divide and replant them.
- Prepare the soil in the new location. Loosen and turn the soil at the new planting site with a shovel or gardening fork. Add and turn in compost to add nutrients to the soil.
- Cut back the foliage to approximately 6 inches from the ground. This helps retain moisture in the plant and makes it easier to lift and replant.
- Use a shovel or garden fork to dig around all sides of the plants. Dig about 4 inches away from the root ball to avoid damage.
- Lift the plants from the hole. Remove large chunks of soil from around the roots by gently shaking the plant or using your fingers. This makes it easier to see where to divide the plant.
- Use a sharp knife to cut divisions, ensuring each division looks healthy and has several roots. Dispose of individual plants that look diseased or have been damaged by insects.
- Keep your divisions from drying out while cutting by keeping a bucket of water handy. Wet each division as you work.
- Add the divisions to the new planting hole, spreading the roots. Backfill the hole and lightly tamp the soil around the plant—water well.
- Mulch the newly-planted divisions with dry leaves or straw for protection.
- Water the plants often during the growing season to establish a healthy root system.
For additional how-tos on dividing perennials, visit here.
Transplant your perennials at least four weeks before a hard frost so new roots will have time to grow.
Pro Tip: A common problem when transplanting flowers is overwatering. Water the plant well immediately after you, and move it regularly for the first few weeks. Water less often during the remainder of the season.
Interested in more fall gardening tips? Visit here.
For more how-tos on prepping your yard for winter, visit here.

